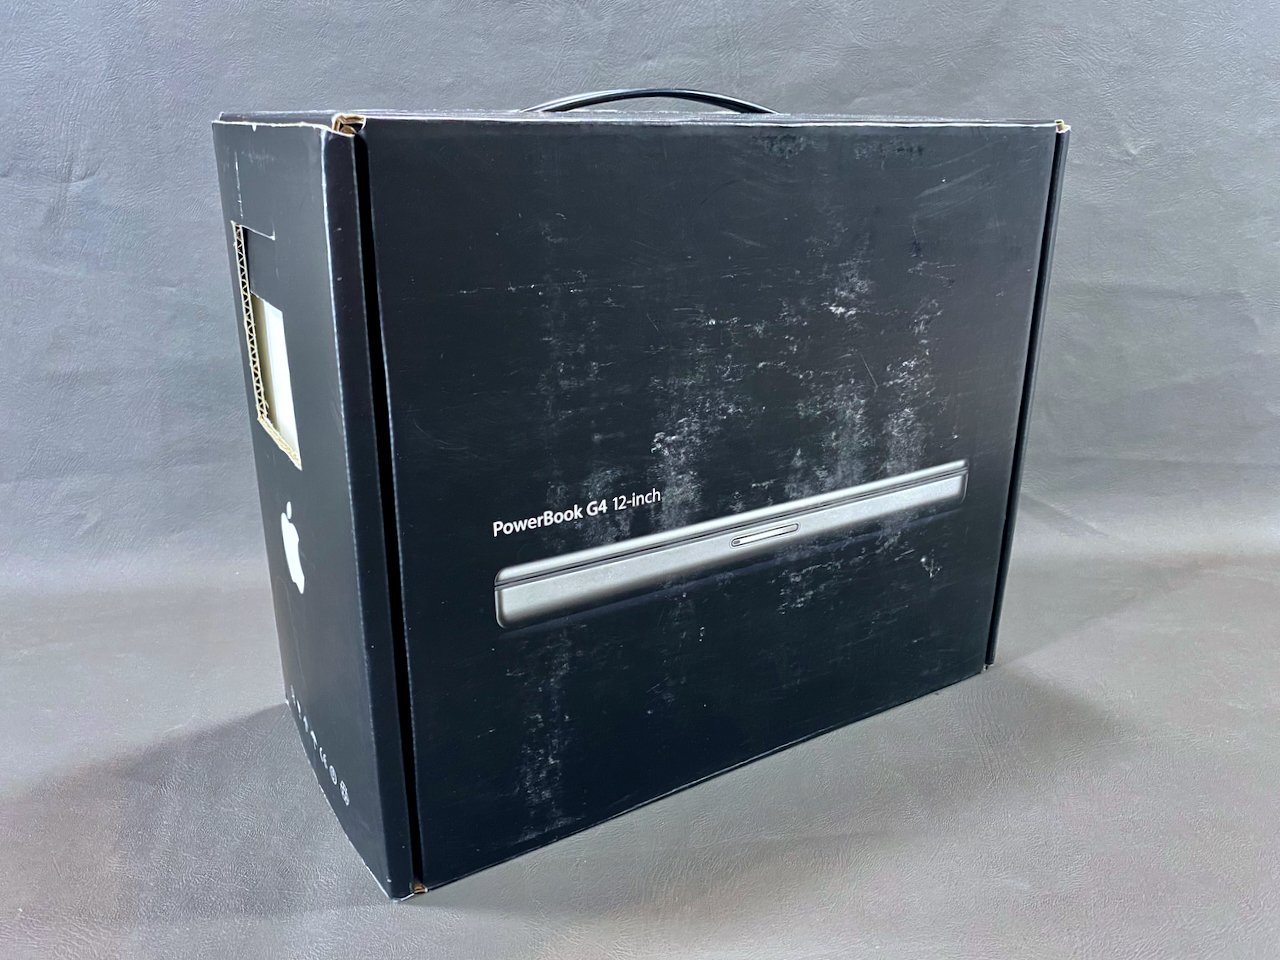
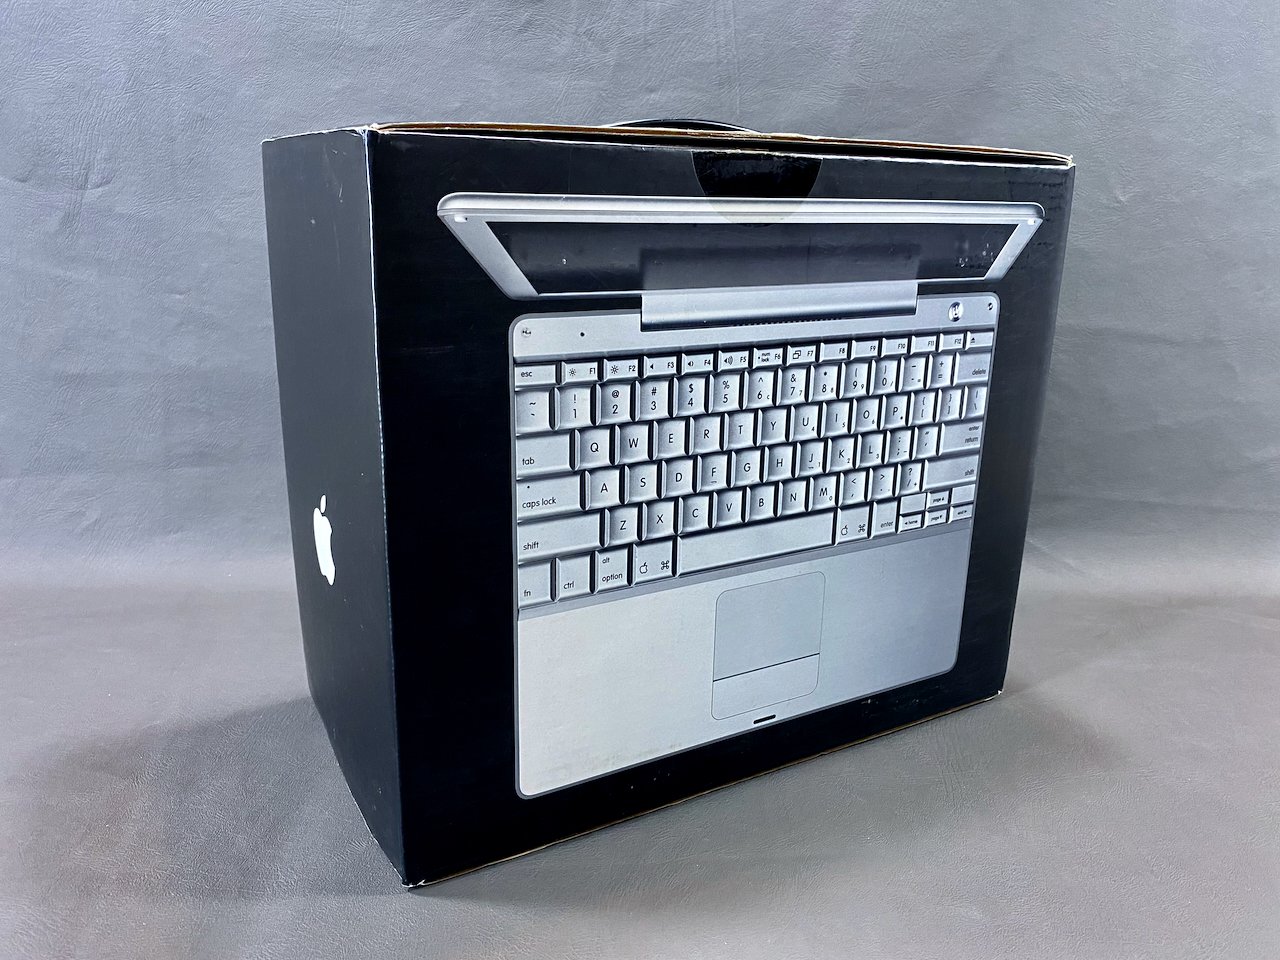
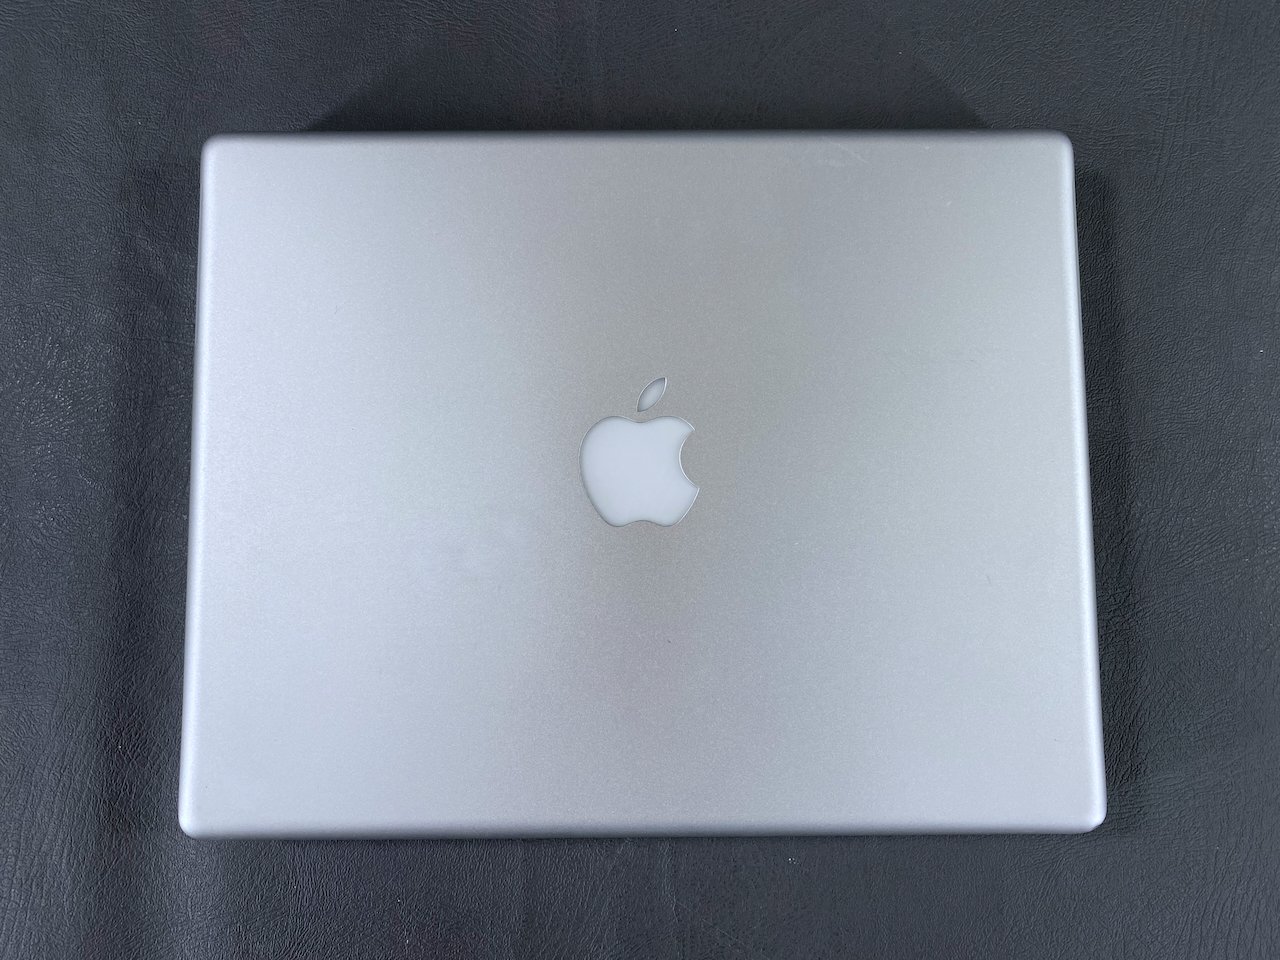
PowerBook G4 - 12”
(Aluminum)
History
Introduced: January 7, 2003
Discontinued: May 16, 2006
Original Retail Price: $1,699
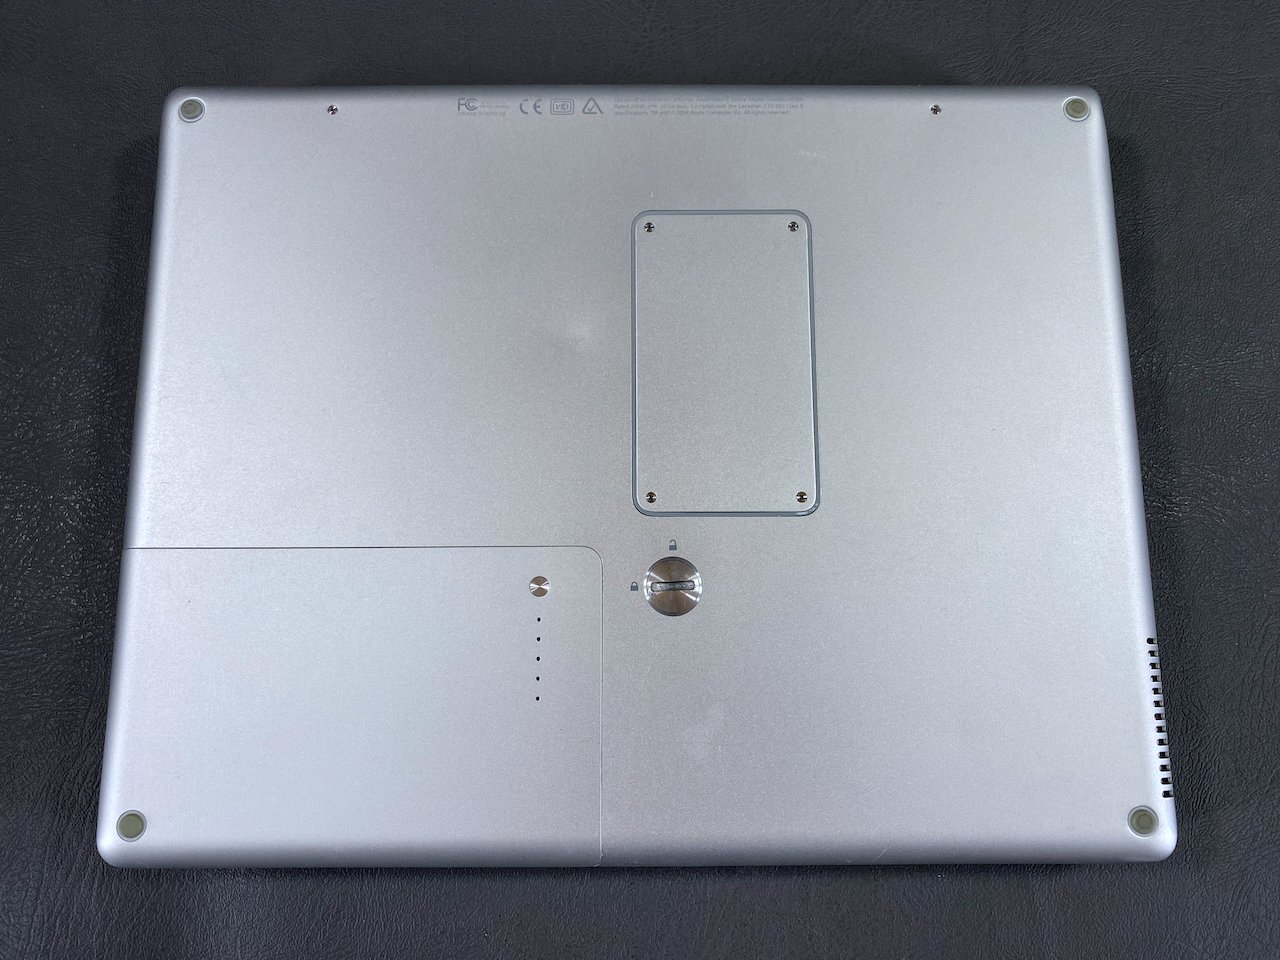
Model #: A1104
Tech Specs
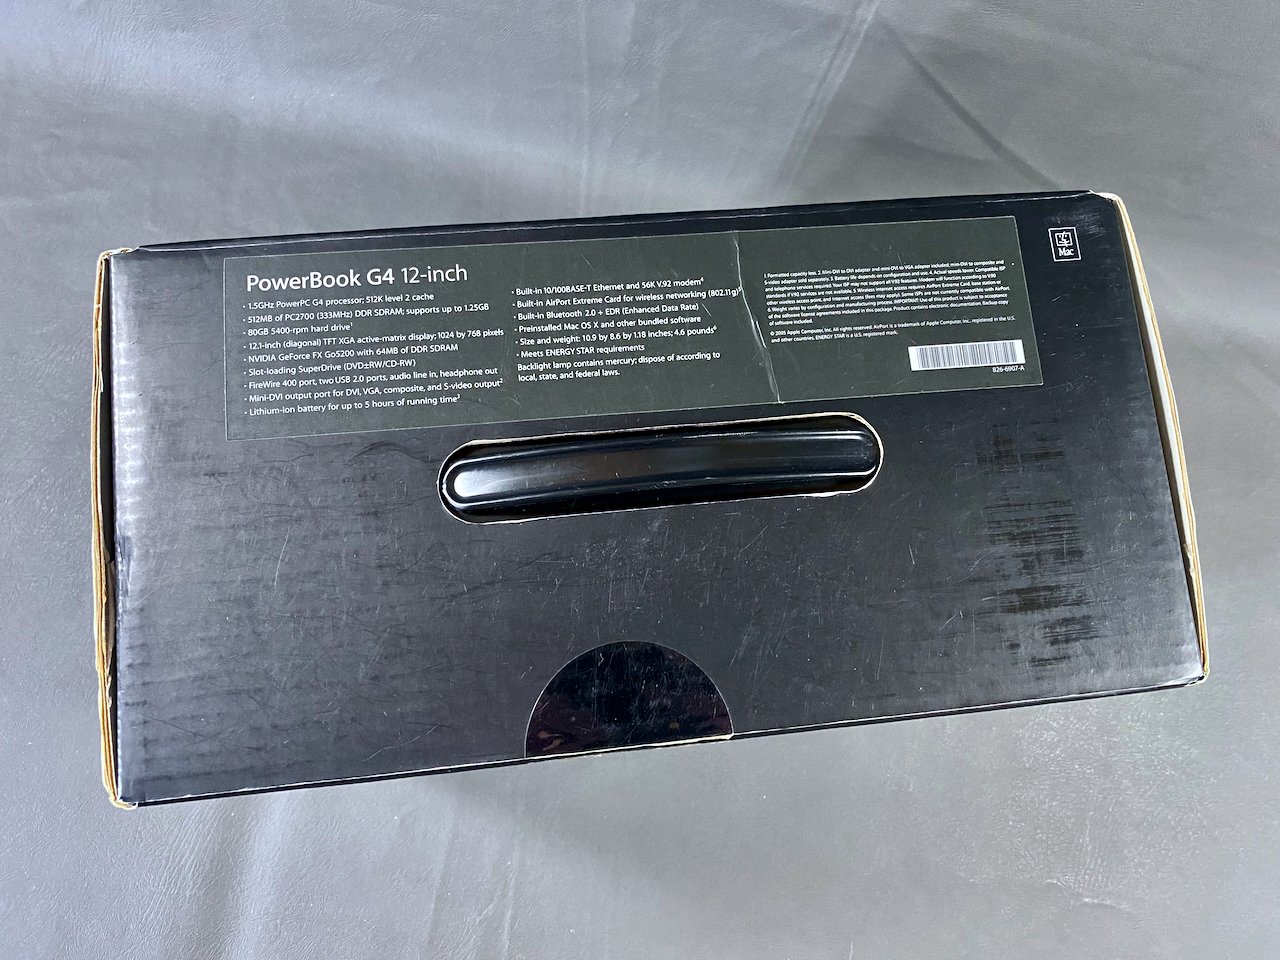
Display: 12.1” TFT LCD
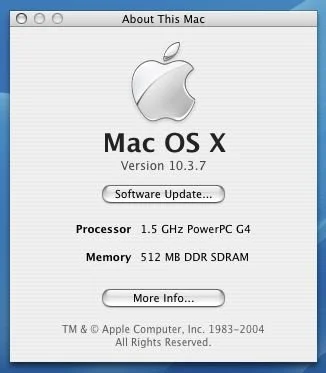
Processor: 1.5 GHz PowerPC G4
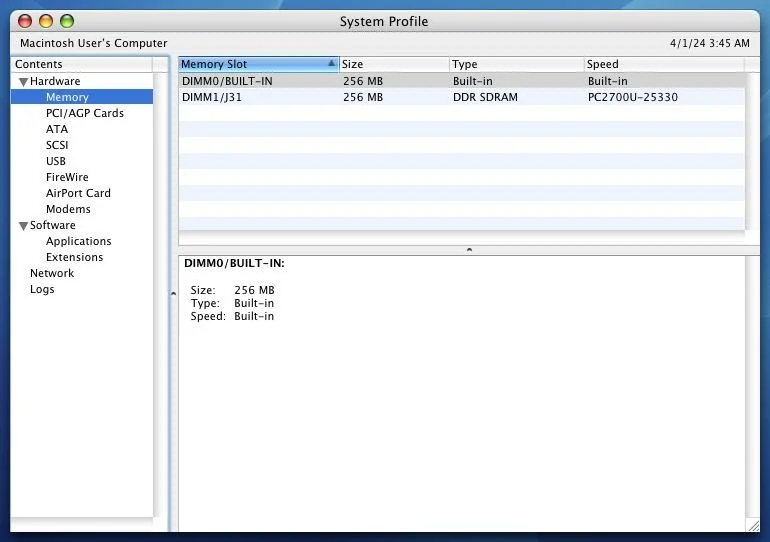
RAM: 512 MB
Hard Drive: 128 GB SSD (upgraded)
Optical Drive: SuperDrive
OS: 10.3.7
Condition & Notes
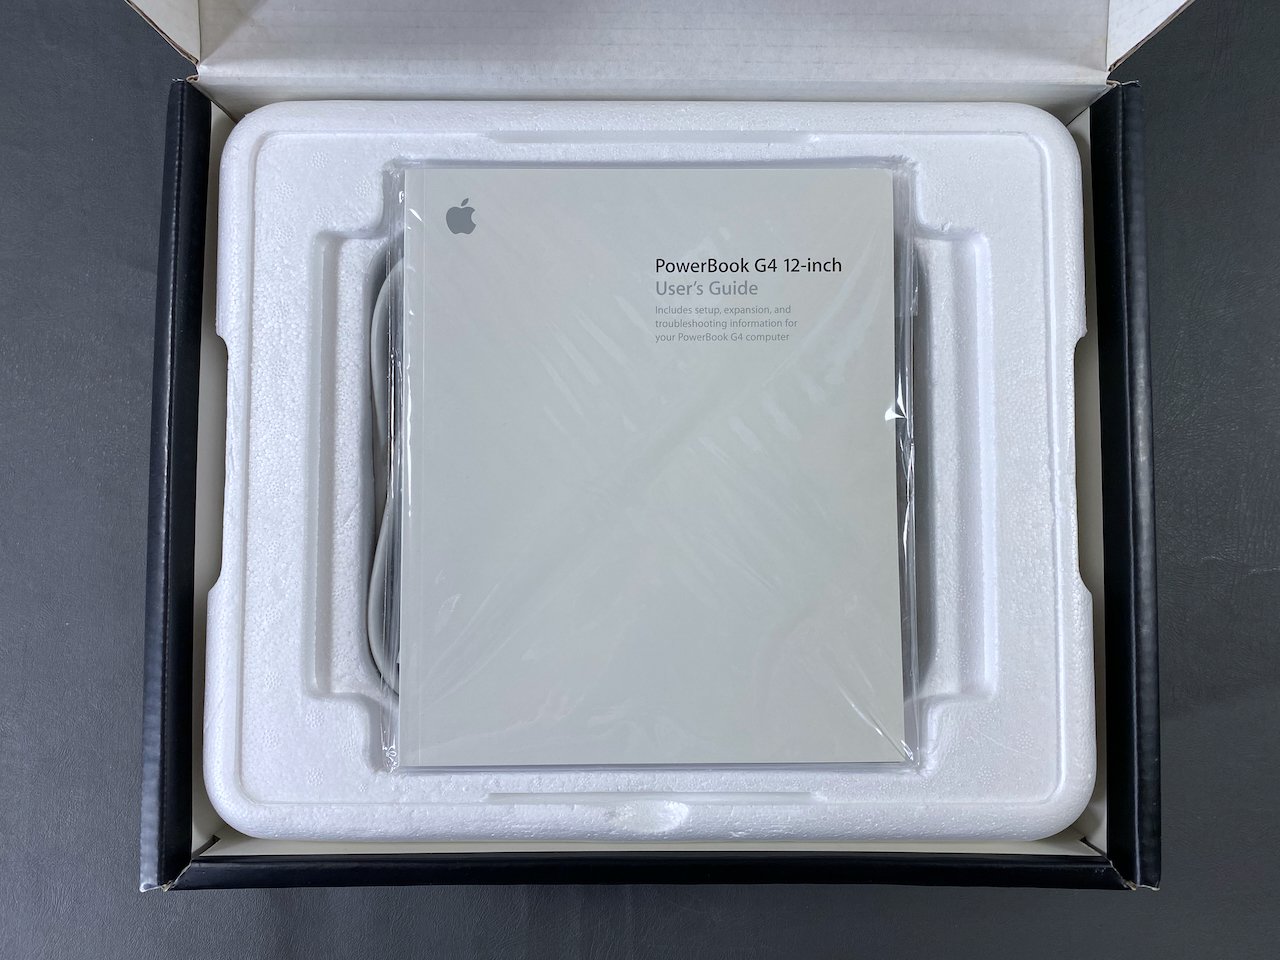
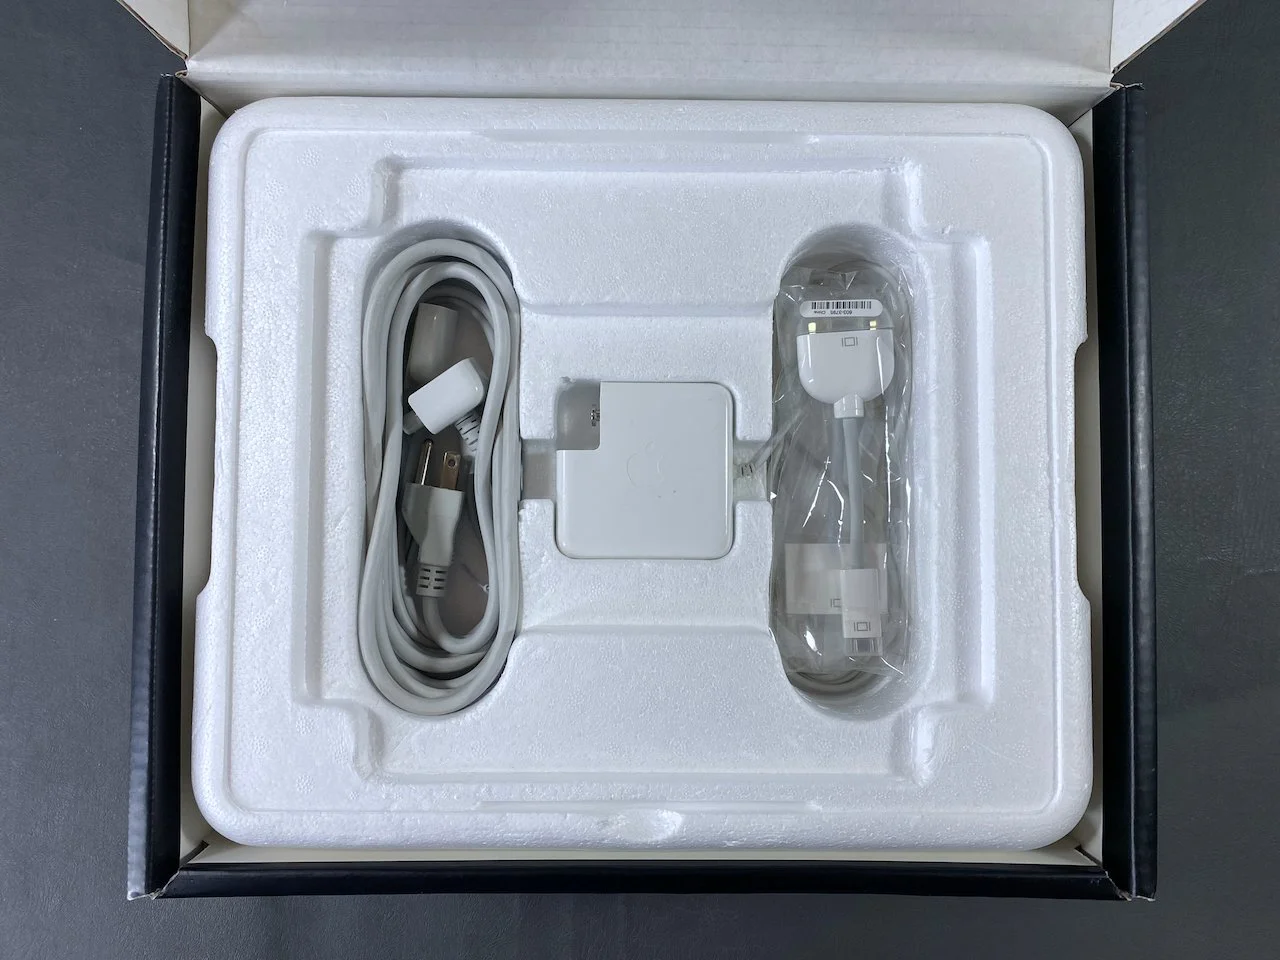
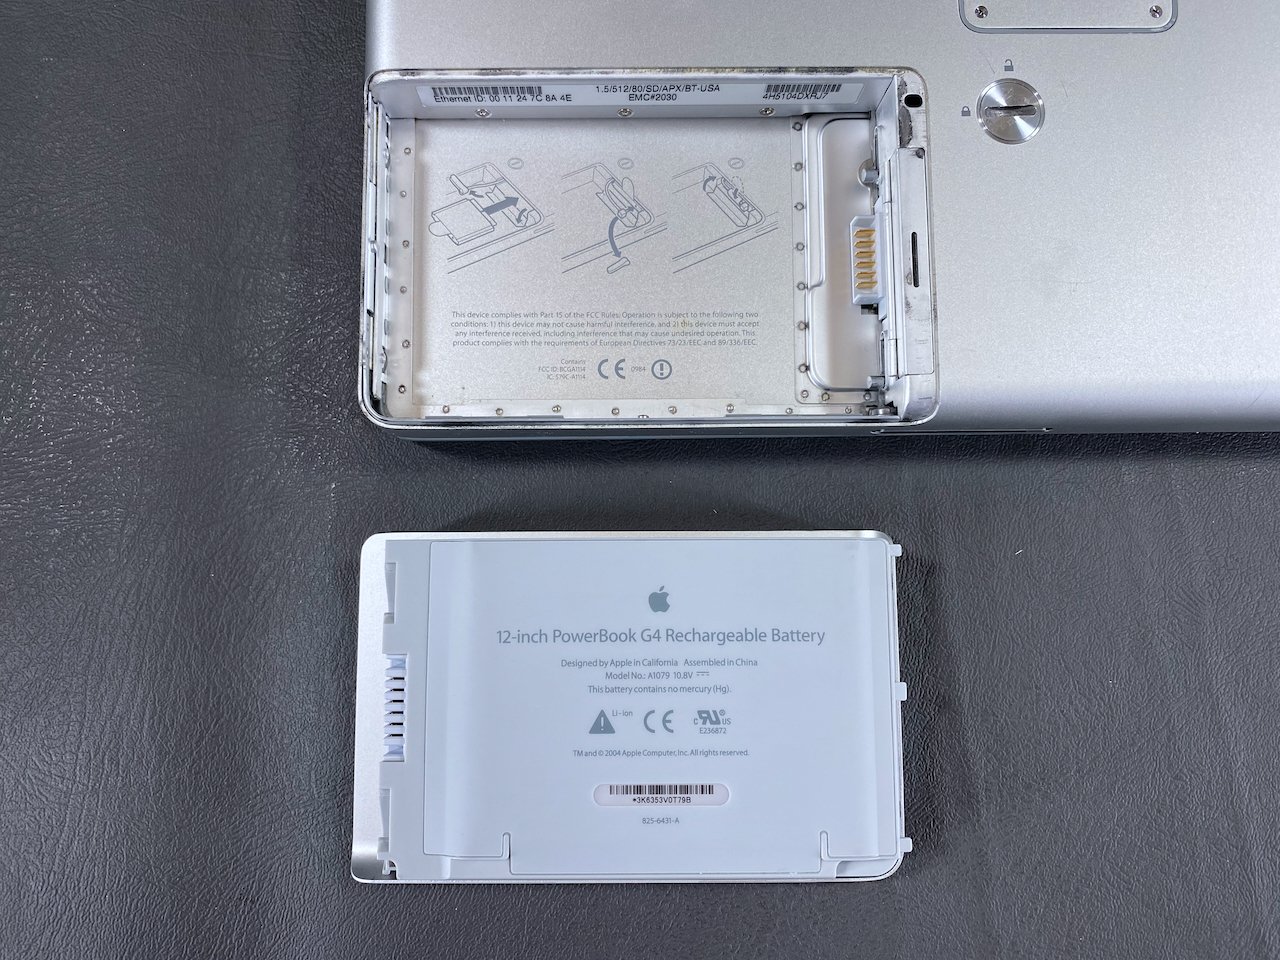
This unit is in excellent condition, and was purchased from the original owner who got it for college. It is complete with all the original packaging, foam bag, foam keyboard sheet, power adapter, modem cable, mini-DVI-to-VGA adapter, mini-DVI-to-DVI adapter, software CDs, and documentation. As is normal for a machine of this age, its battery is completely dead so it must be plugged in to AC power to operate.
In 2024 I replaced the original 80 GB hard drive with a 128 GB SSD. HDD to SSD conversion is a common technique used in vintage computer preservation, as the original hard drives are prone to failure due to age. This upgrade also makes the computer quieter, faster, and more reliable. Scroll to the bottom of the page for more on this.
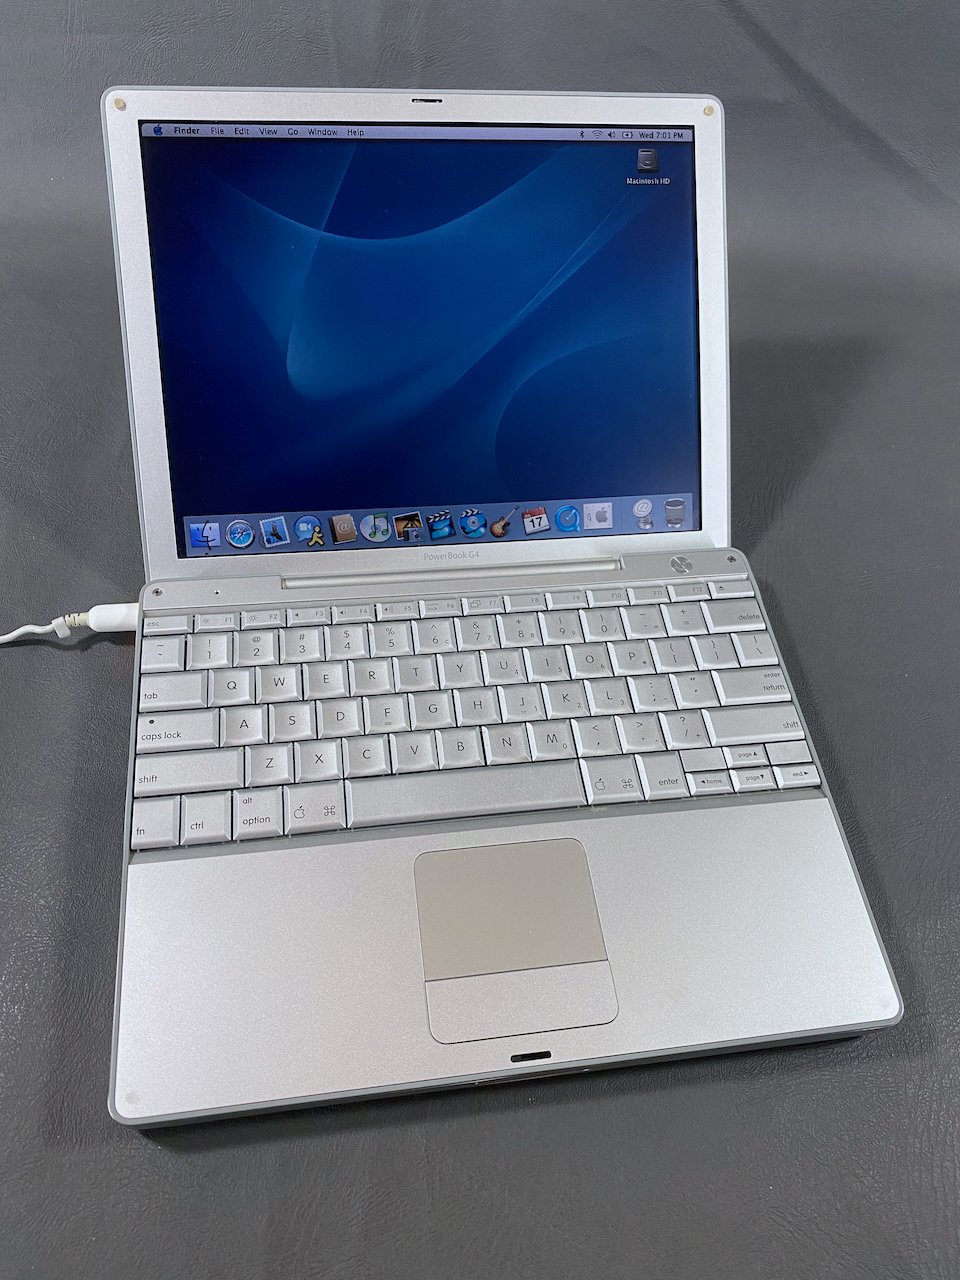
It is in fully working order and currently has OS X 10.3.7 installed.
Model Identifier

This particular machine is the high-end 1.5 GHz model introduced in early 2005, making it the last (and the fastest) 12” PowerBook that Apple ever made.
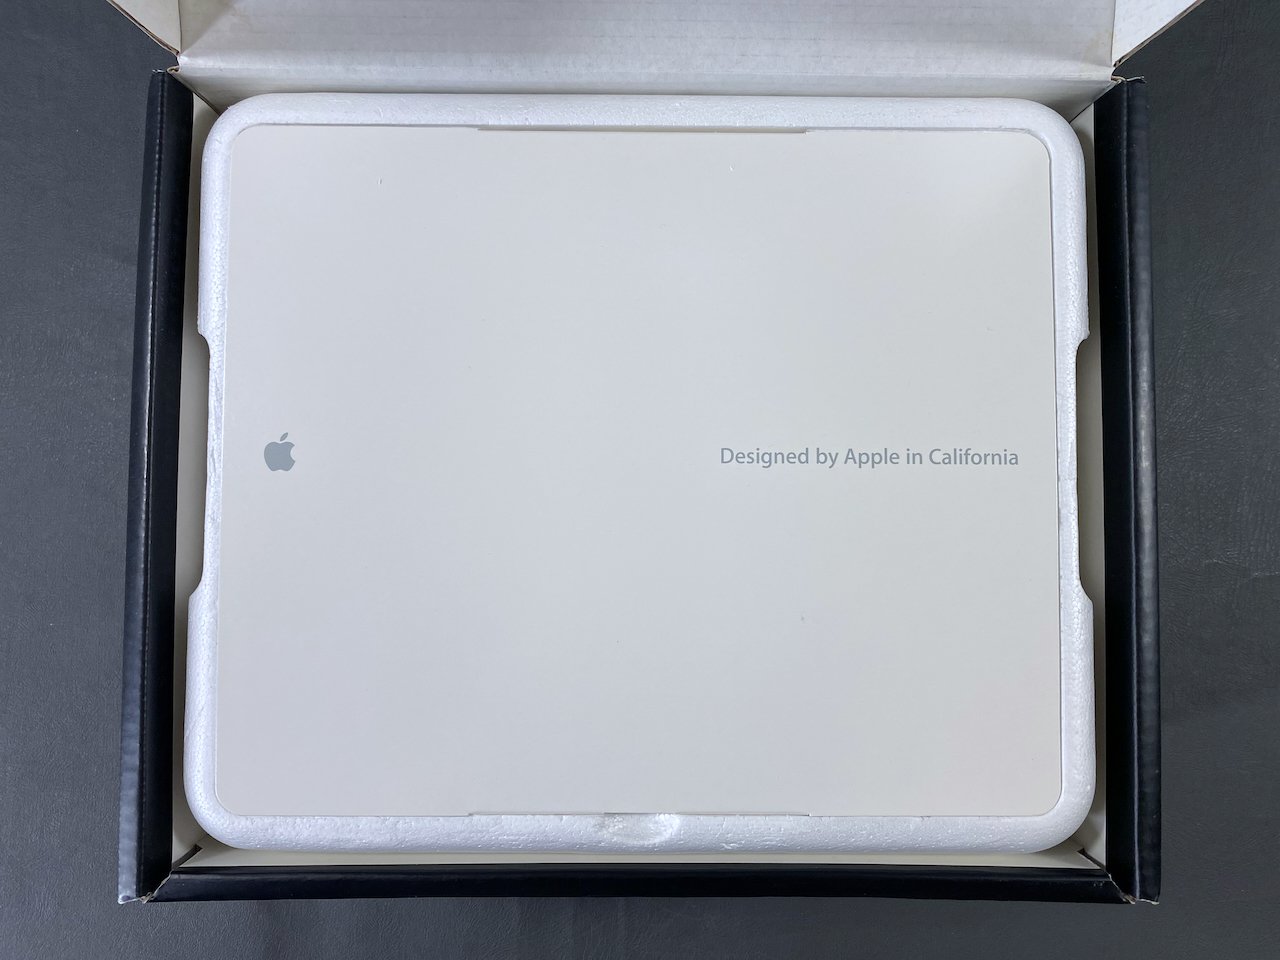
Packaging

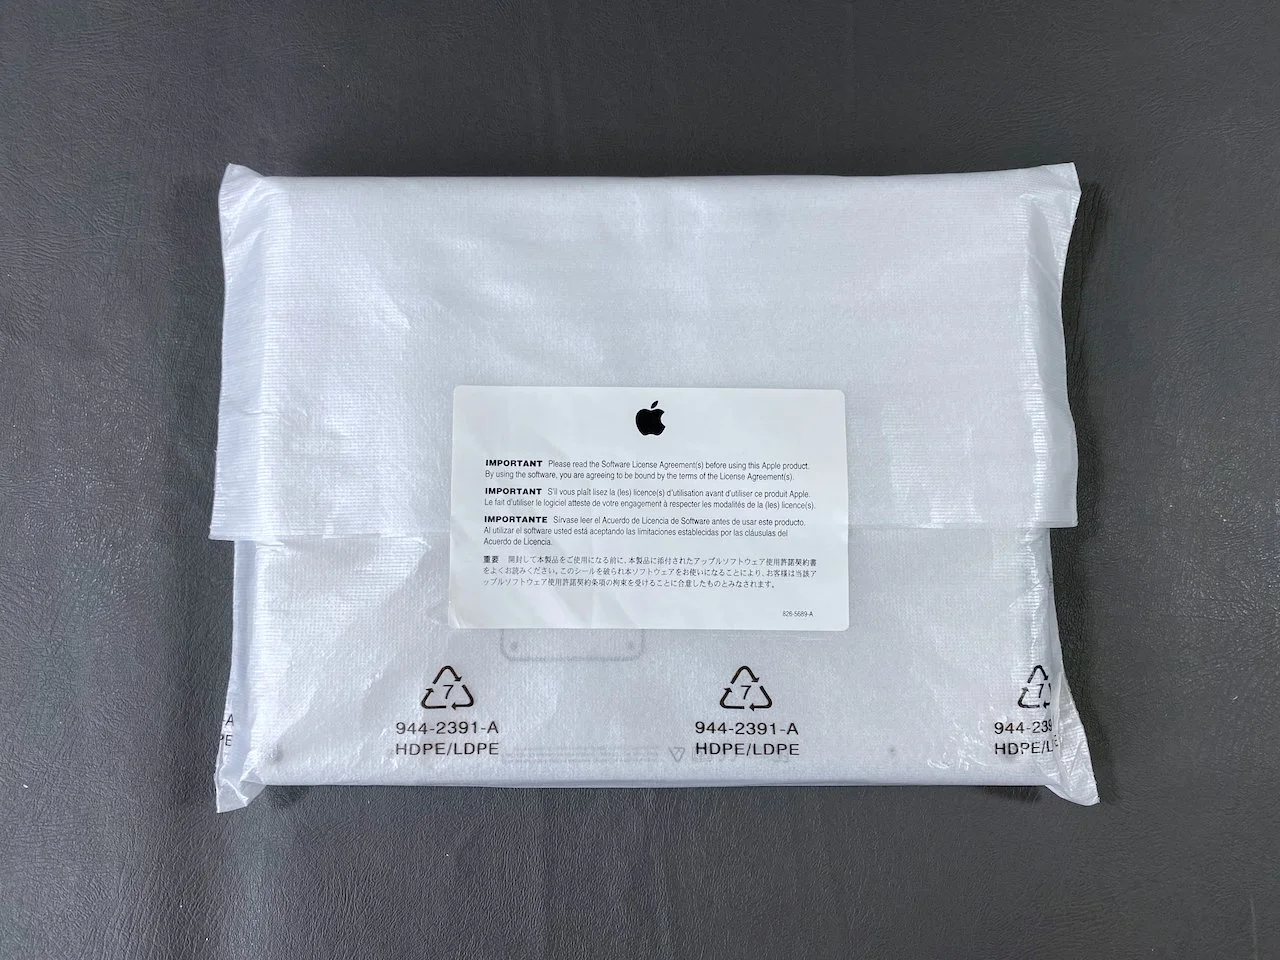
The original anti-static foam shipping bag.

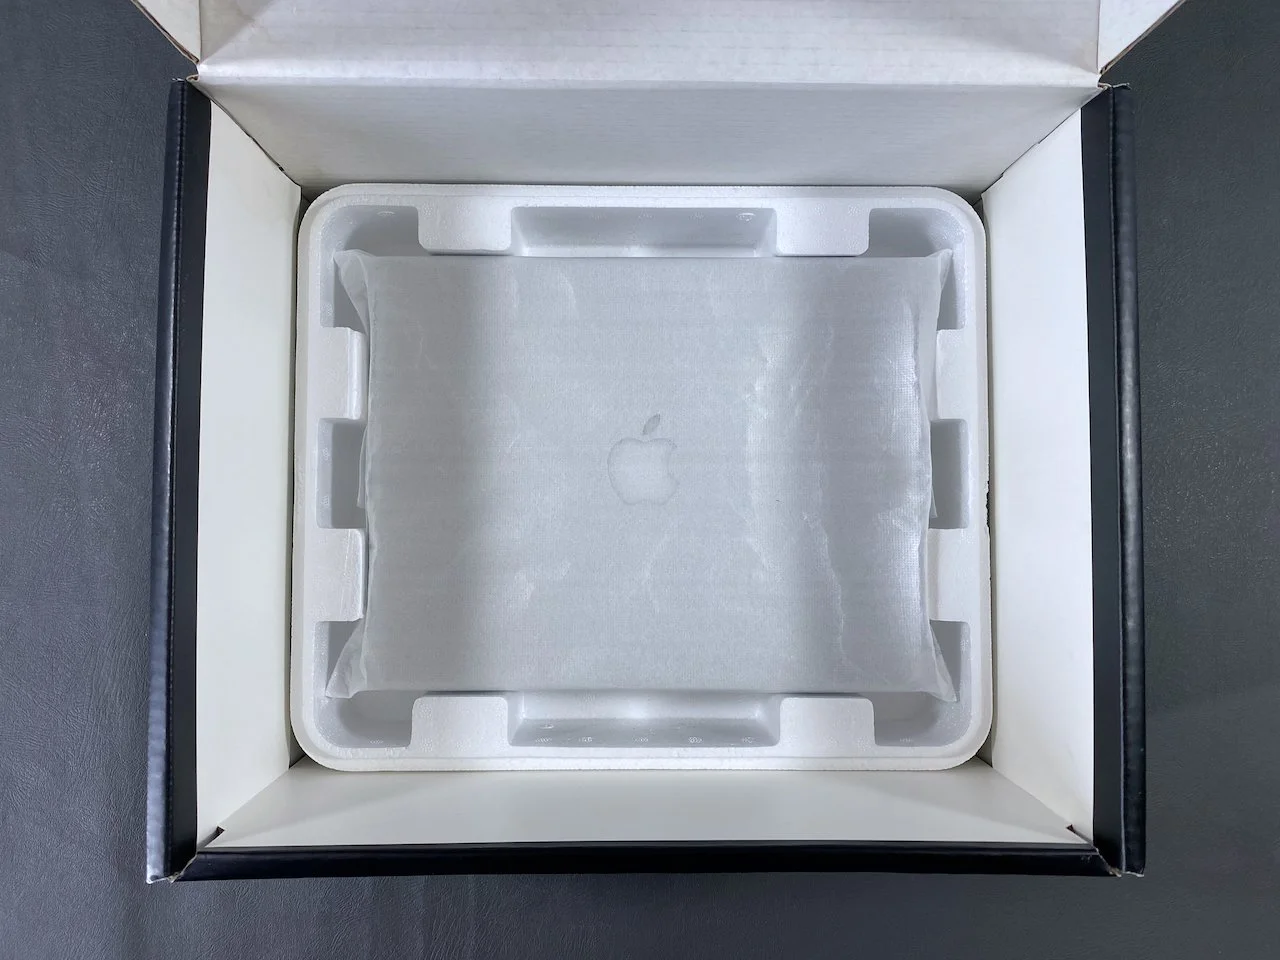
The original foam insert sheet, which prevents the keyboard from scuffing the screen.
PowerBook


Accessories
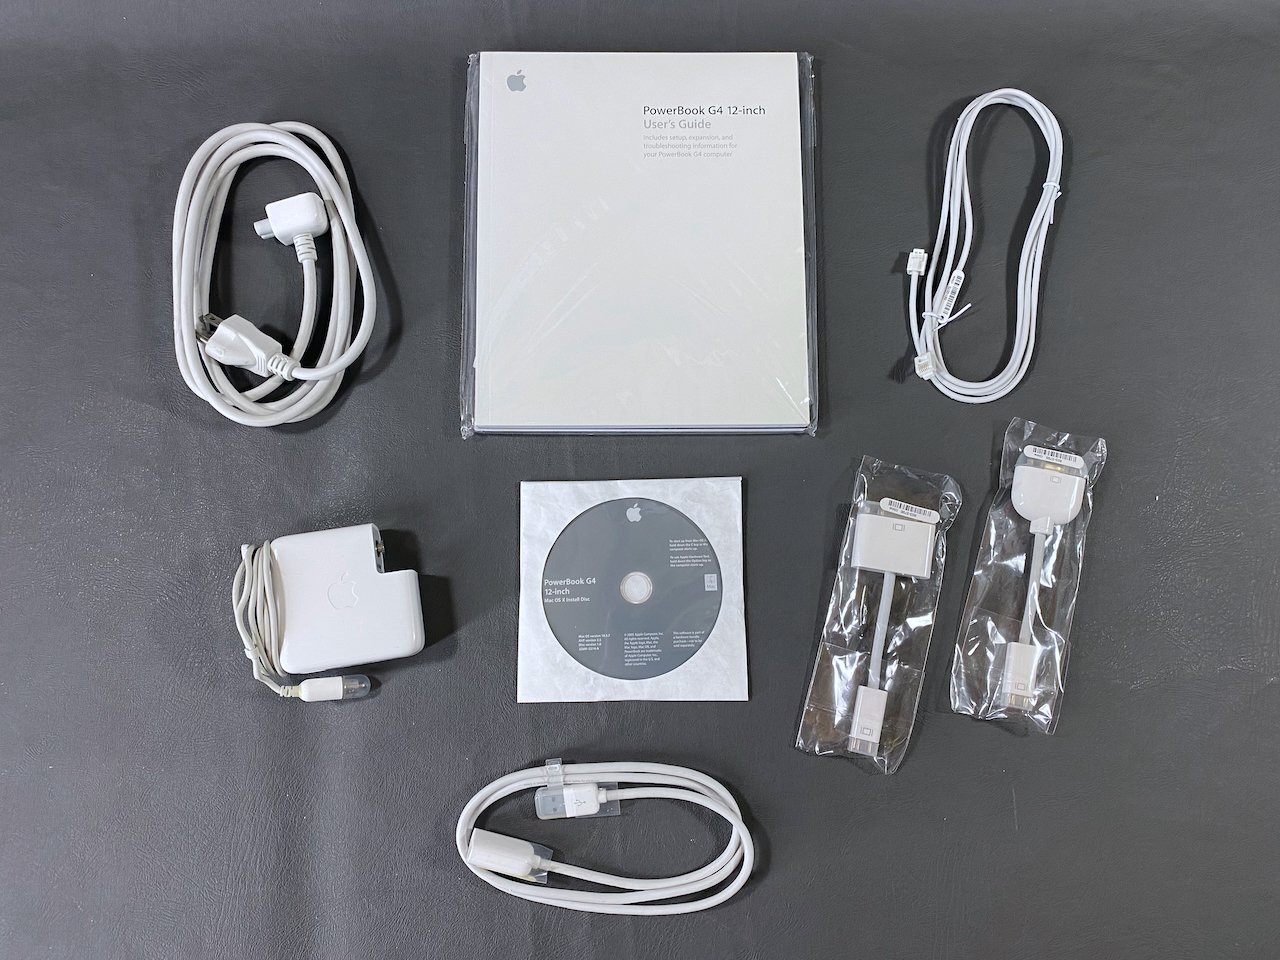
Power cable, USB extender cable, modem cable, mini-DVI-to-VGA adapter, mini-DVI-to-DVI adapter, software CDs, and documentation. The AC adapter still even has the original plastic cap to protect the tip.

User’s guide, warranty info, software license agreement, AppleCare guide, OS X Panther documentation, software coupons, product registration info, AirPort Extreme and Bluetooth regulatory certifications, OS 9 and OS X CDs, and the original Apple stickers.
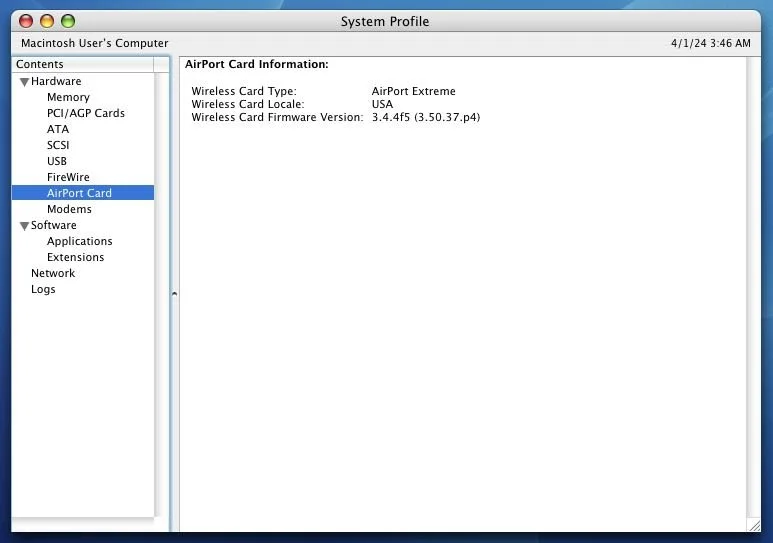
System Specs


mSATA SSD Installation

This upgrade makes the computer quieter, faster, and more reliable. I chose to install a 128 GB mSATA SSD using an mSATA-to-IDE 2.5” adapter housing.
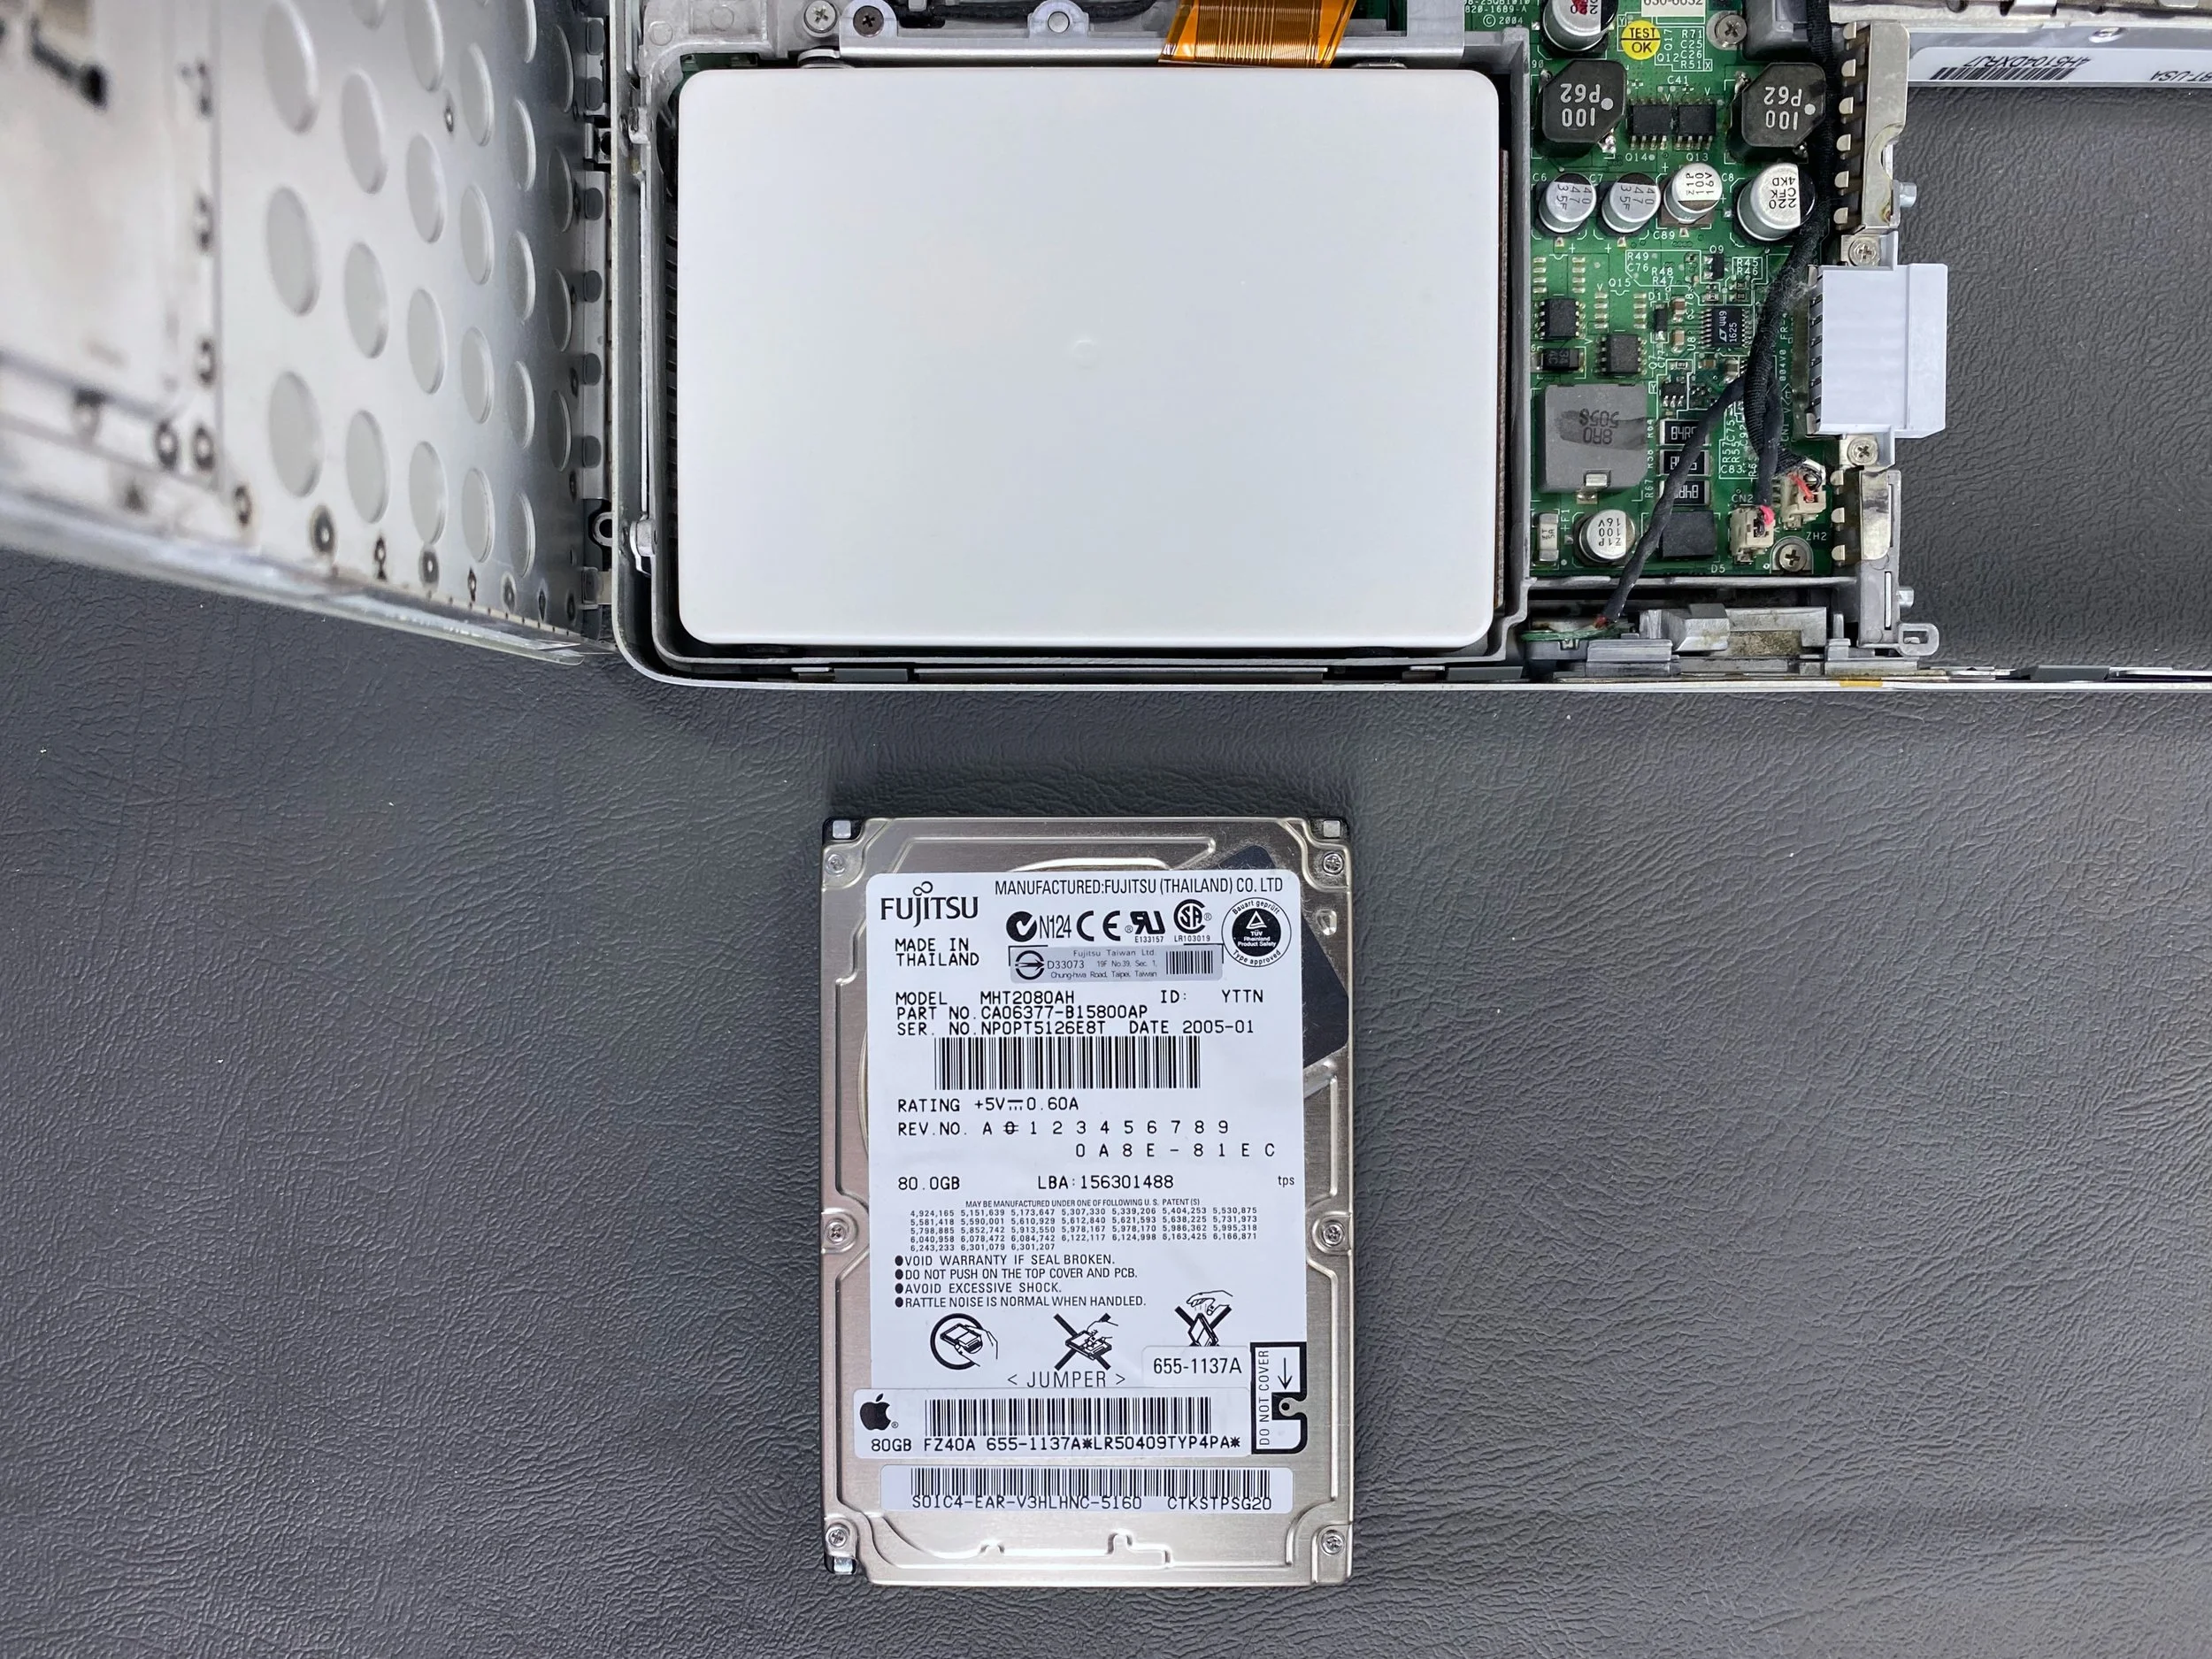
The SSD (top) slots directly in to where the original HDD (bottom) was installed, using the OEM IDE cable harness and installation bracket.