PowerBook G3
‘PDQ’ / ‘Wallstreet II’
History
Introduced: September 1, 1998
Discontinued: May 10, 1999
Original Retail Price: $2,799 (233 Mhz model)
Model #: M4753
Tech Specs
Display: 14.1” TFT LCD
Processor: 233 MHz PowerPC G3
RAM: 320 MB (upgraded)
Hard Drive: 64 GB SSD (upgraded)
Optical Drive: CD-ROM
OS: 9.1
Condition & Notes
This unit is in excellent condition, and was purchased from the original owner who used it lightly and never traveled with it. It is complete with all the original packaging, power adapter, three hot-swappable expansion bay modules (battery, DVD-ROM, 3.5” floppy), software CDs, documentation, and even the original Apple stickers.
The “PDQ” (“Pretty D___ Quick”), a.k.a. “Wallstreet II” PowerBook G3 models were nearly identical to the “Wallstreet [I]” models that came before them. The only differences included a standard 14.1” LCD display (the Wallstreet models came with either 12.1”, 13.3”, or 14.1” displays), a standard 66 MHz system bus, and other very minor tweaks.
In 2024 I replaced the existing hard drive with a 64 GB SSD. HDD to SSD conversion is a common technique used in vintage computer preservation, as the original hard drives are prone to failure due to age. This upgrade also makes the computer quieter, faster, and more reliable. Scroll to the bottom of the page for more on this.
It is in fully working order, and is currently running Mac OS 9.1.
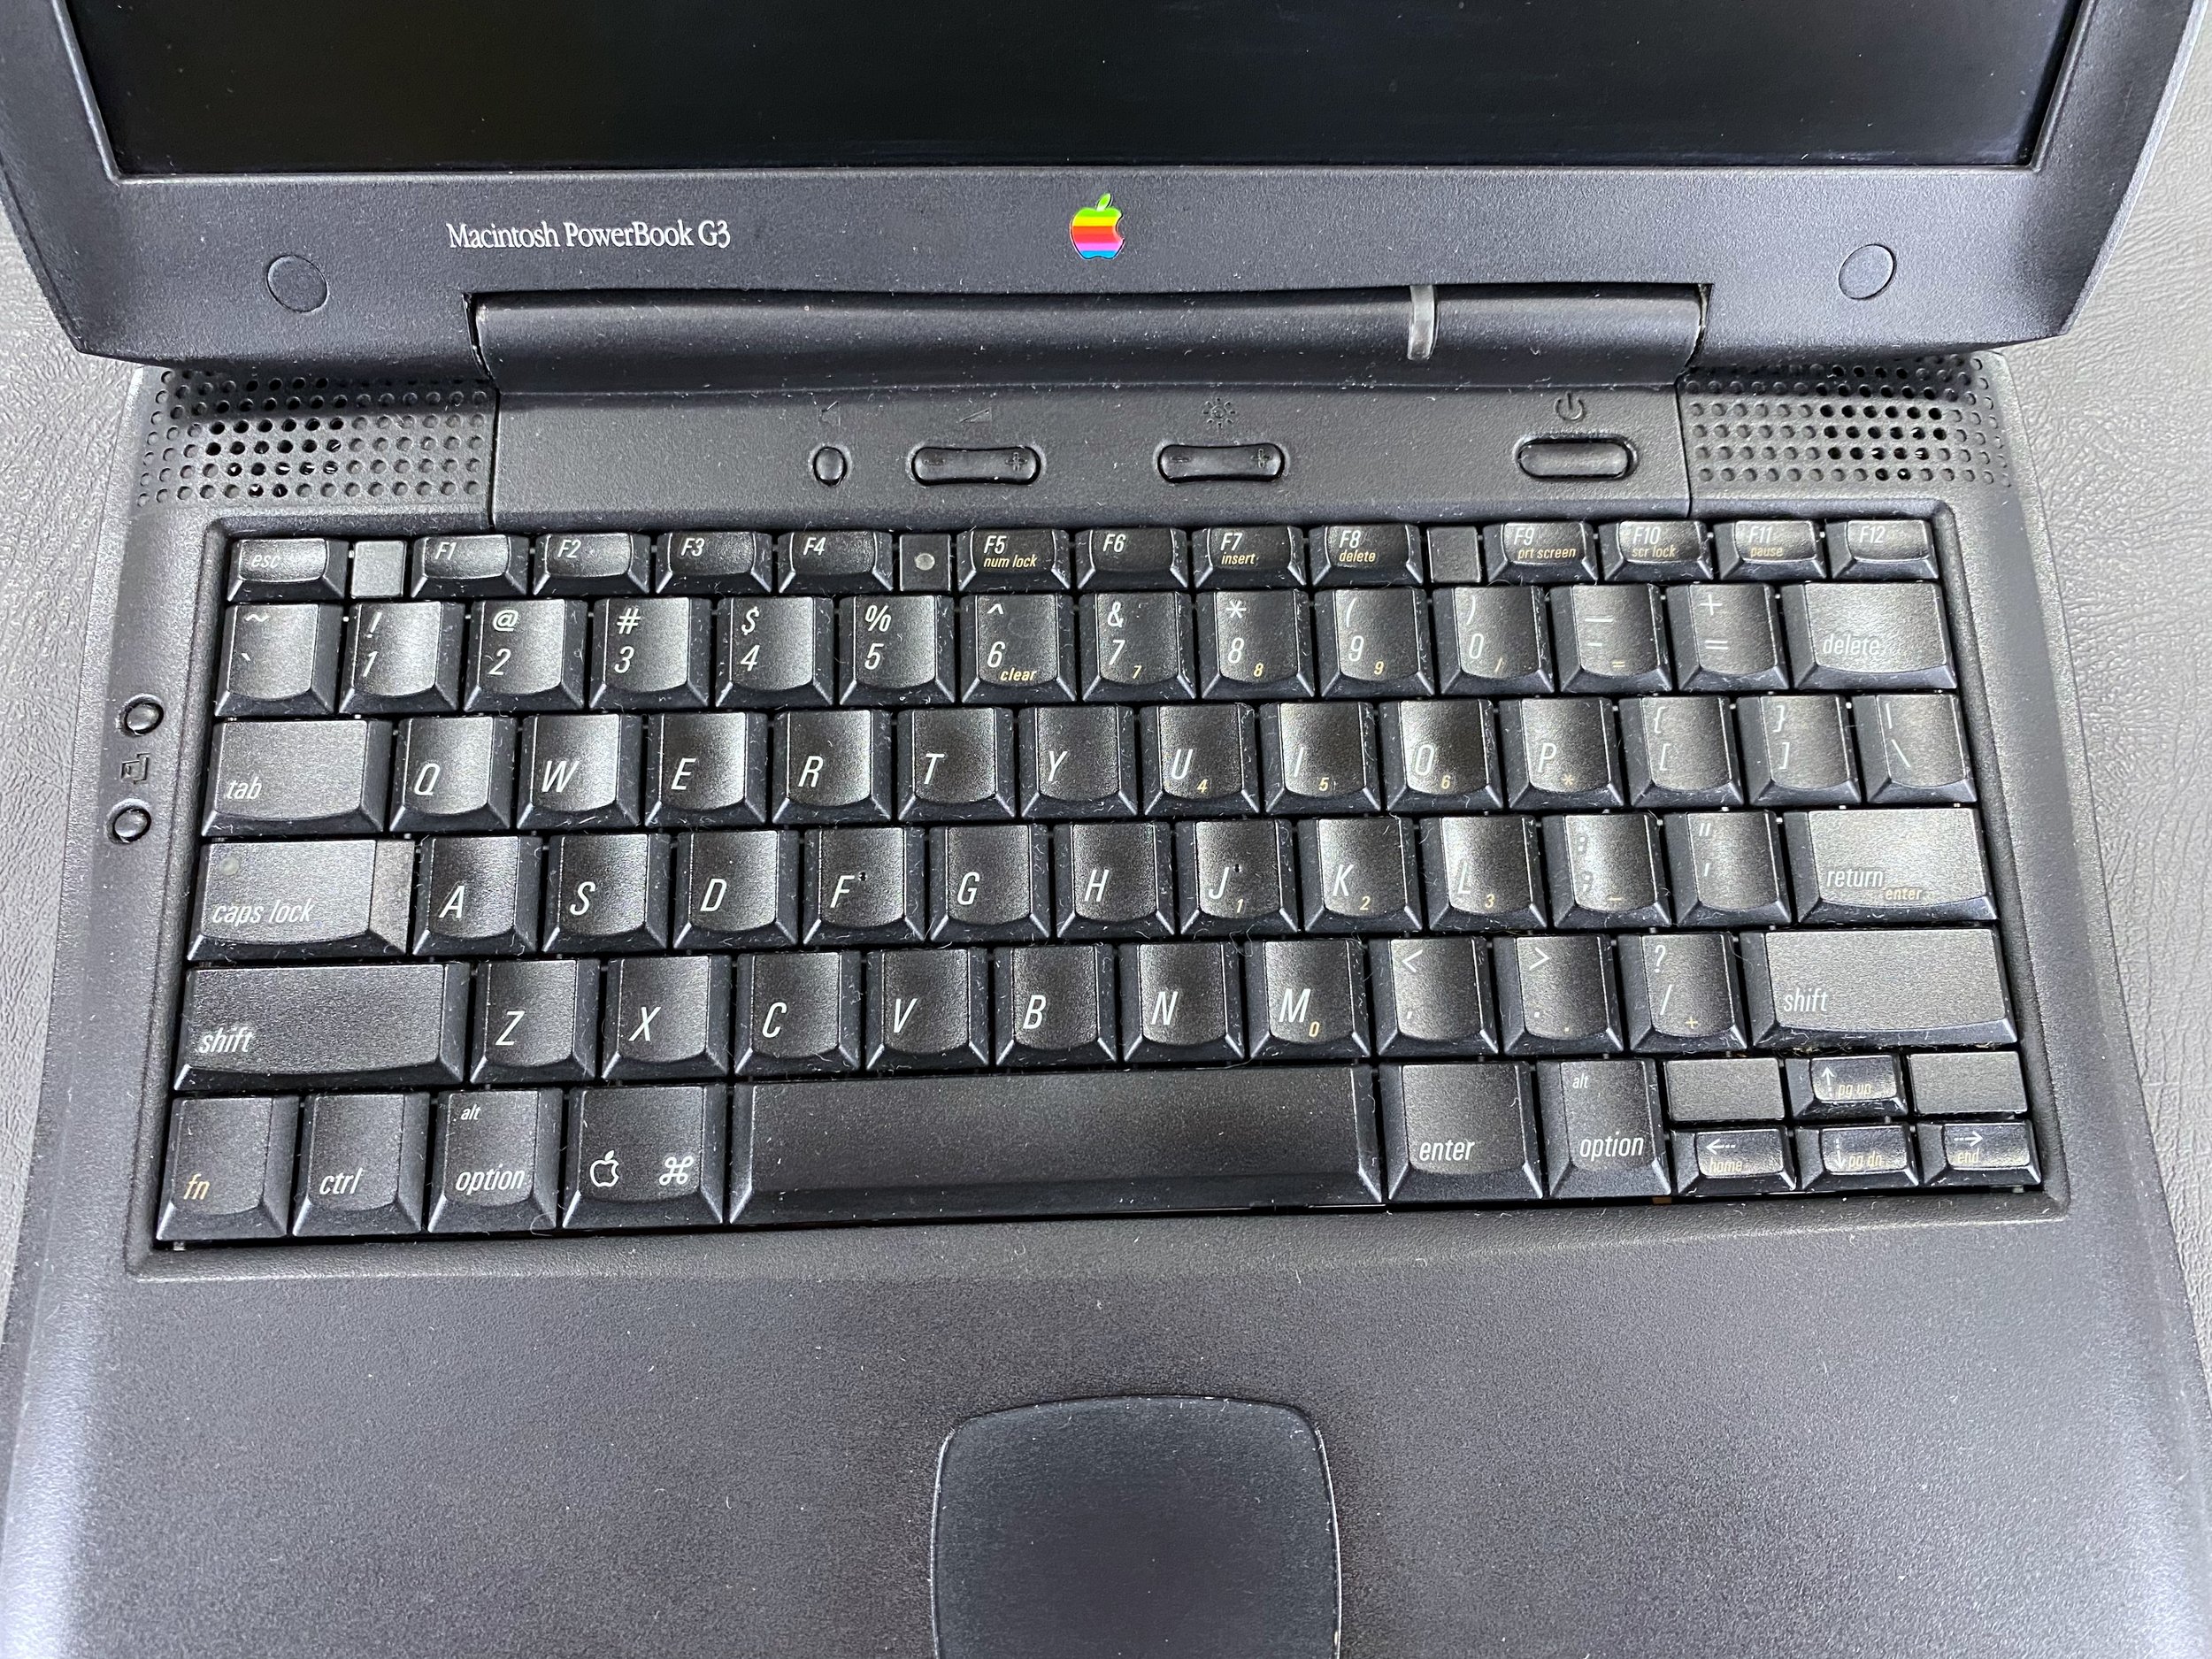
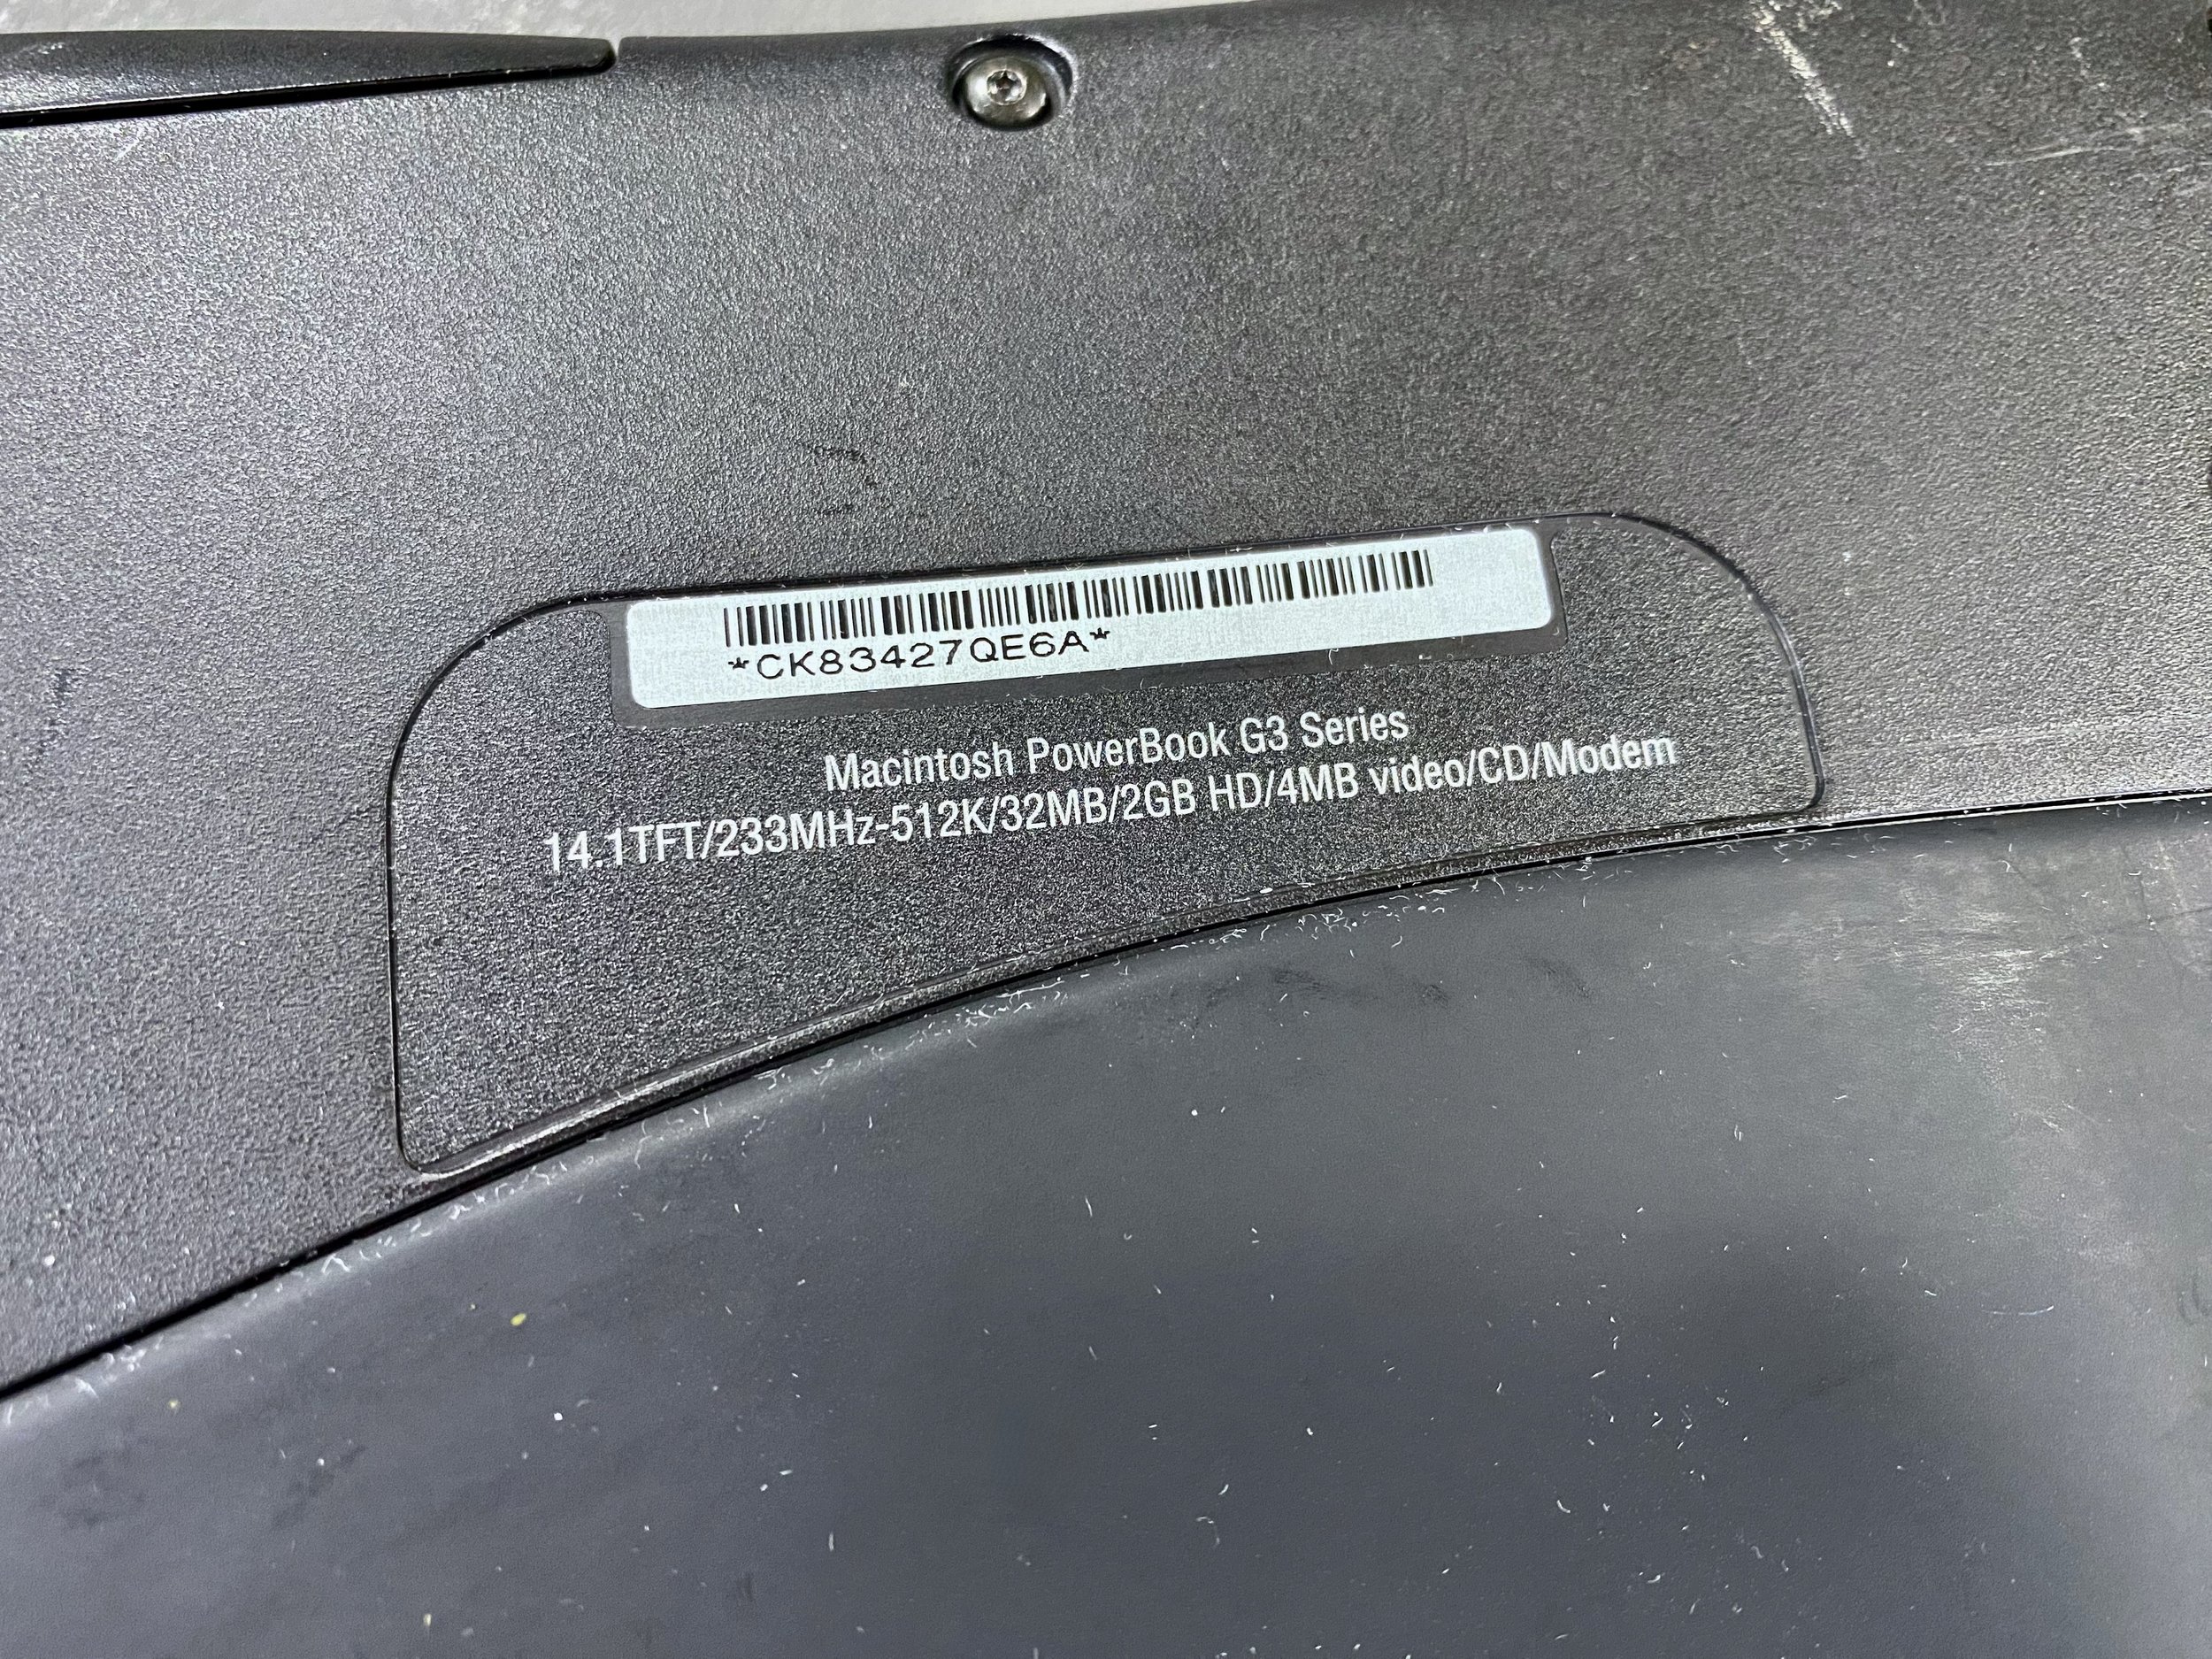
Model Identifier

This particular machine is the entry-level 233 MHz PDQ model.
Packaging


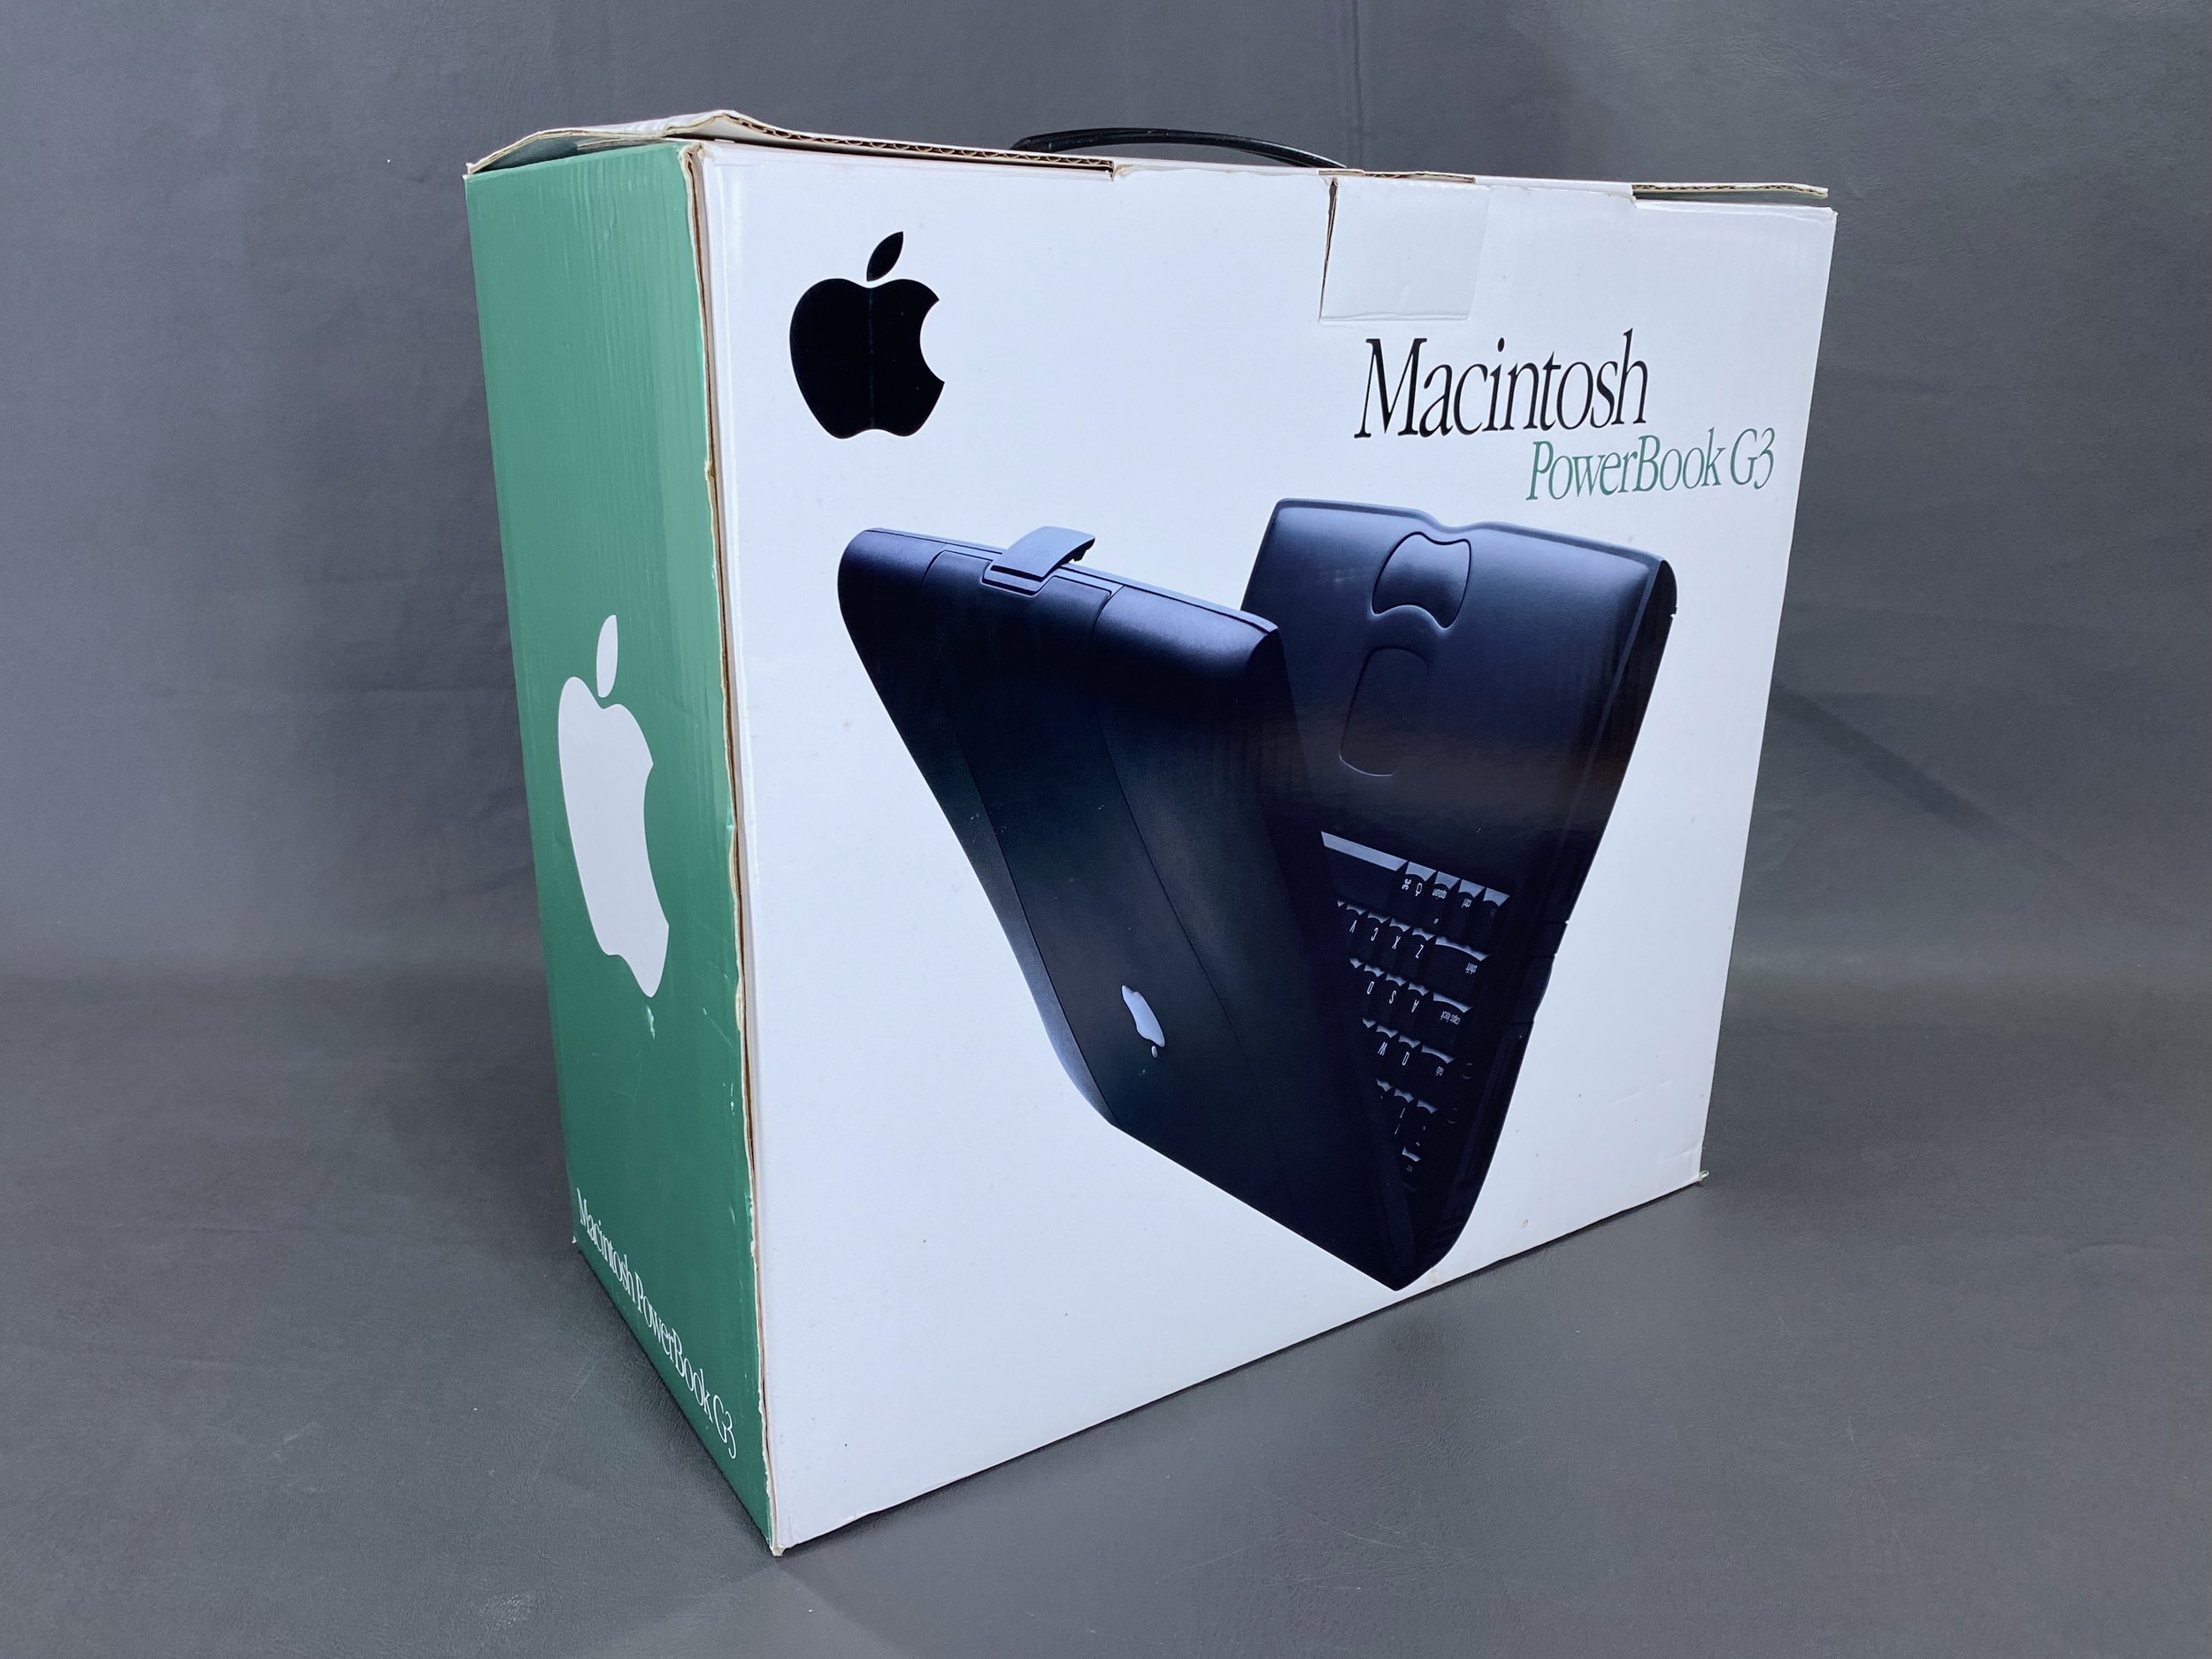


PowerBook


Accessory Kit
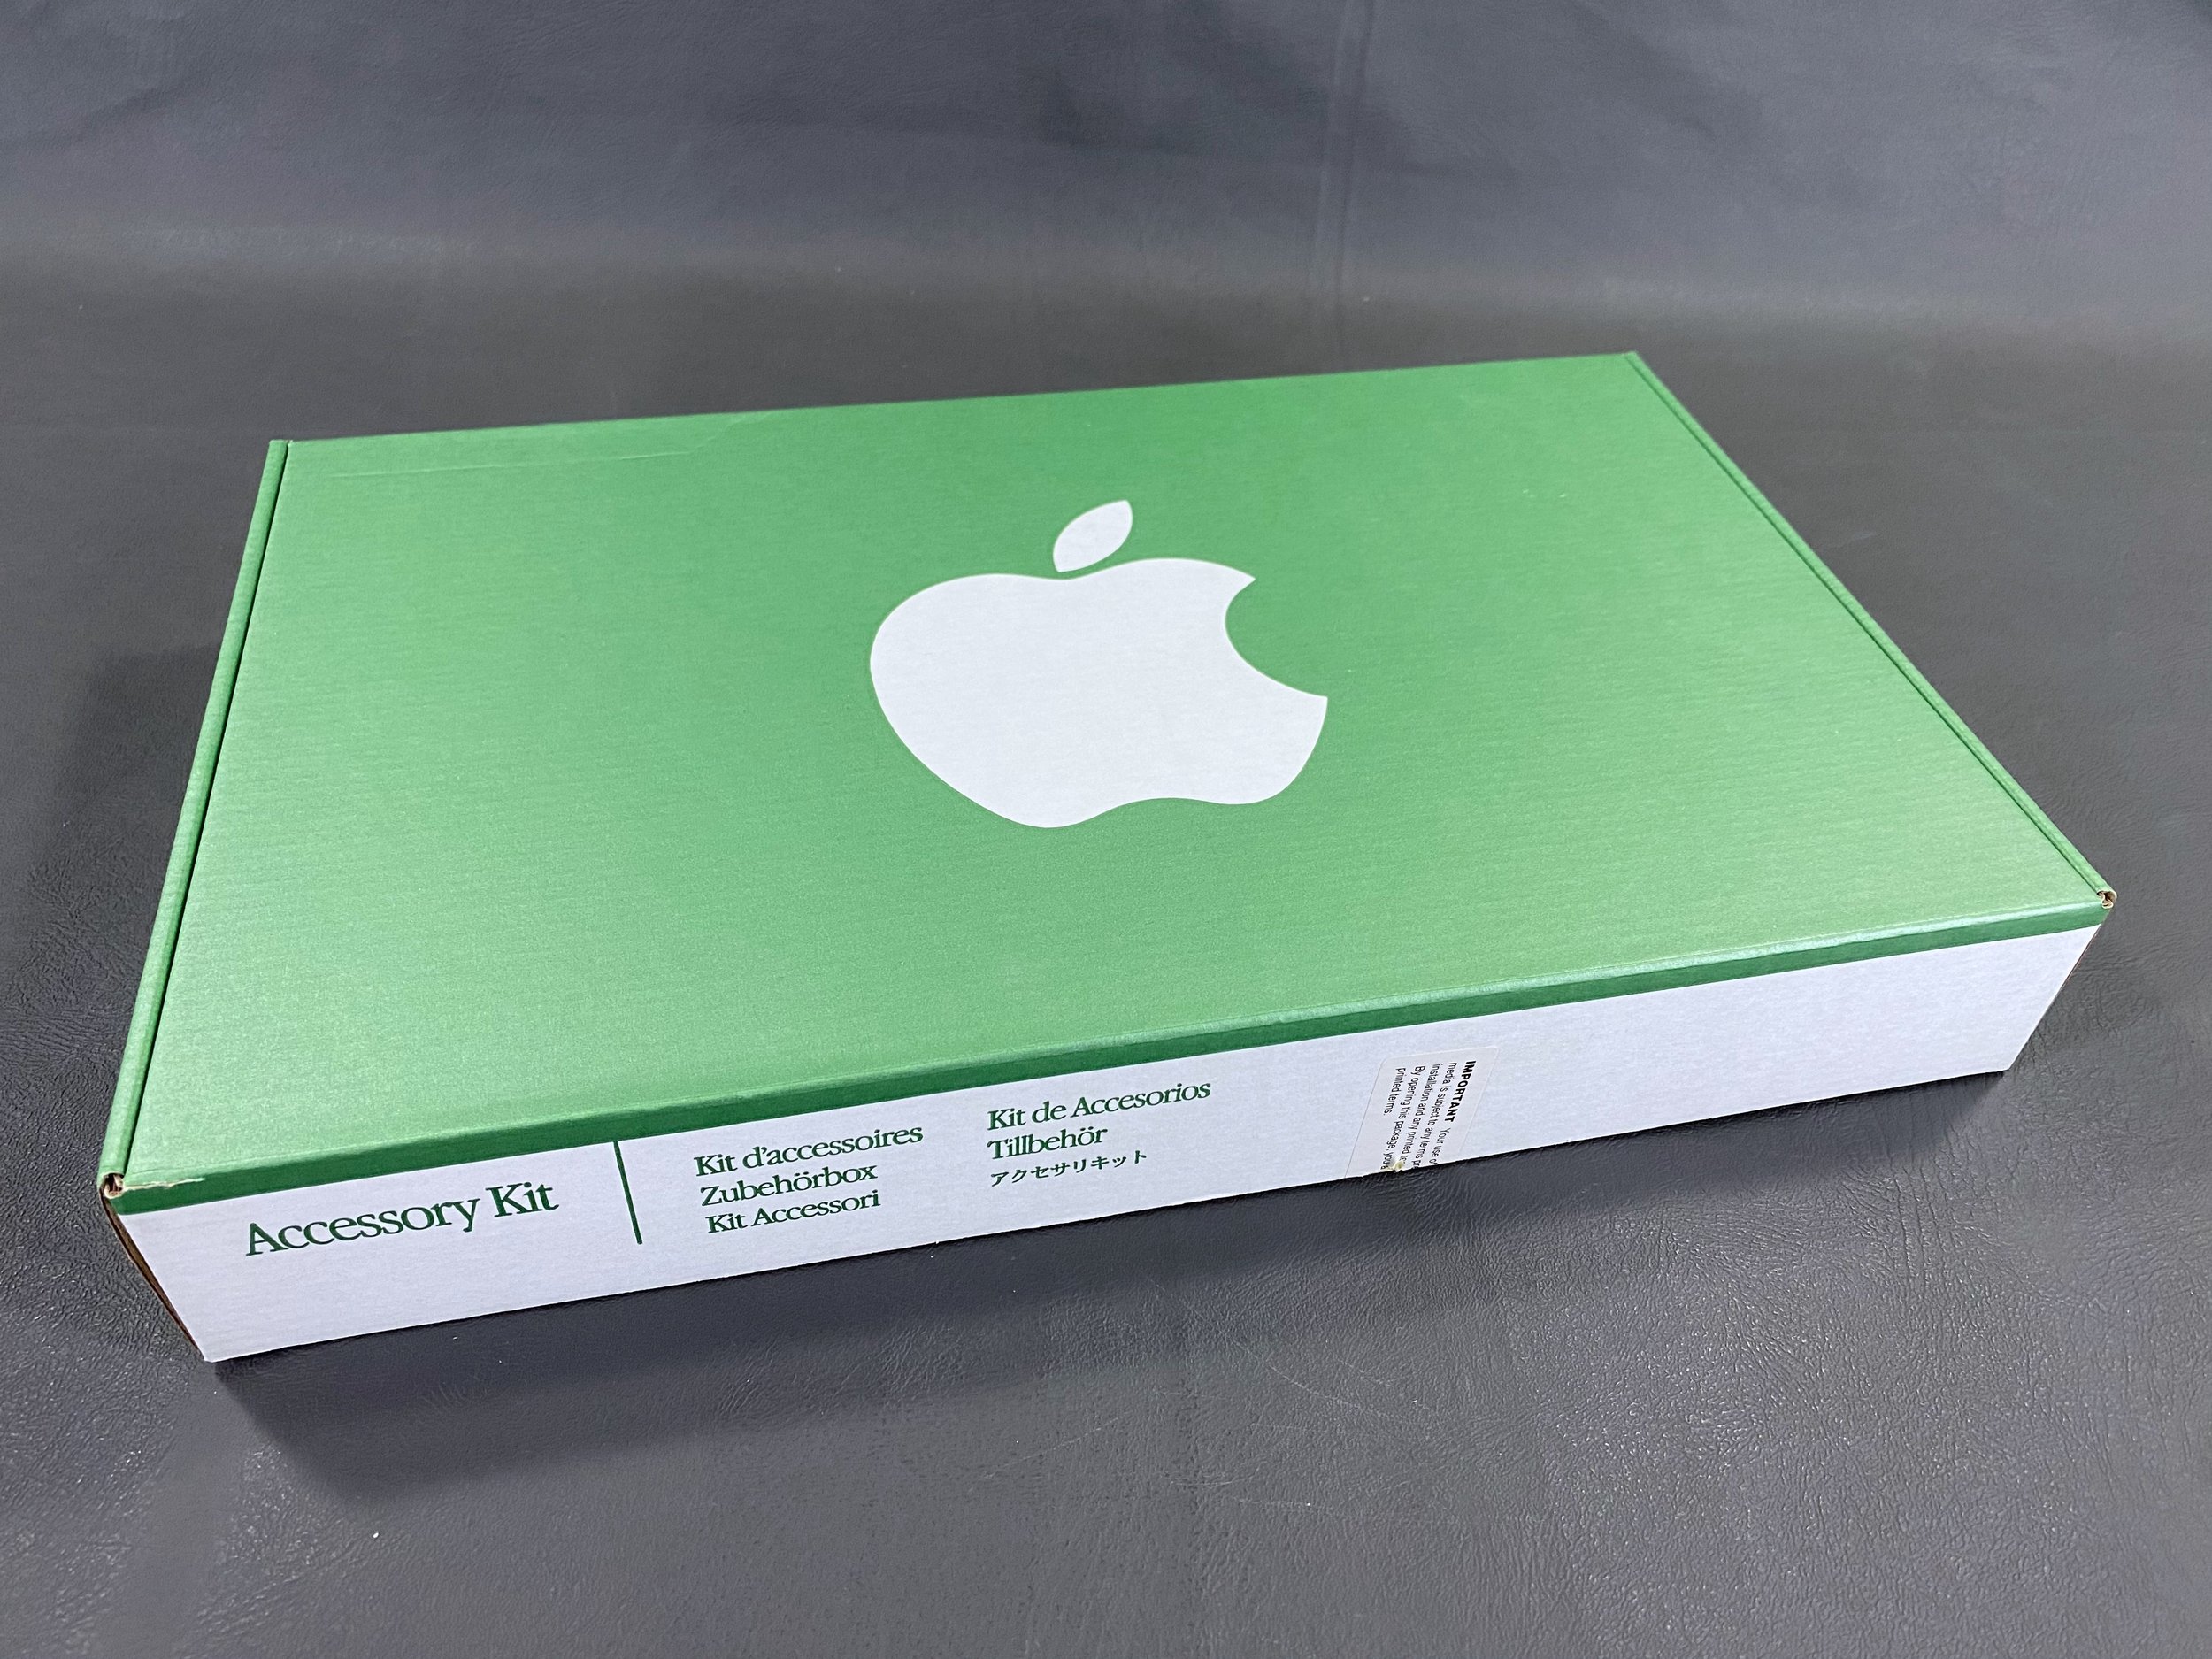


User’s manual, emergency handbook, technical/warranty/license info, power adapter and AC cable, three expansion bay modules (battery, DVD-ROM, 3.5” floppy), software CD, and Apple stickers.
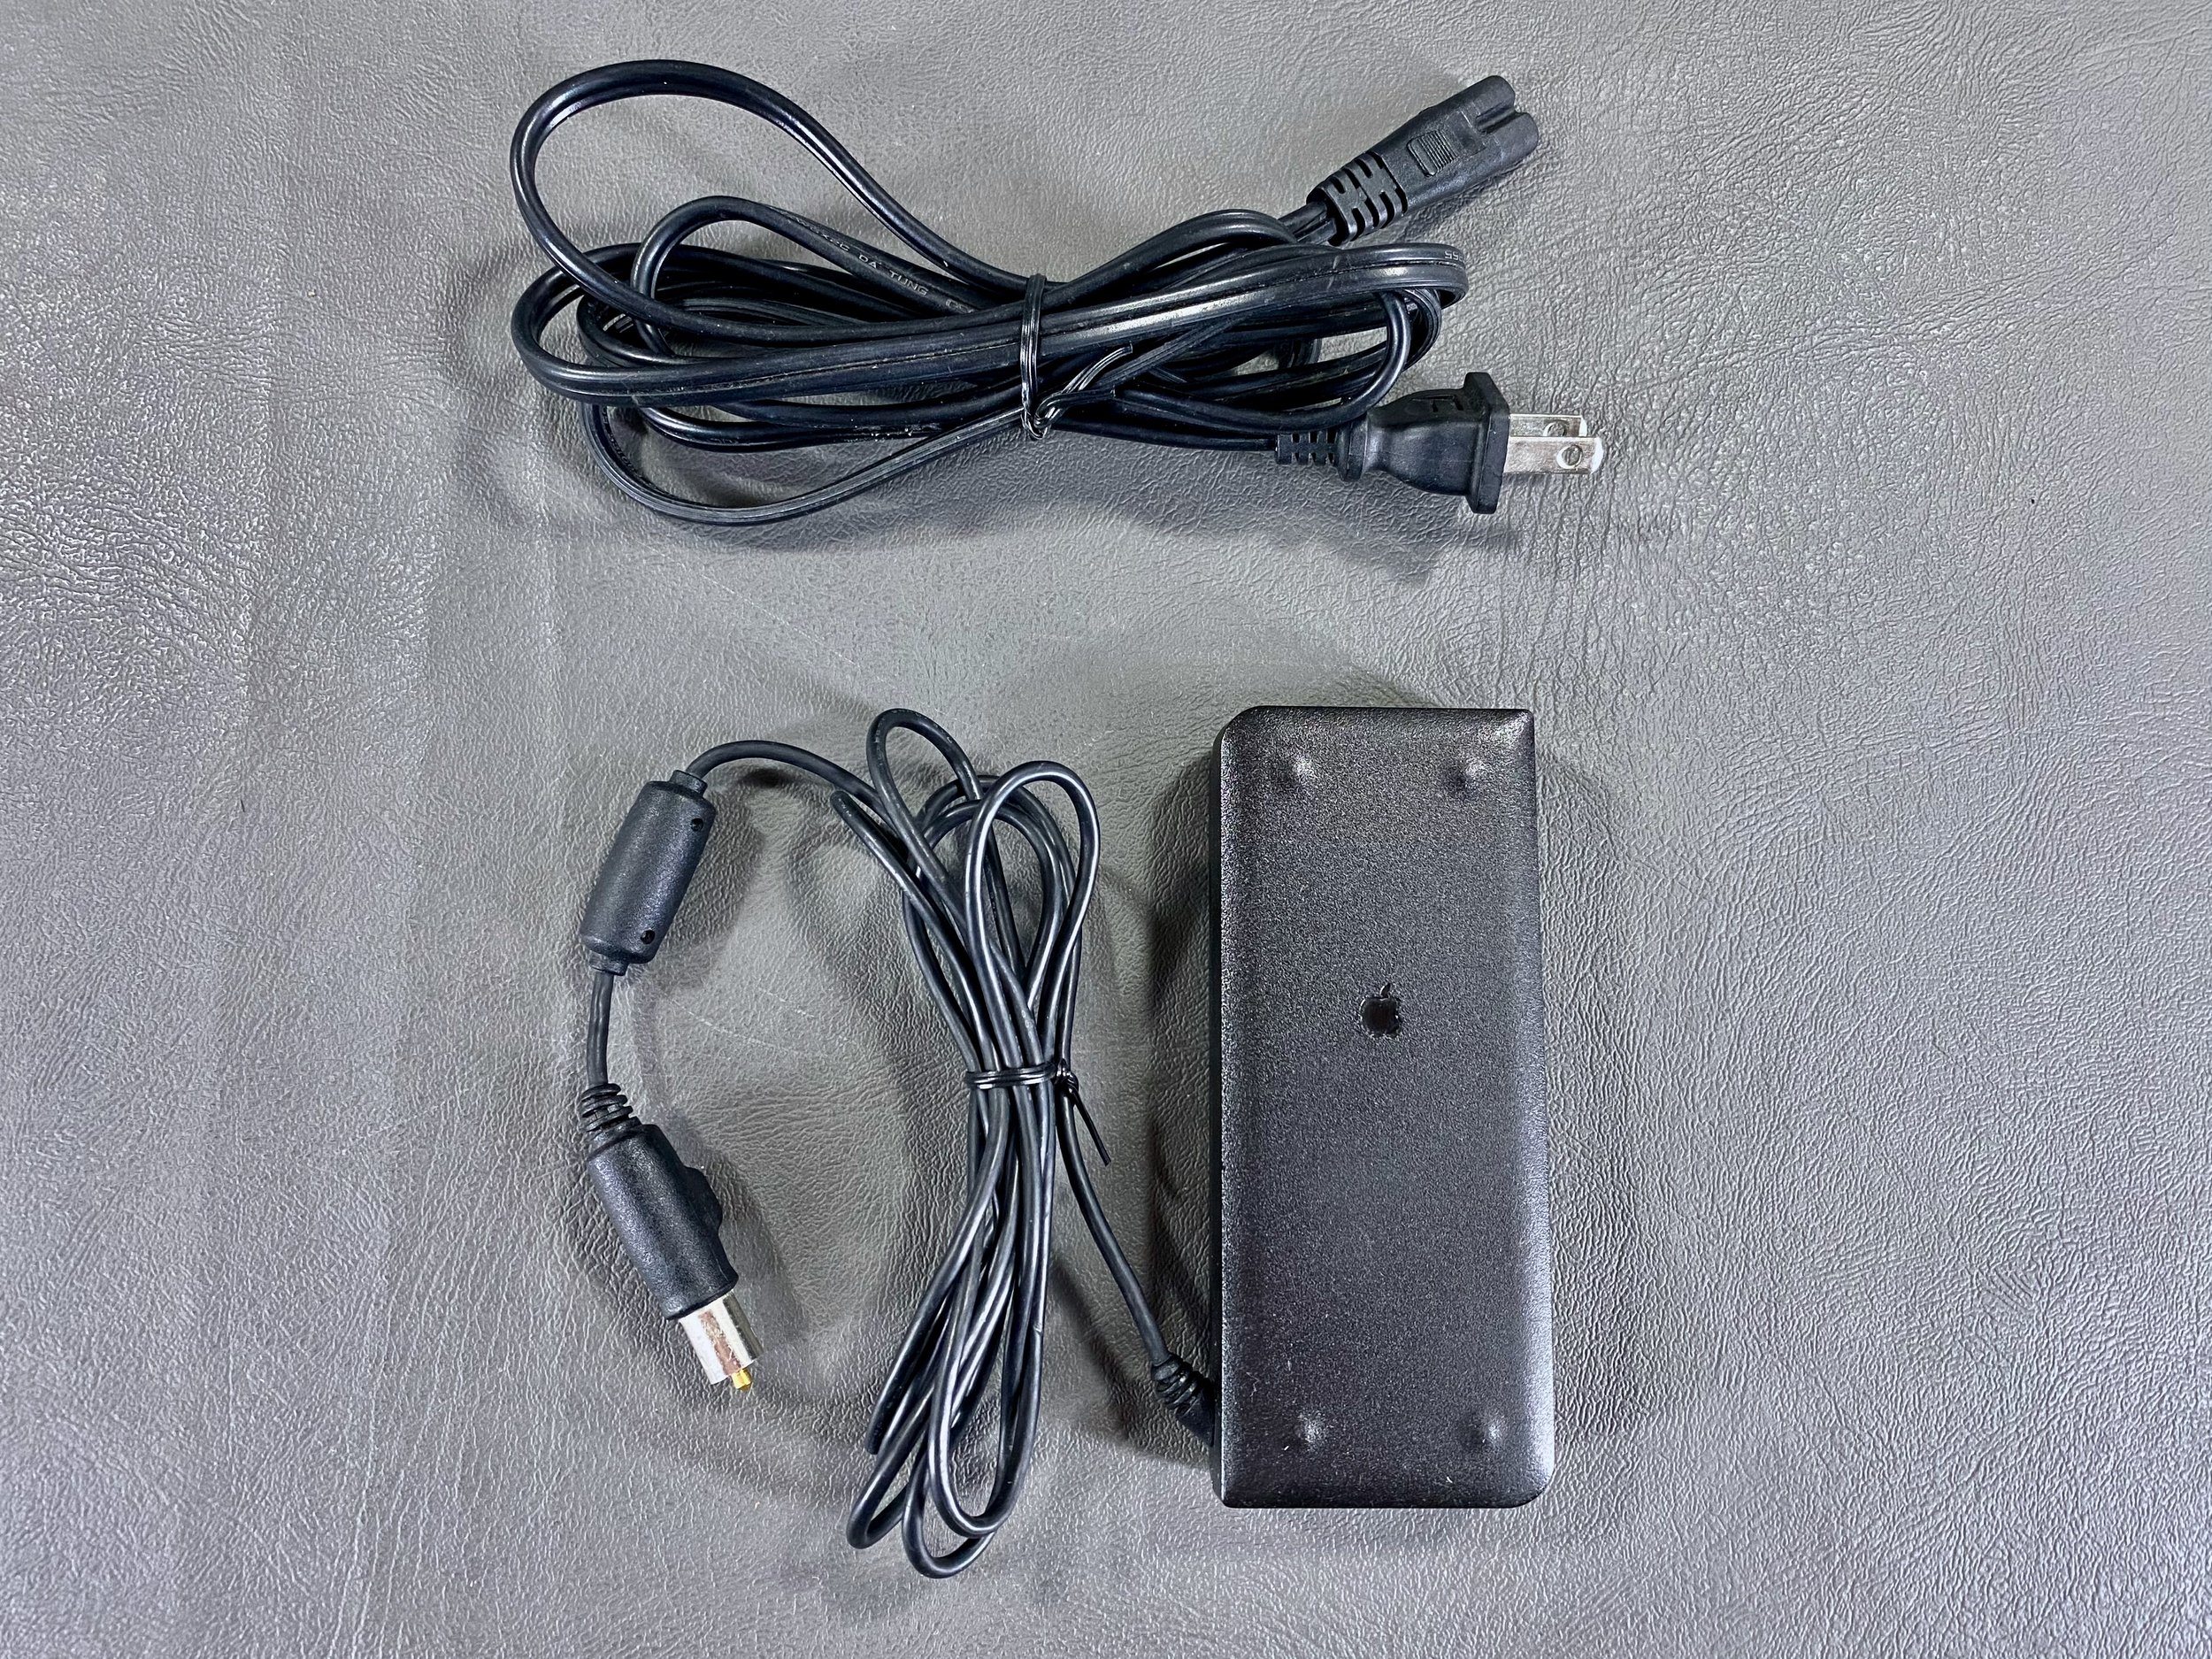
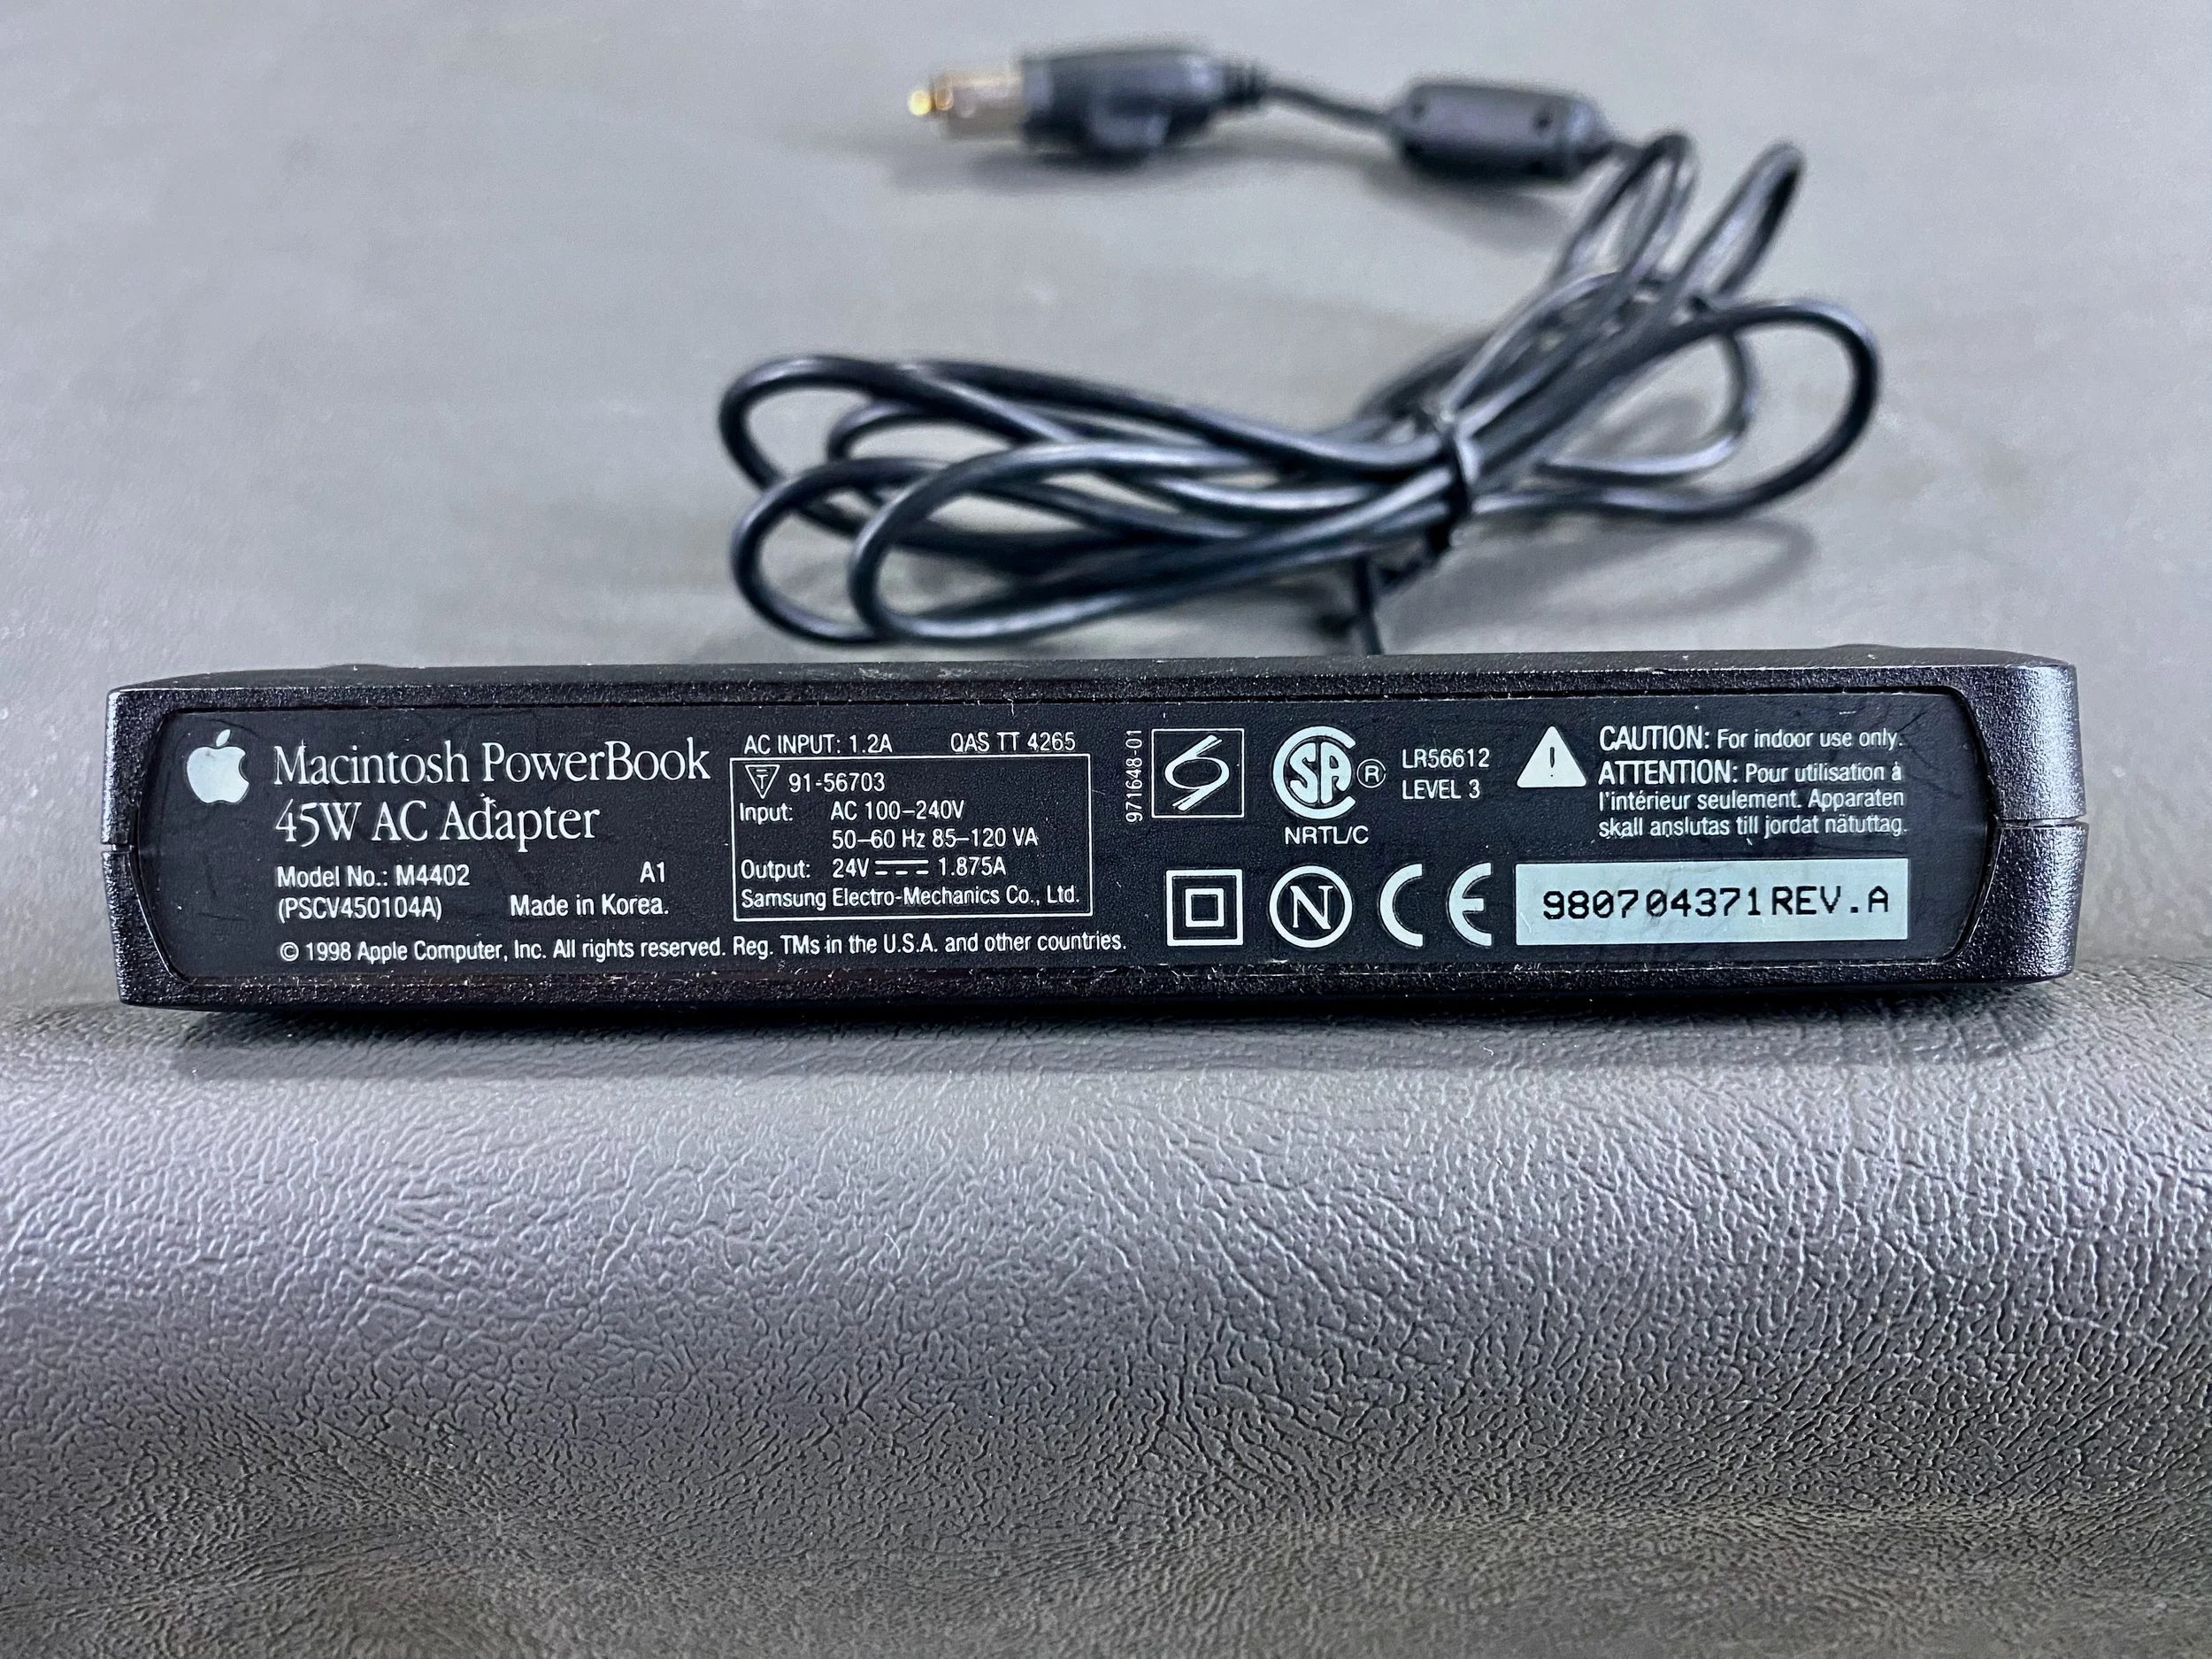
Close-up of the original 45W AC adapter for this PDQ. This pre-dates the “yo-yo” style chargers that shipped with later PowerBooks.
System Specs


mSATA SSD Installation

This upgrade makes the computer quieter, faster, and more reliable. I chose to install a 64 GB mSATA SSD using an mSATA-to-IDE 2.5” adapter housing.

The SSD (left) slots directly in to where the original HDD (right) was installed, using the OEM IDE cable harness and installation bracket.
The existing HDD was not an OEM part and was dated 2004, so it had already been replaced by a previous owner anyway.
Teardown Photos

The PRAM battery pack (in this machine, the brown item seen at front-center) is located underneath the palmrest in the Wallstreet and PDQ PowerBooks, requiring nearly complete disassembly of the machine to remove it. I undertook this job shortly after acquiring the machine.
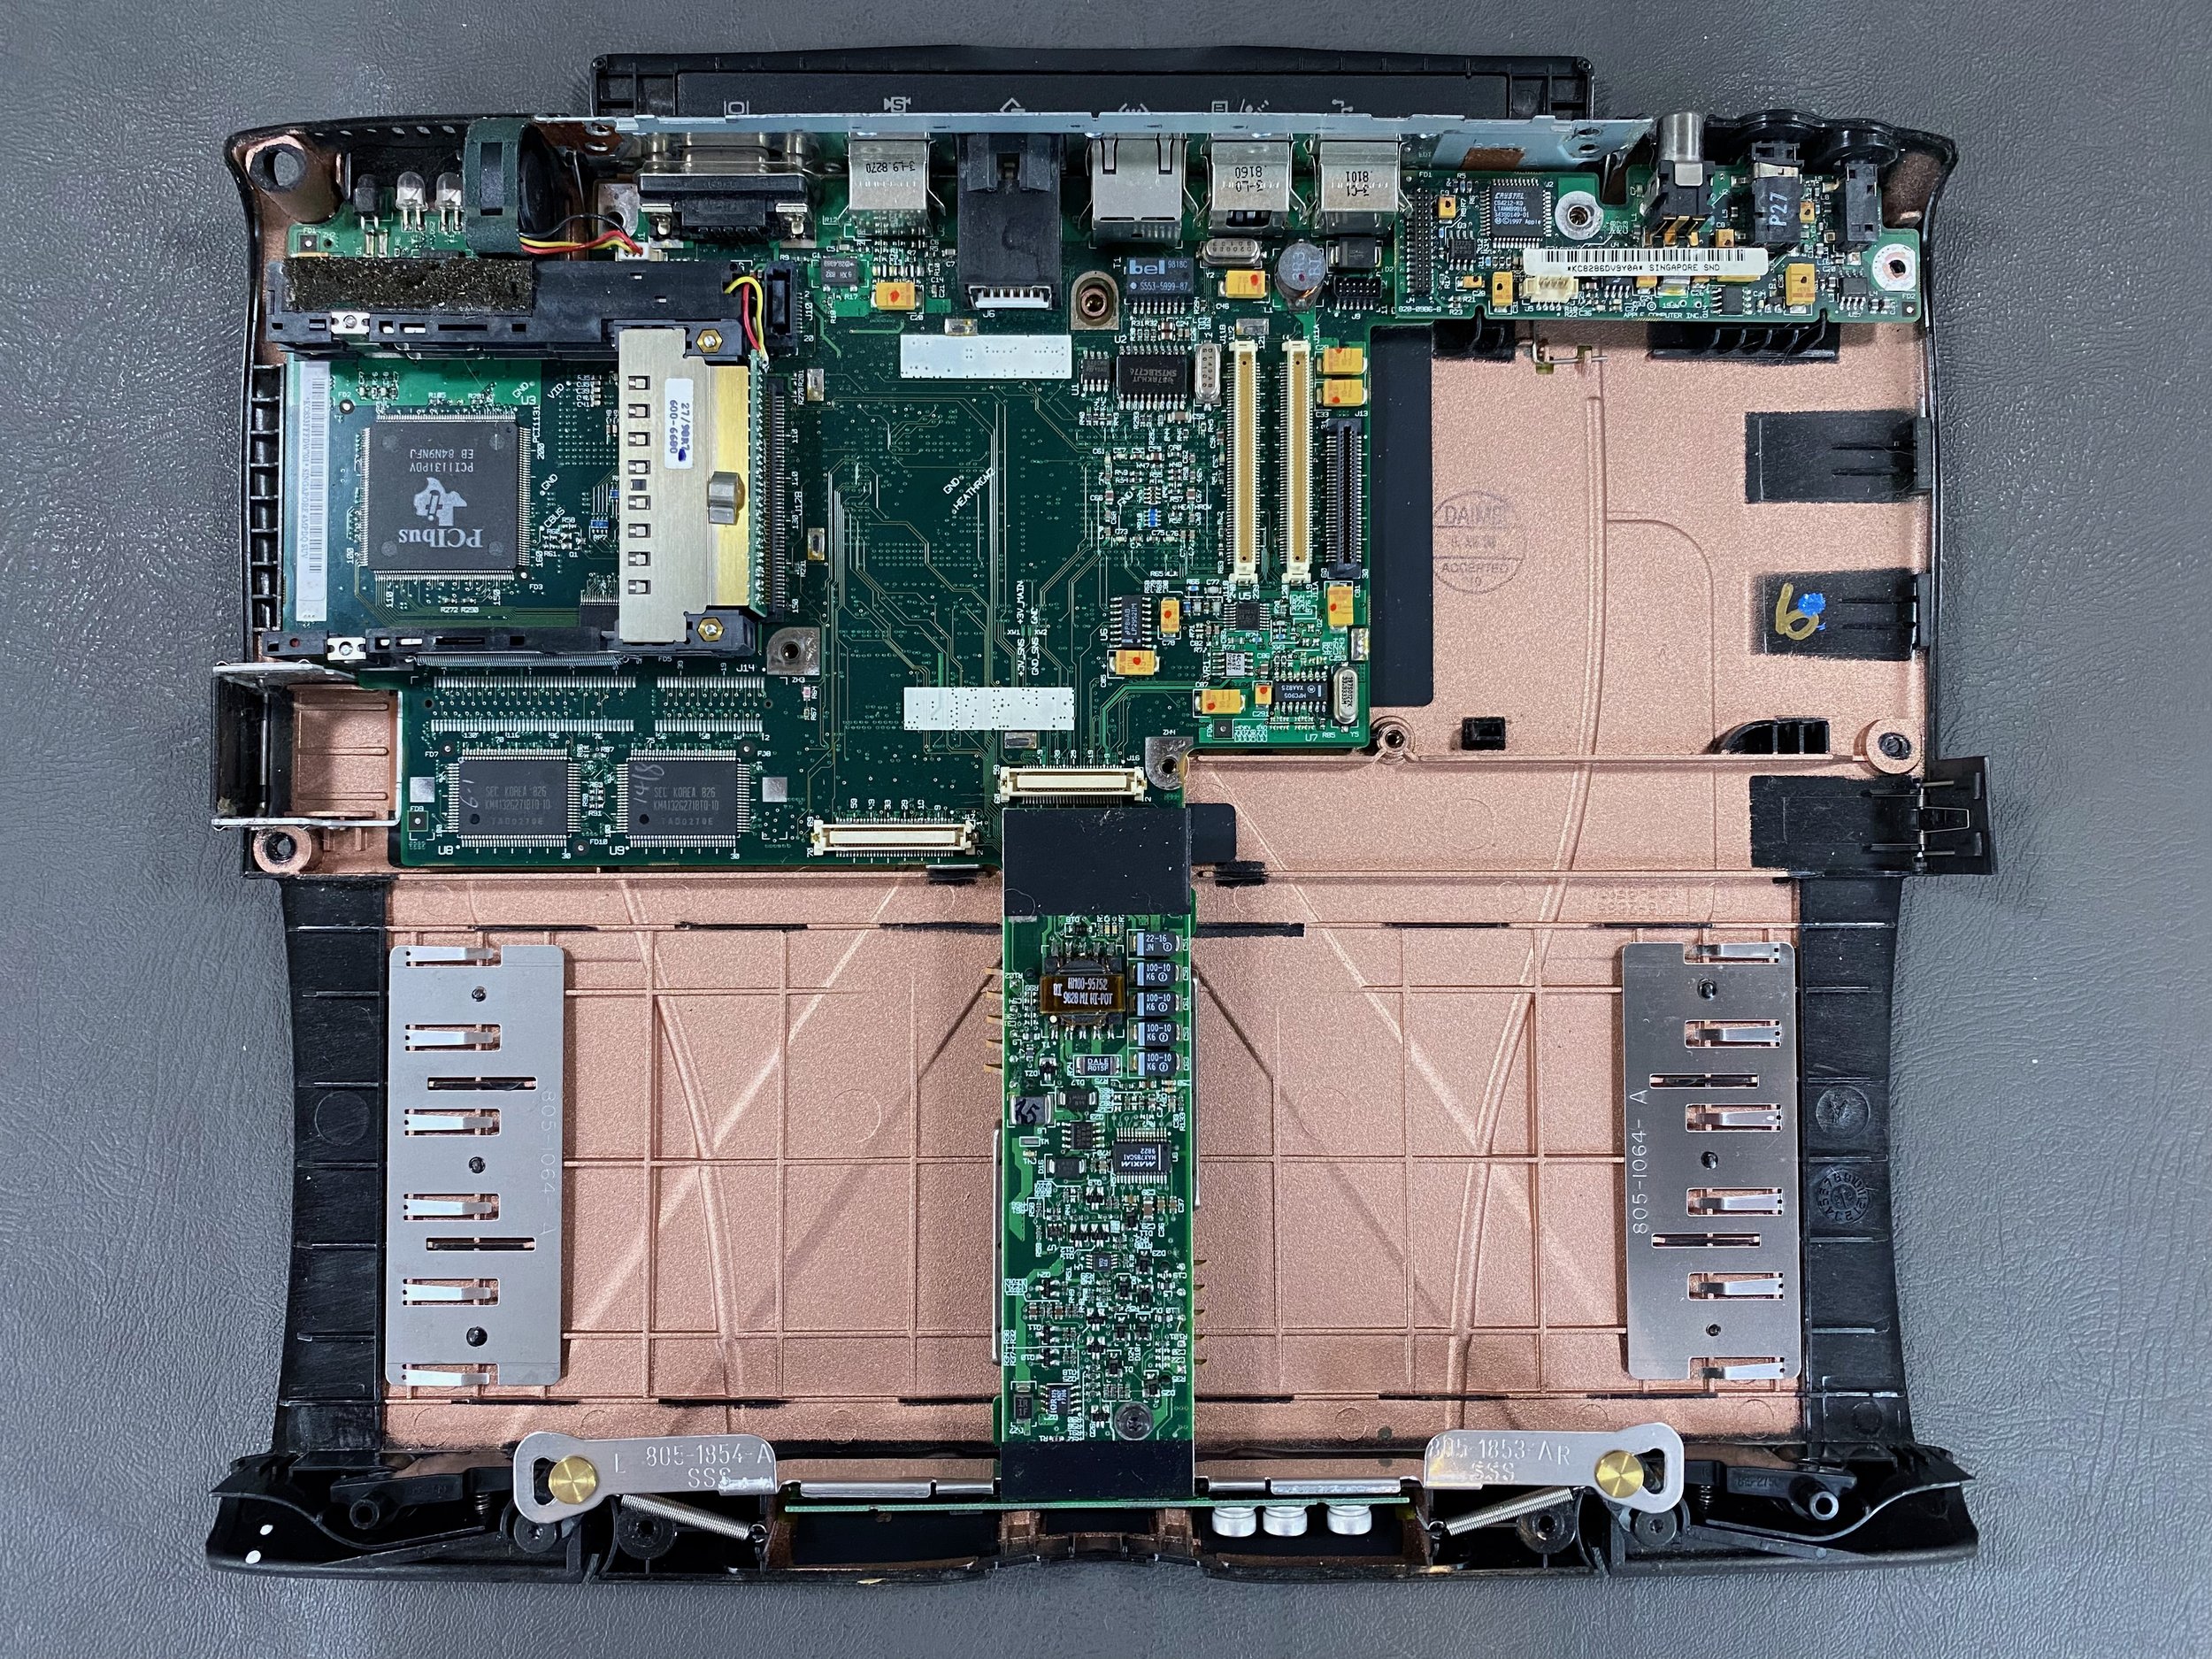
Bottom case, including motherboard, expansion bay slots, power + audio board, PC card cage, fan, and I/O door

Top case, including trackpad, PMU, keyboard latches, speakers, CPU stiffener, and PRAM battery holder (bottom right - battery already removed)