iMac G3
Tray-Loading - Bondi Blue
History
[specific to Bondi Blue model]
Introduced: August 15, 1998
Discontinued: January 5, 1999
Original Retail Price: $1,299
Model #: M4984
Tech Specs
Display: 15” CRT
Processor: 233 MHz PowerPC G3
RAM: 160 MB (upgraded)
Hard Drive: 64 GB SSD (upgraded)
Optical Drive: CD-ROM
OS: 9.1
Condition & Notes
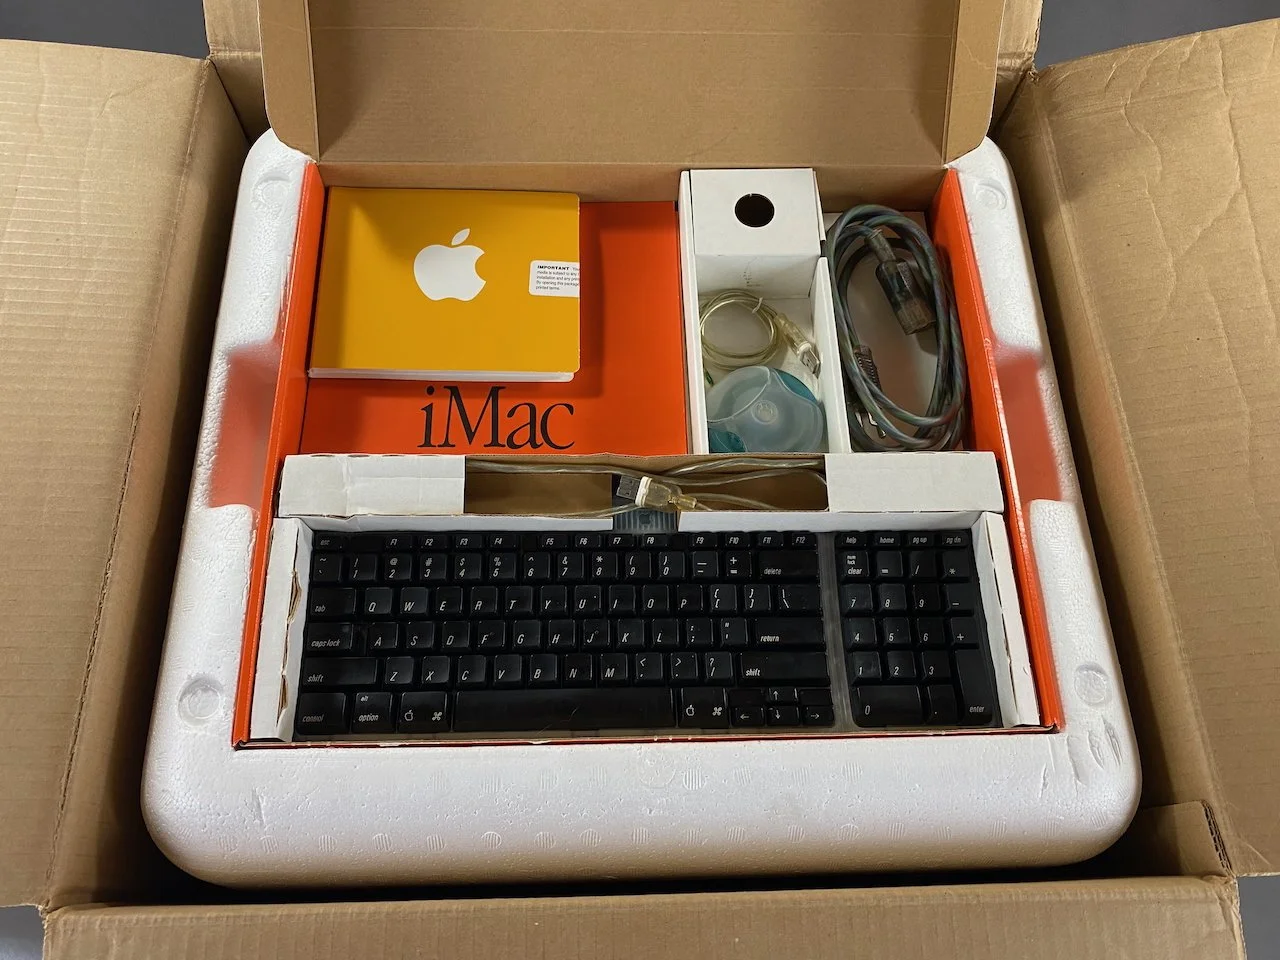
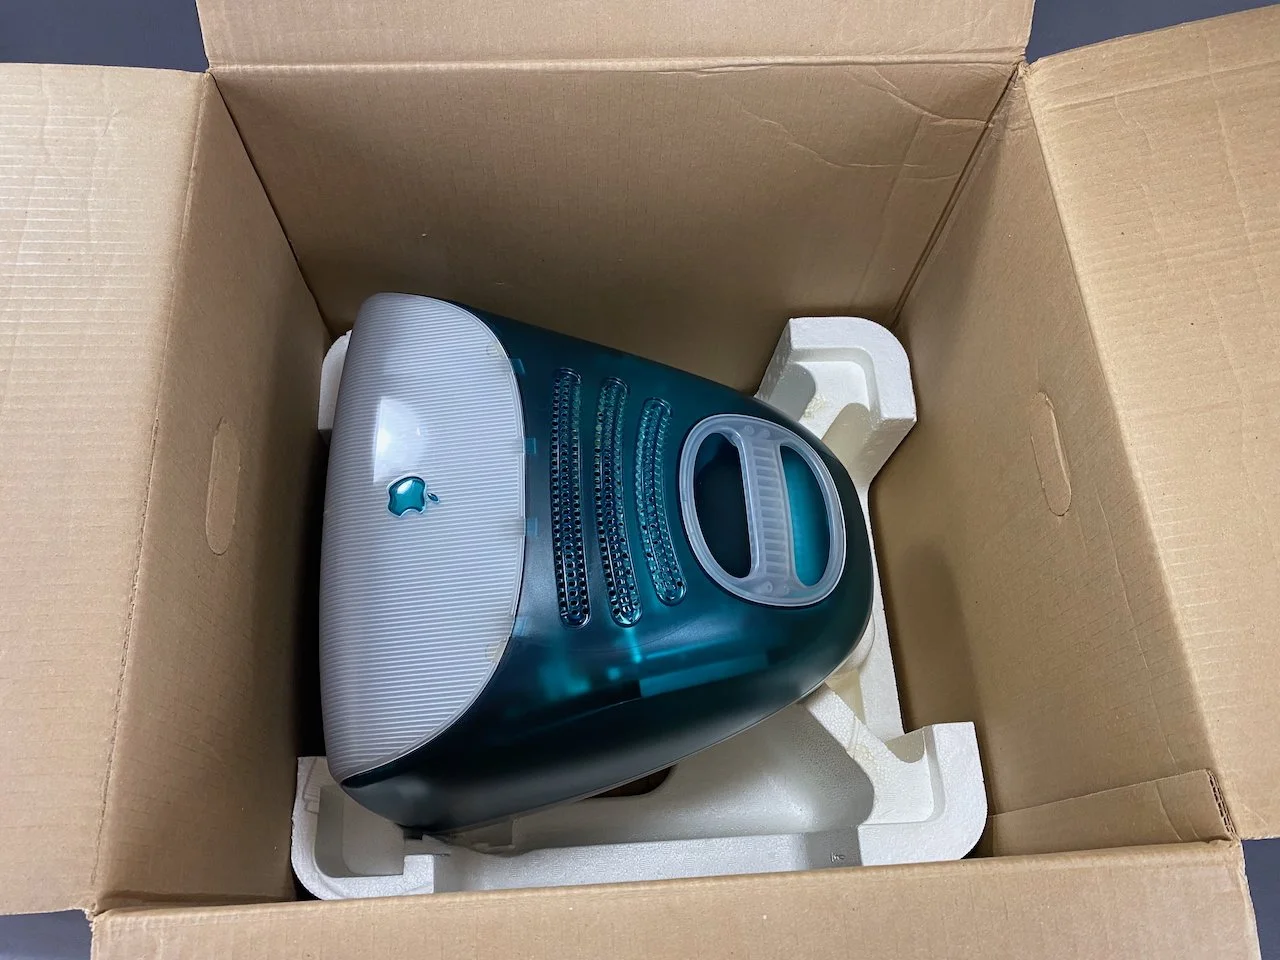
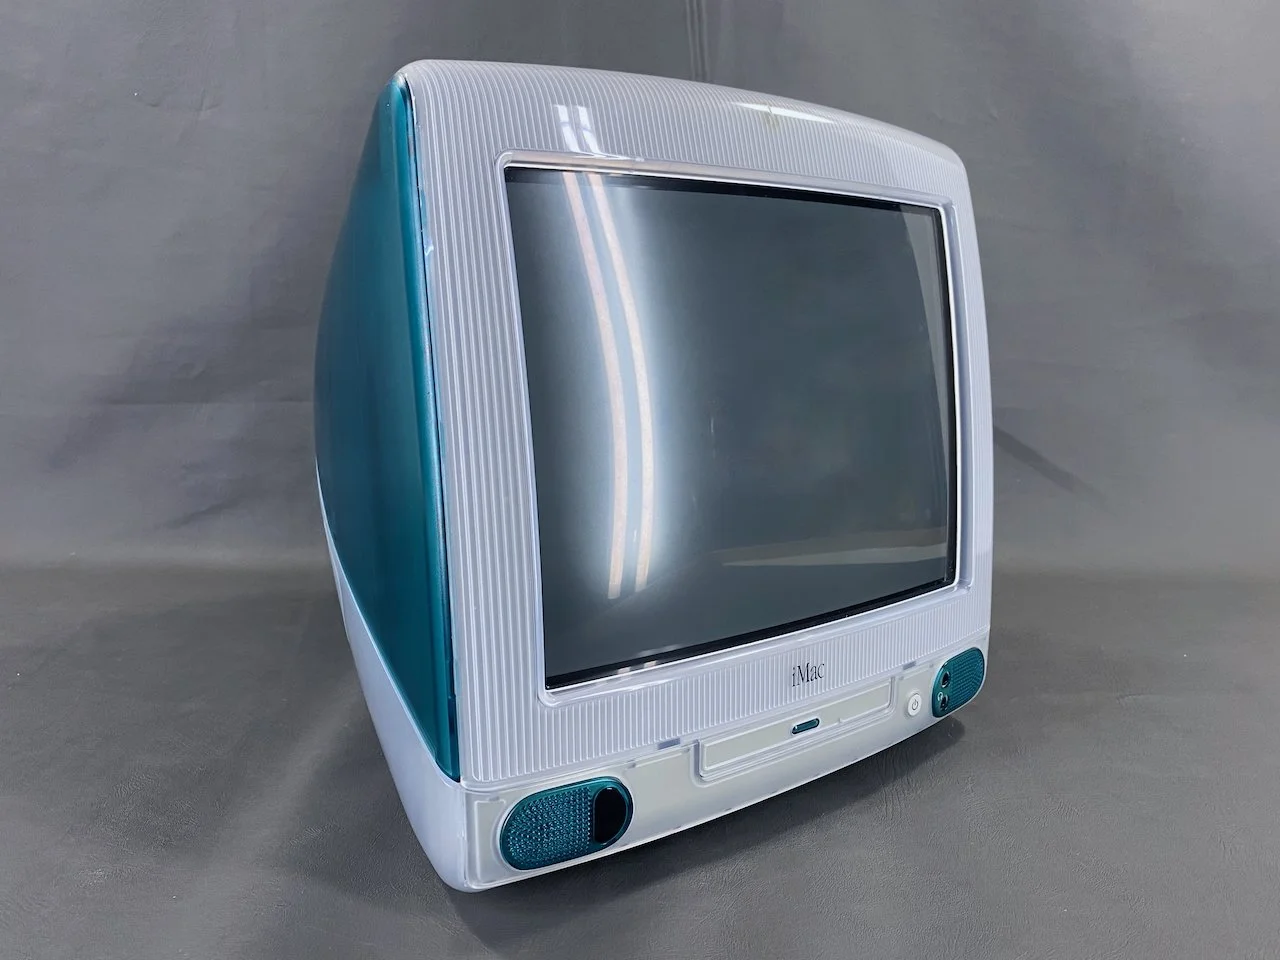
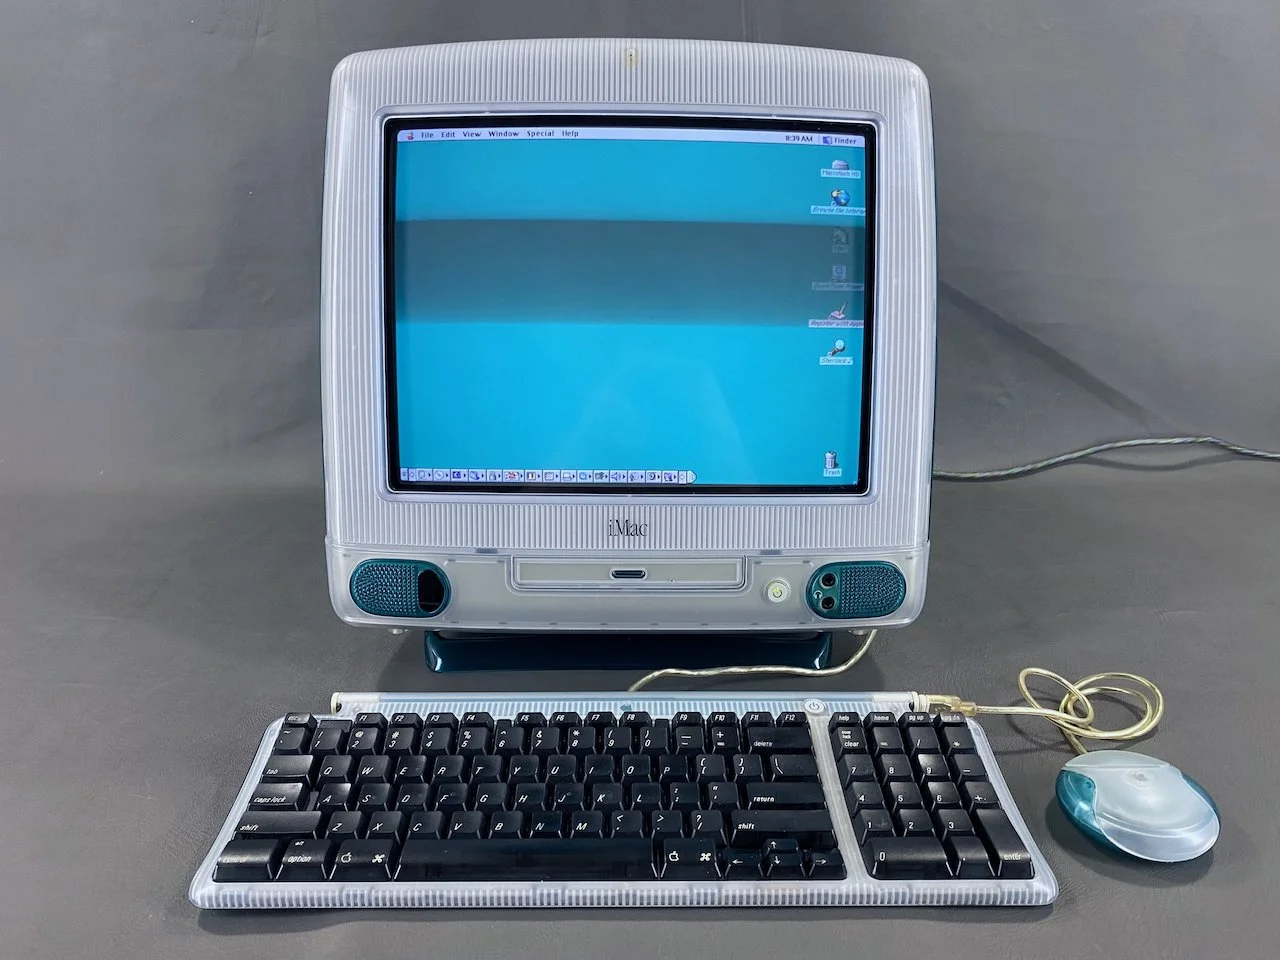
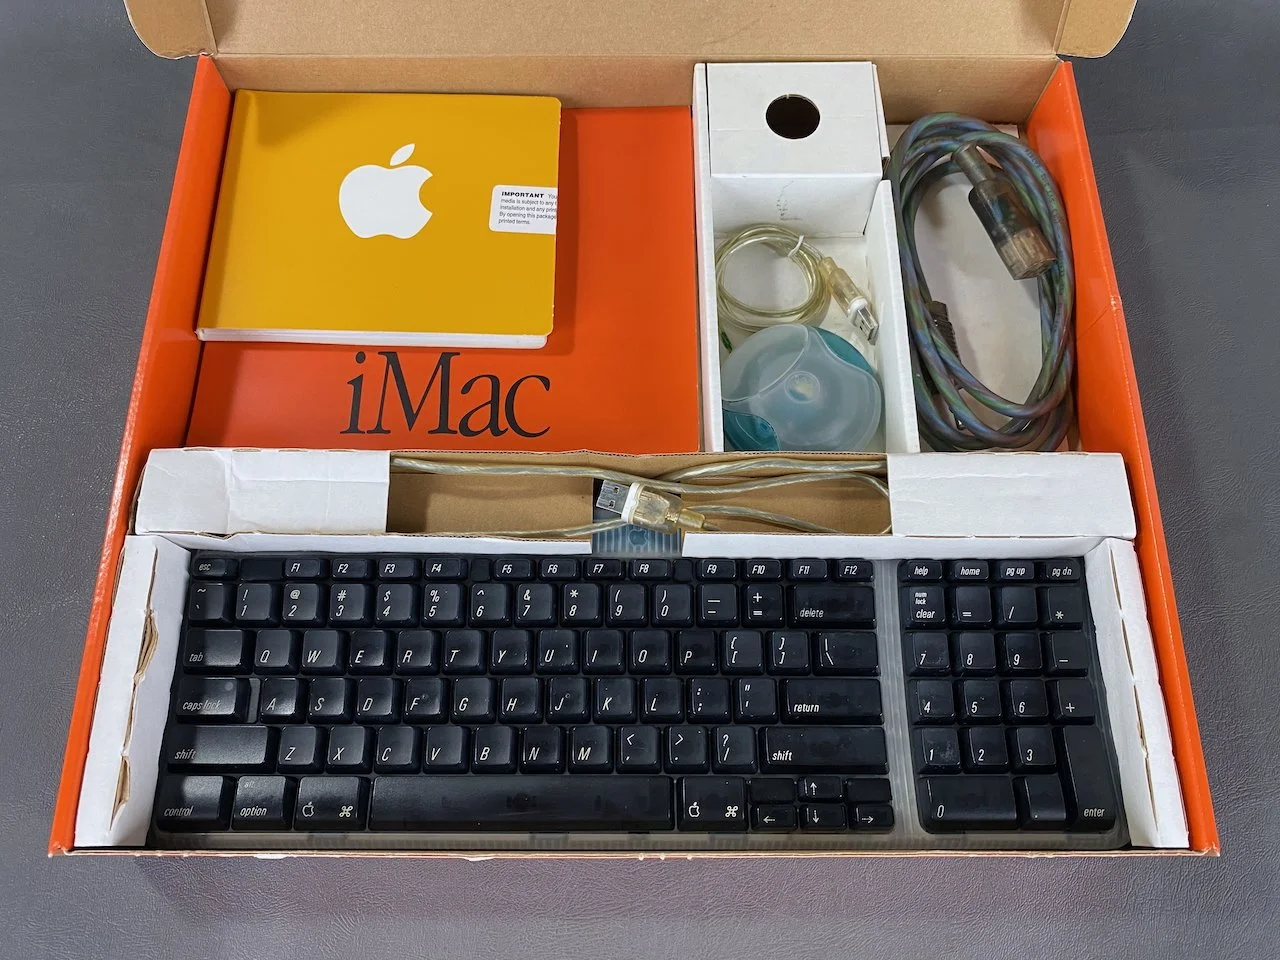
This unit is in mint condition, and is complete with all the original packaging, power cable, keyboard, mouse, software CDs, and documentation.
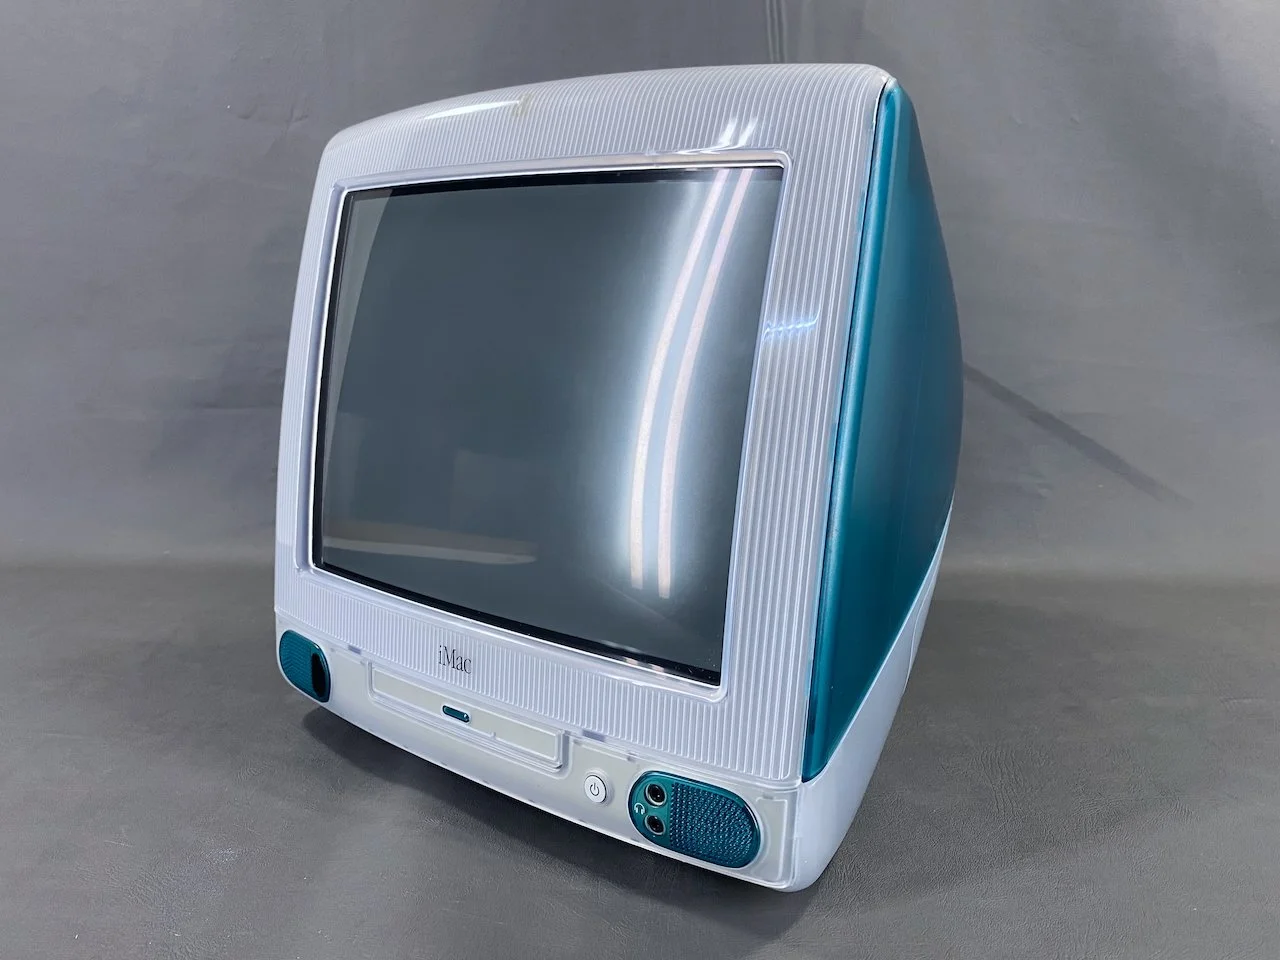
This the original iMac. Launched in mid-1998 in the beautiful Bondi Blue color, it is arguably (behind the original Macintosh) the most famous and iconic personal computer ever made. It kick-started the mass adoption of a then-emerging industry standard called “USB” and is also widely seen as the symbol of Apple’s revival and return from the brink of bankruptcy during the late 1990s. Over 6 million iMac G3s were shipped from 1998 - 2003, and its enormous impact was not only felt in the technology world but also in many other parts of society and pop culture.
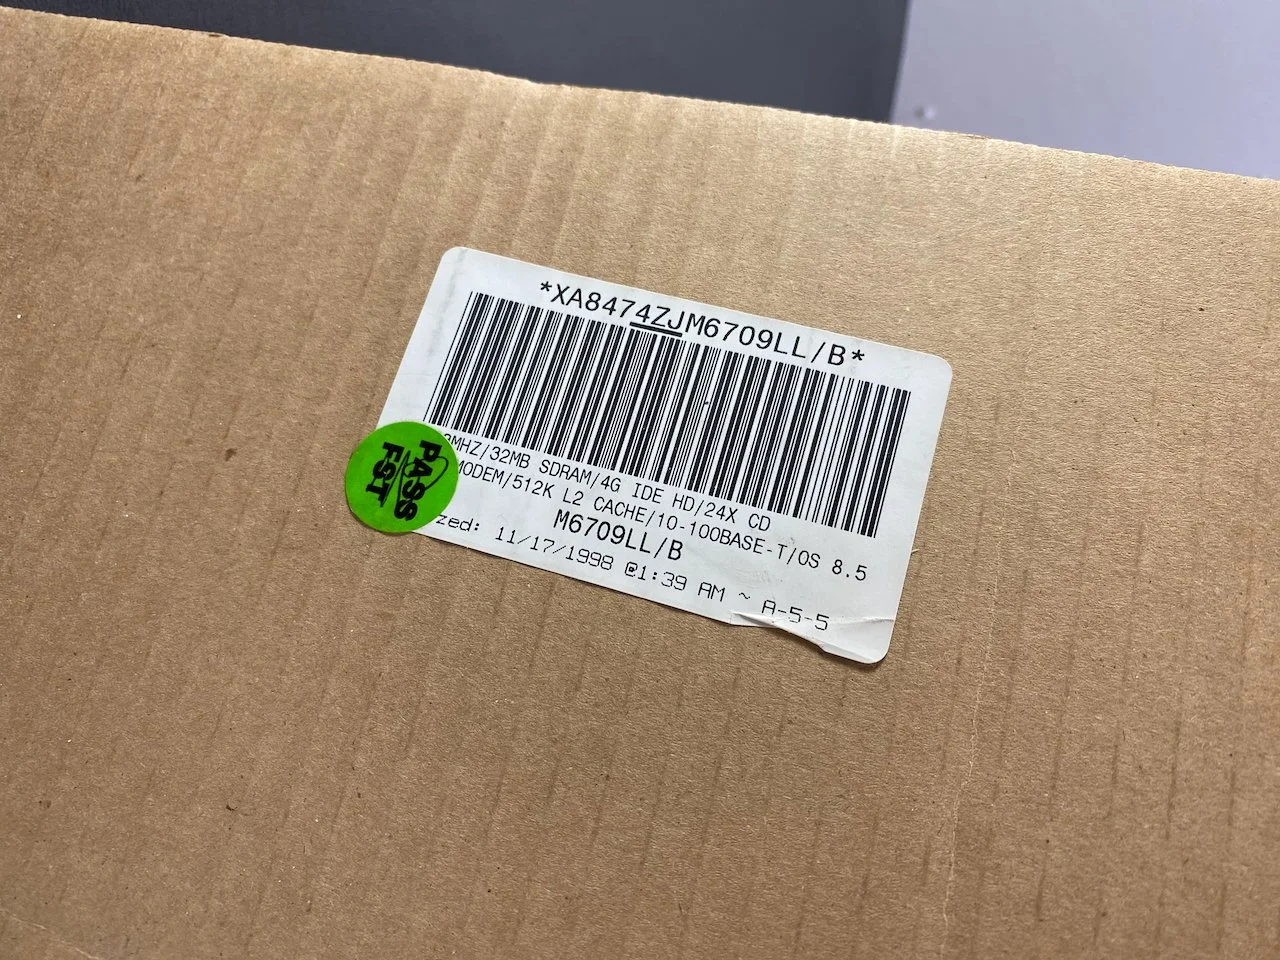
This particular machine is a “revision B” model, with a production date of 11/17/1998. The “rev. B” is identical to the earlier “rev. A” in every way except that it replaced the ATI Rage IIc graphics (2 MB VRAM) with ATI Rage Pro Turbo graphics (6 MB VRAM).
In 2025 I replaced the original 4 GB hard drive with a 64 GB SSD. Scroll to the bottom of the page for more on this.
It is in beautiful working condition and is currently running Mac OS 9.1.
Model Identifier
The red ‘X’ denotes the location of this iMac within the overall series.
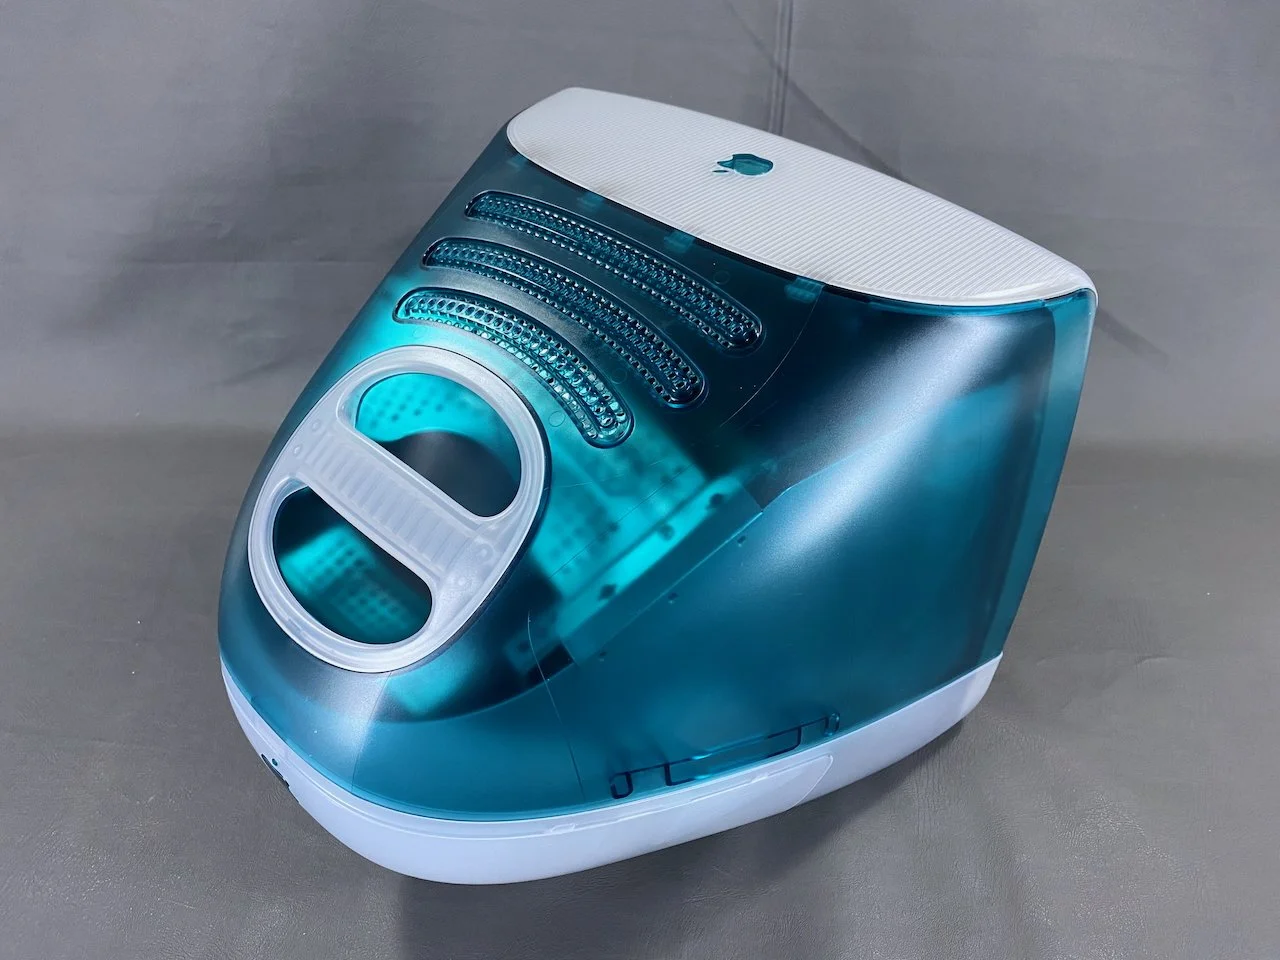
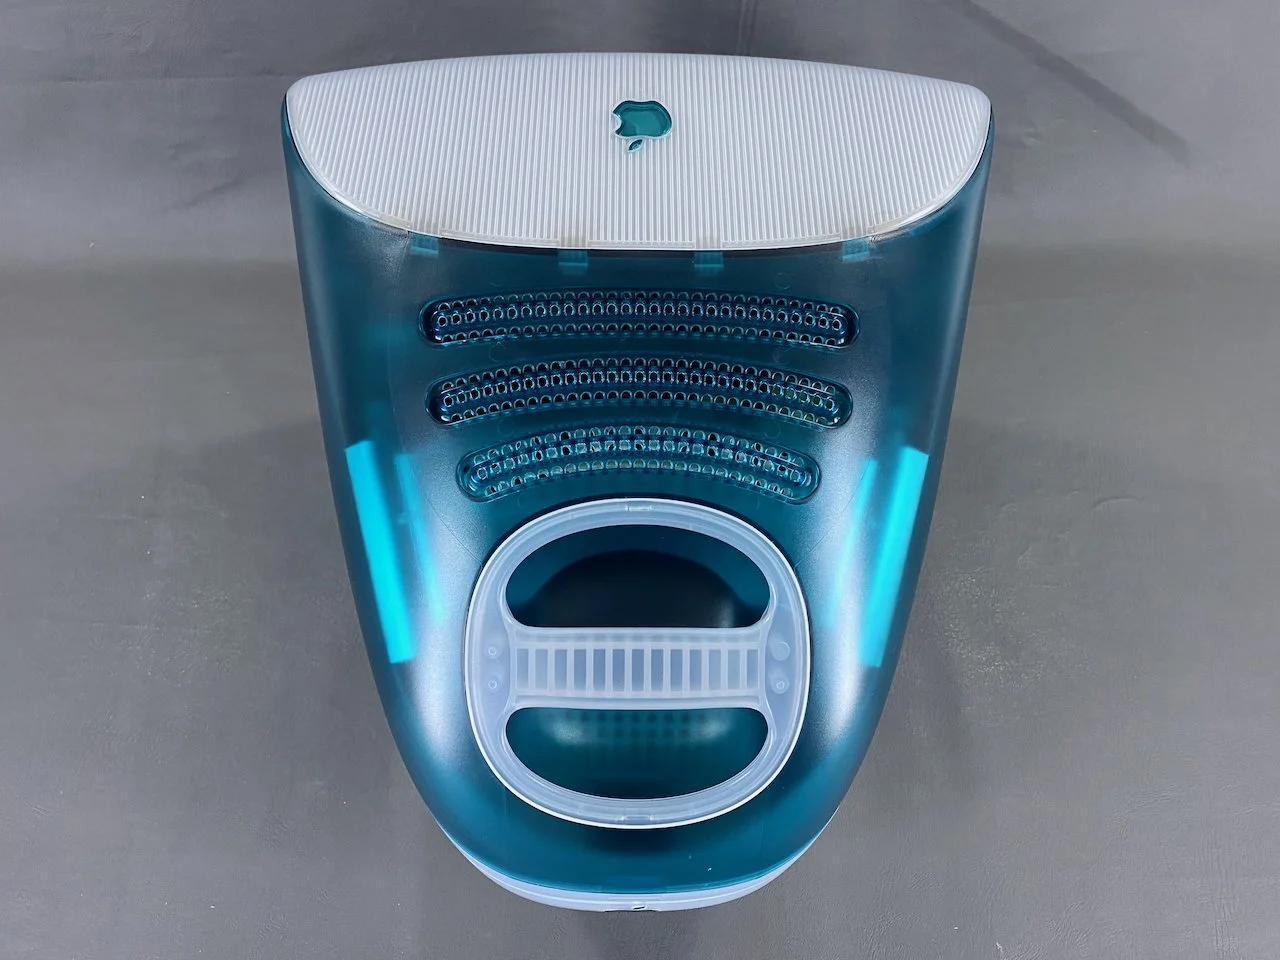
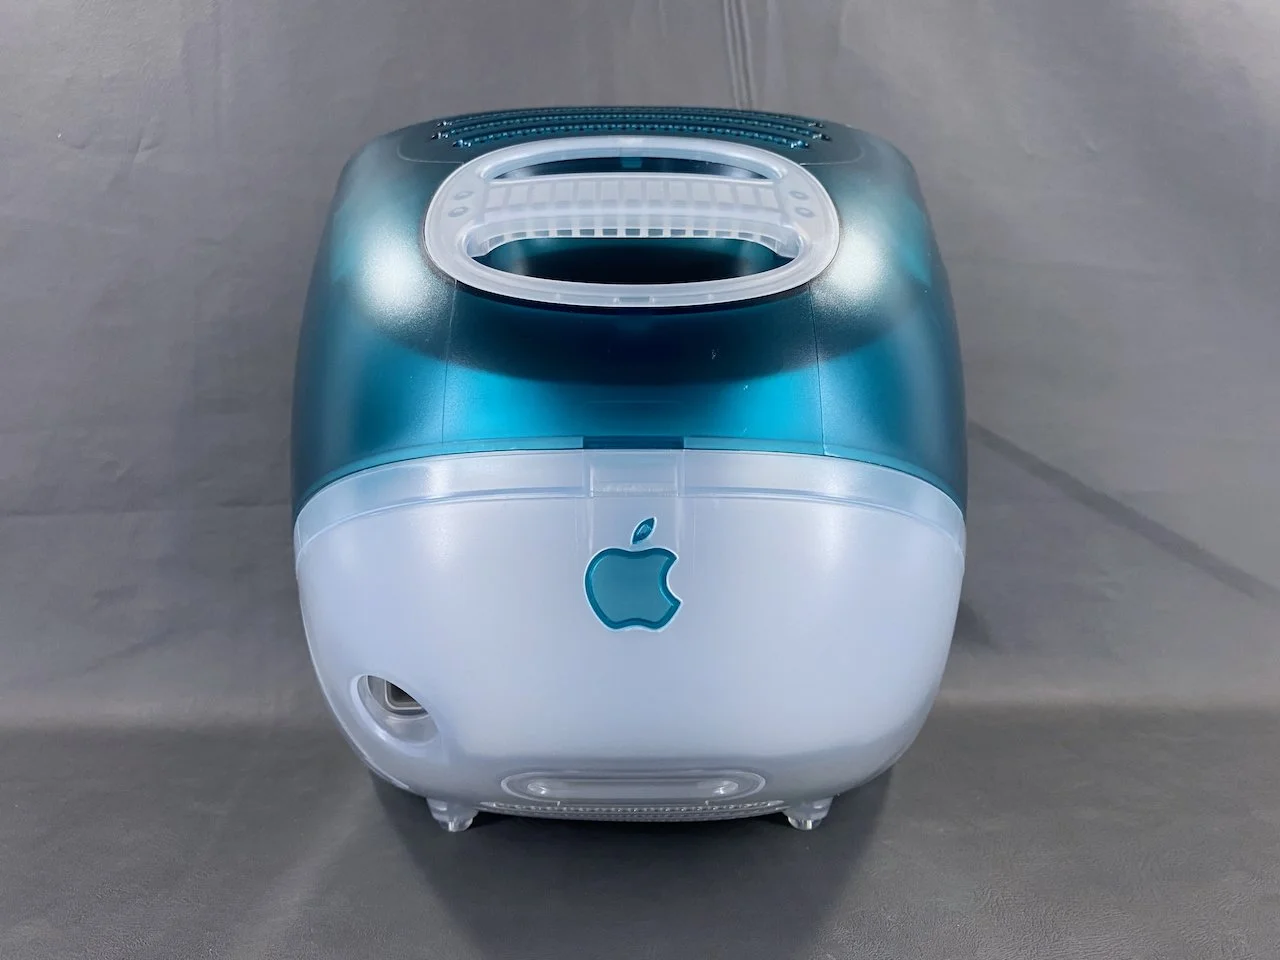
This particular machine is the original Bondi Blue iMac G3 from 1998.
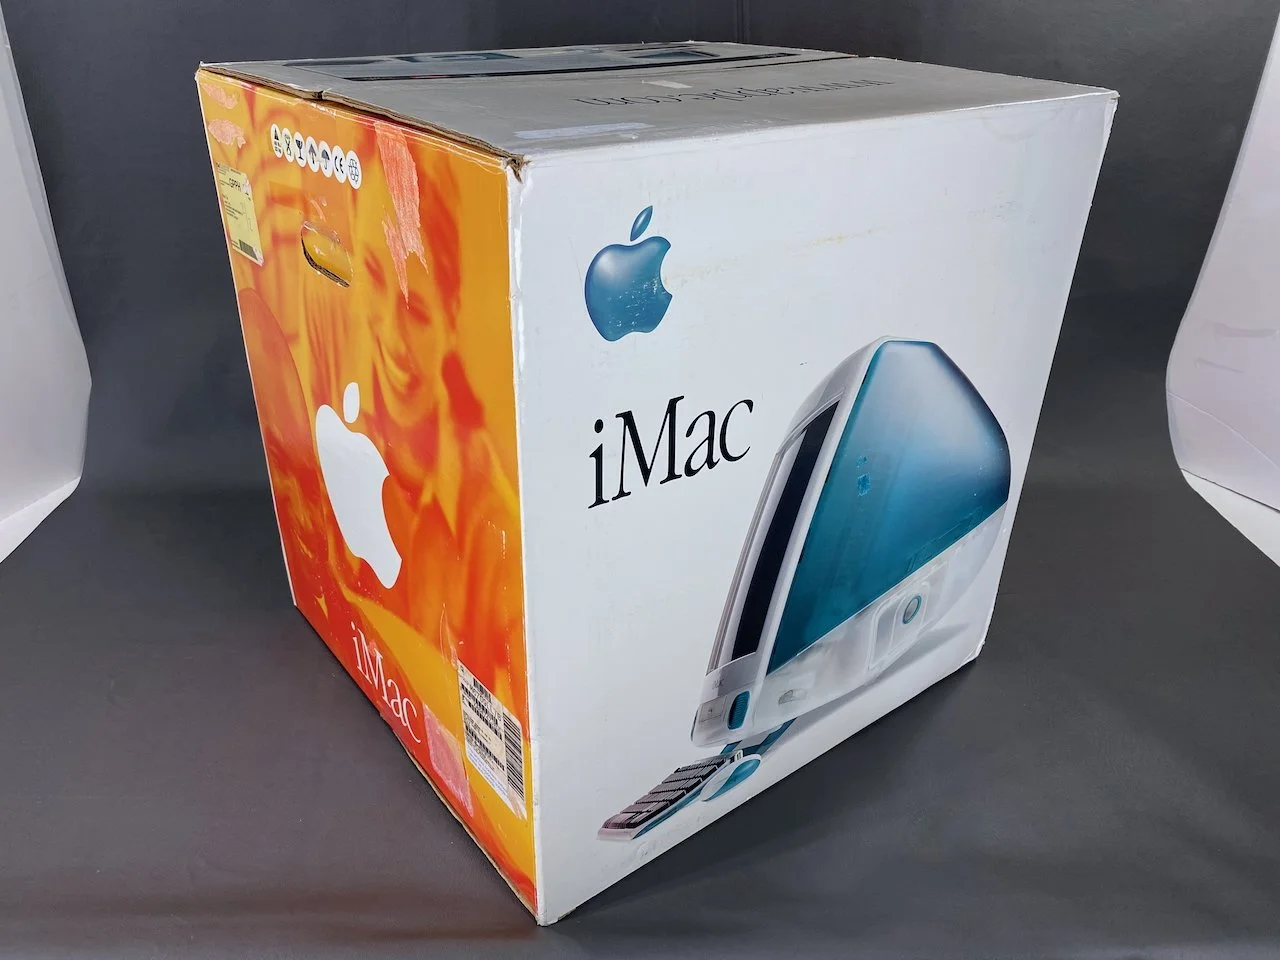
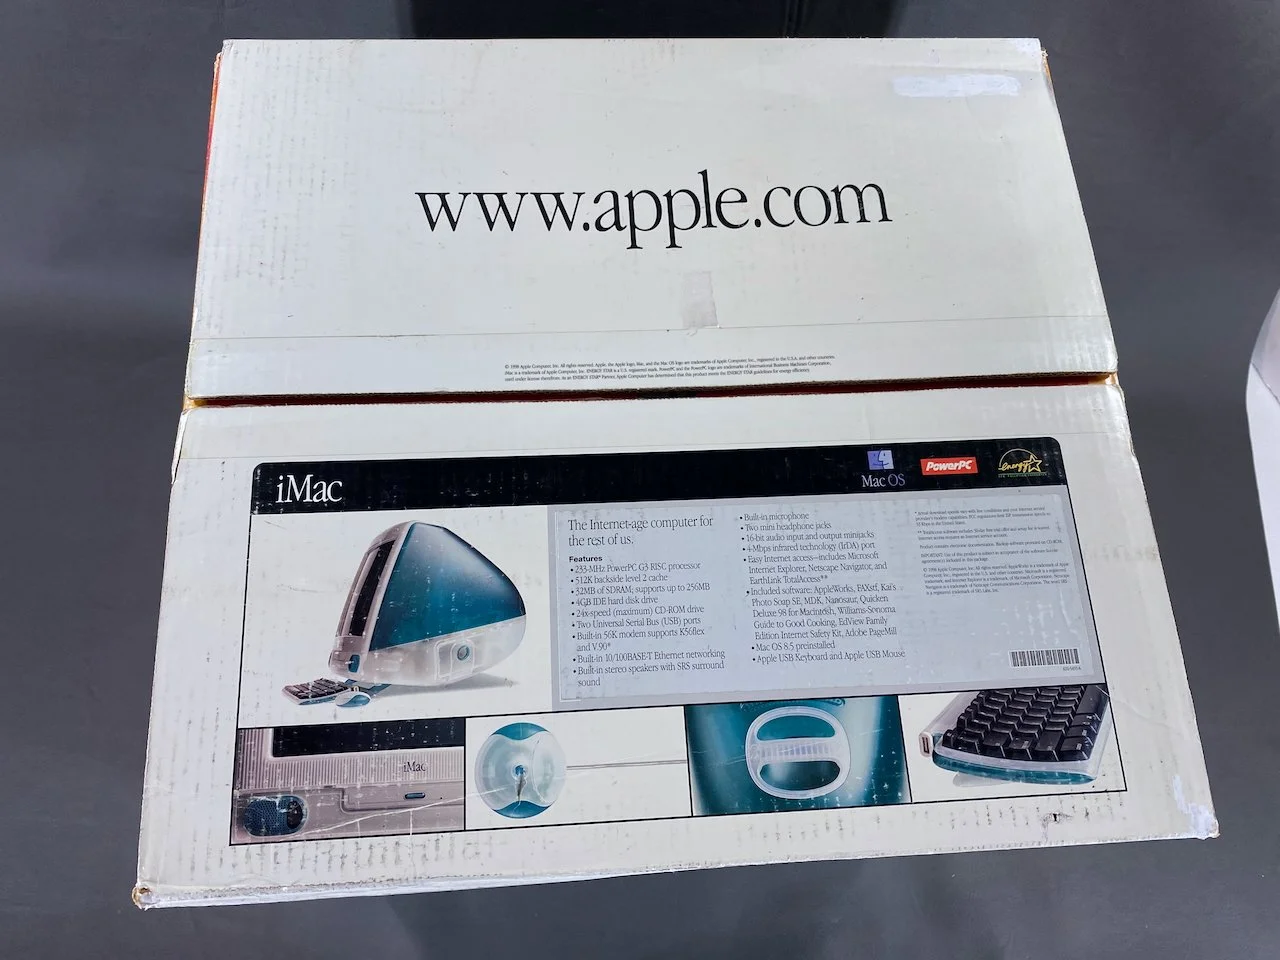
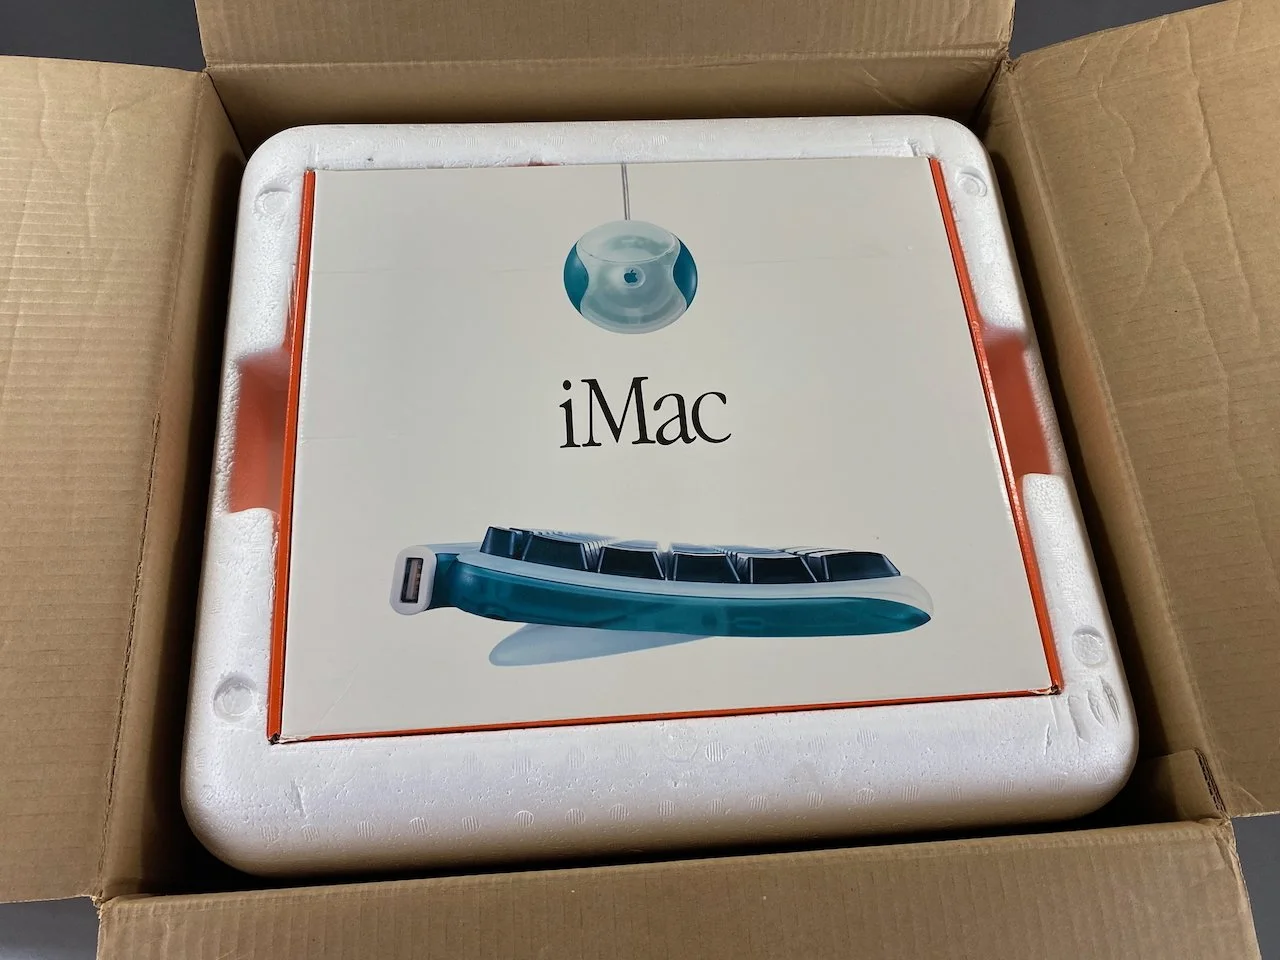
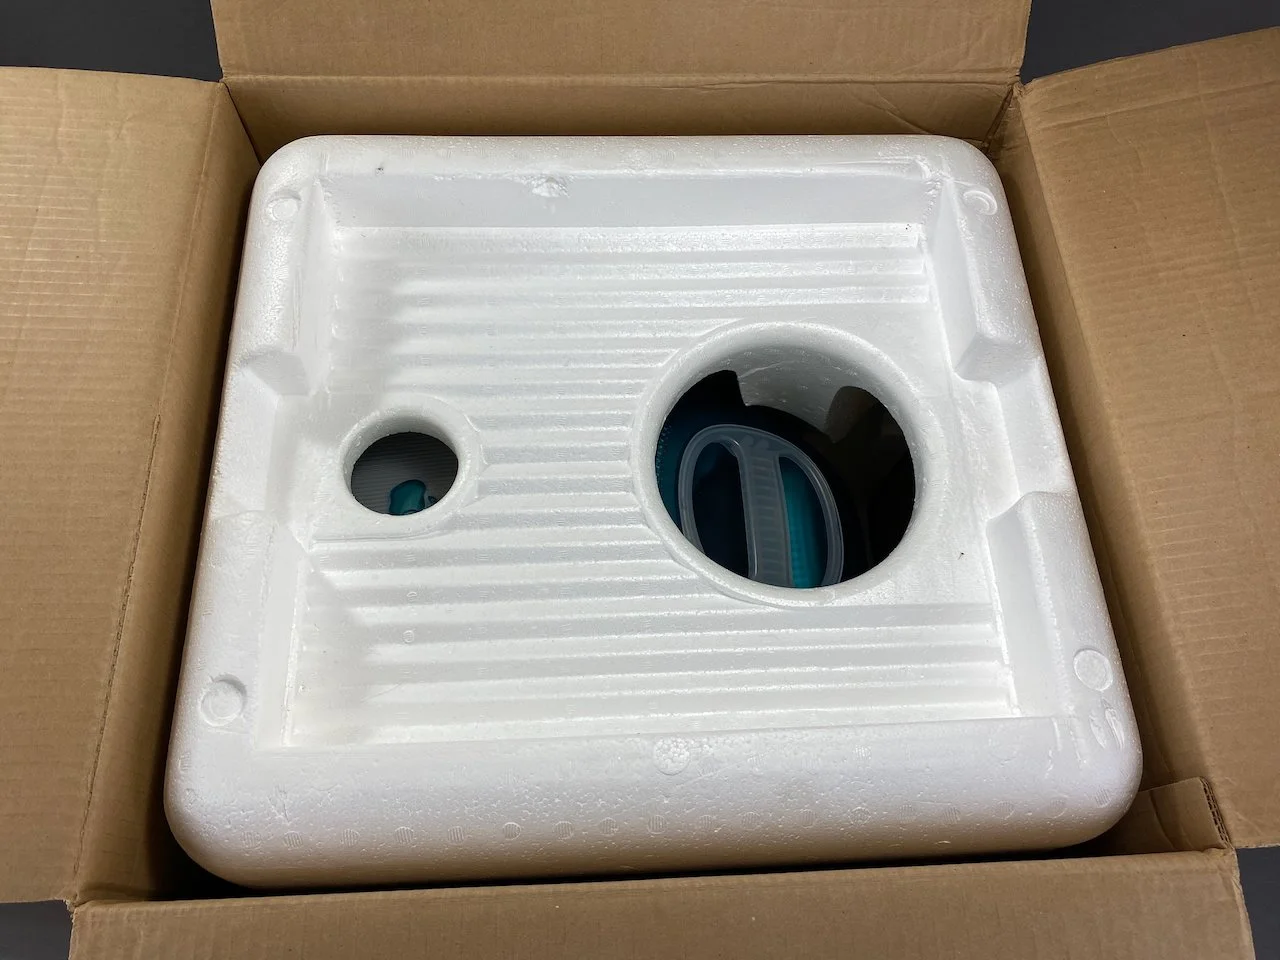
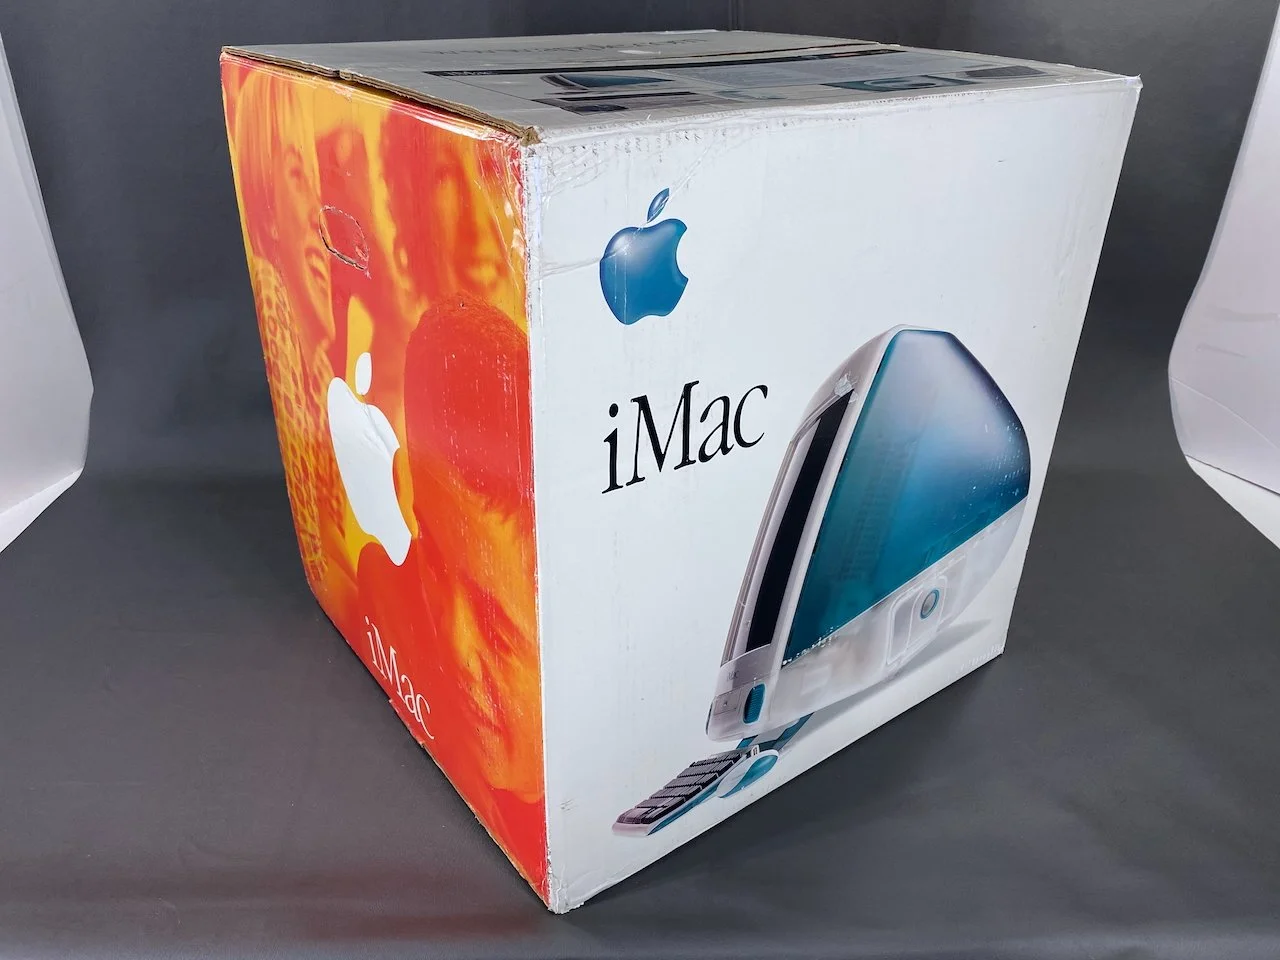
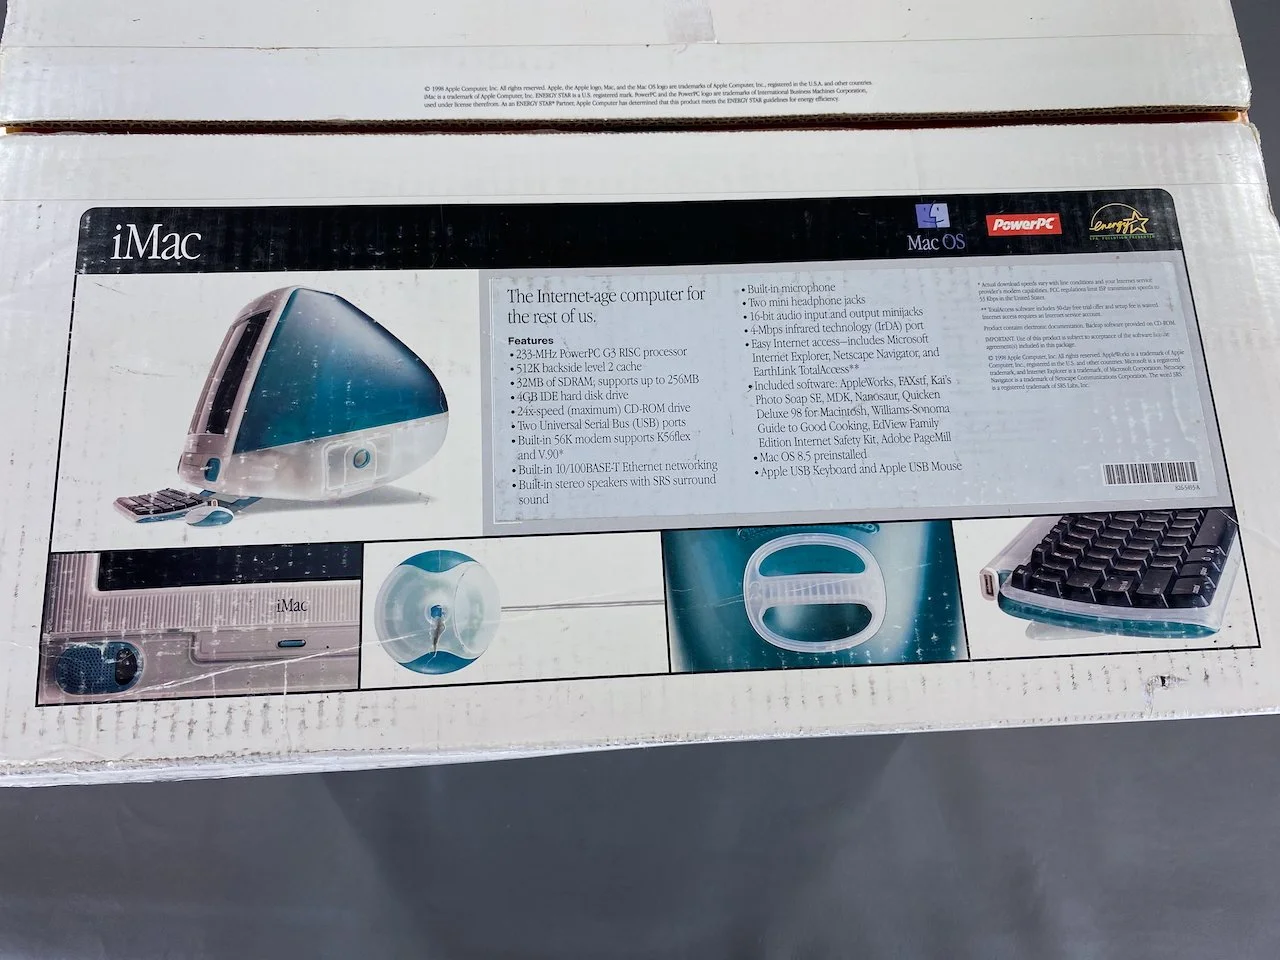
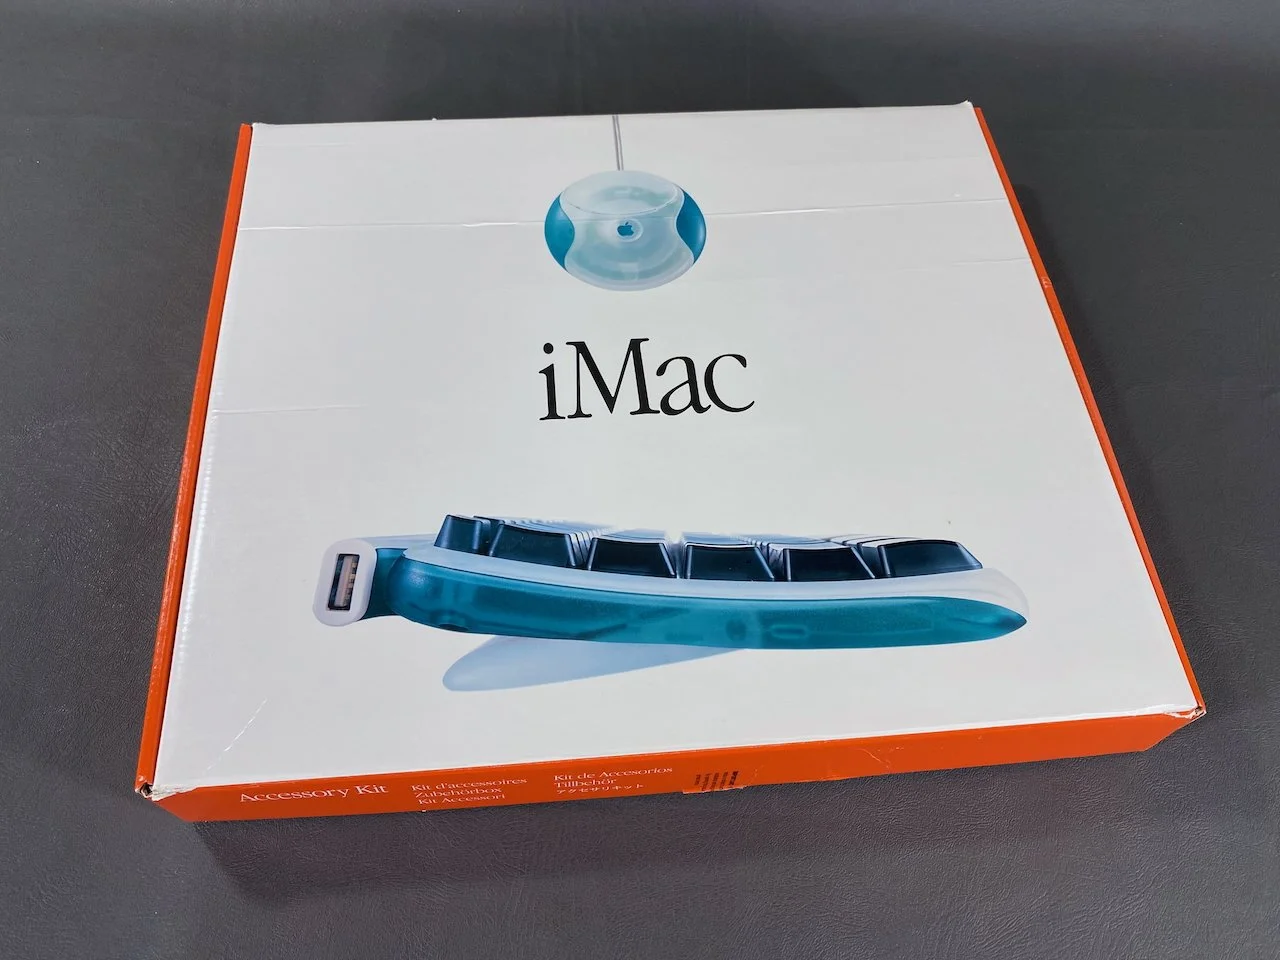
Packaging
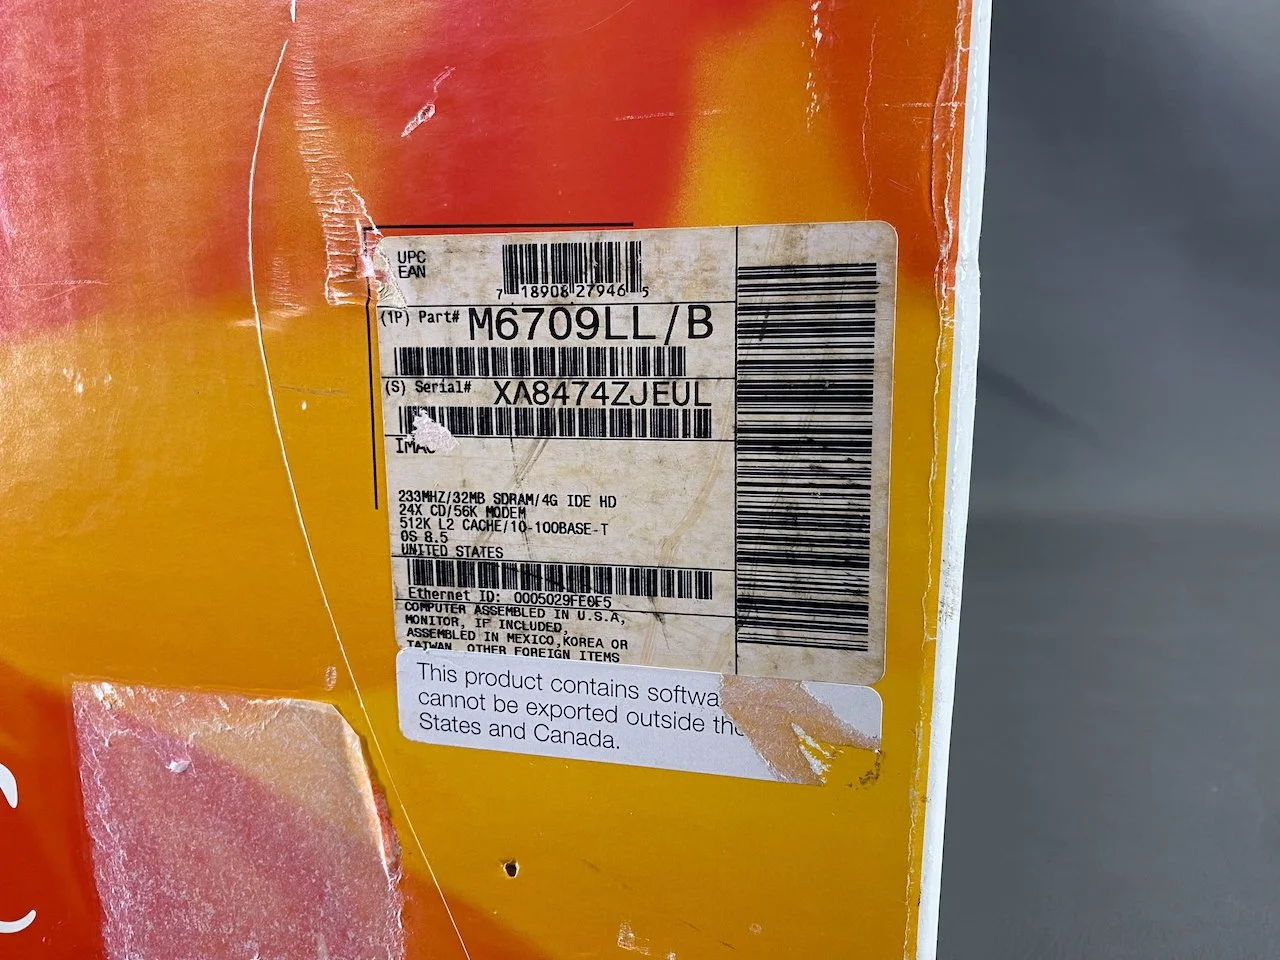
The “B” at the end of the order number indicates that this is a “Rev. B” model. These shipped with Mac OS 8.5 instead of 8.1, in addition to other minor tweaks.
Barcode sticker on the inner box flaps with the serial number, order number, specs, OS version, and factory production/scan date of 11/17/1998 at 1:39 AM.
iMac
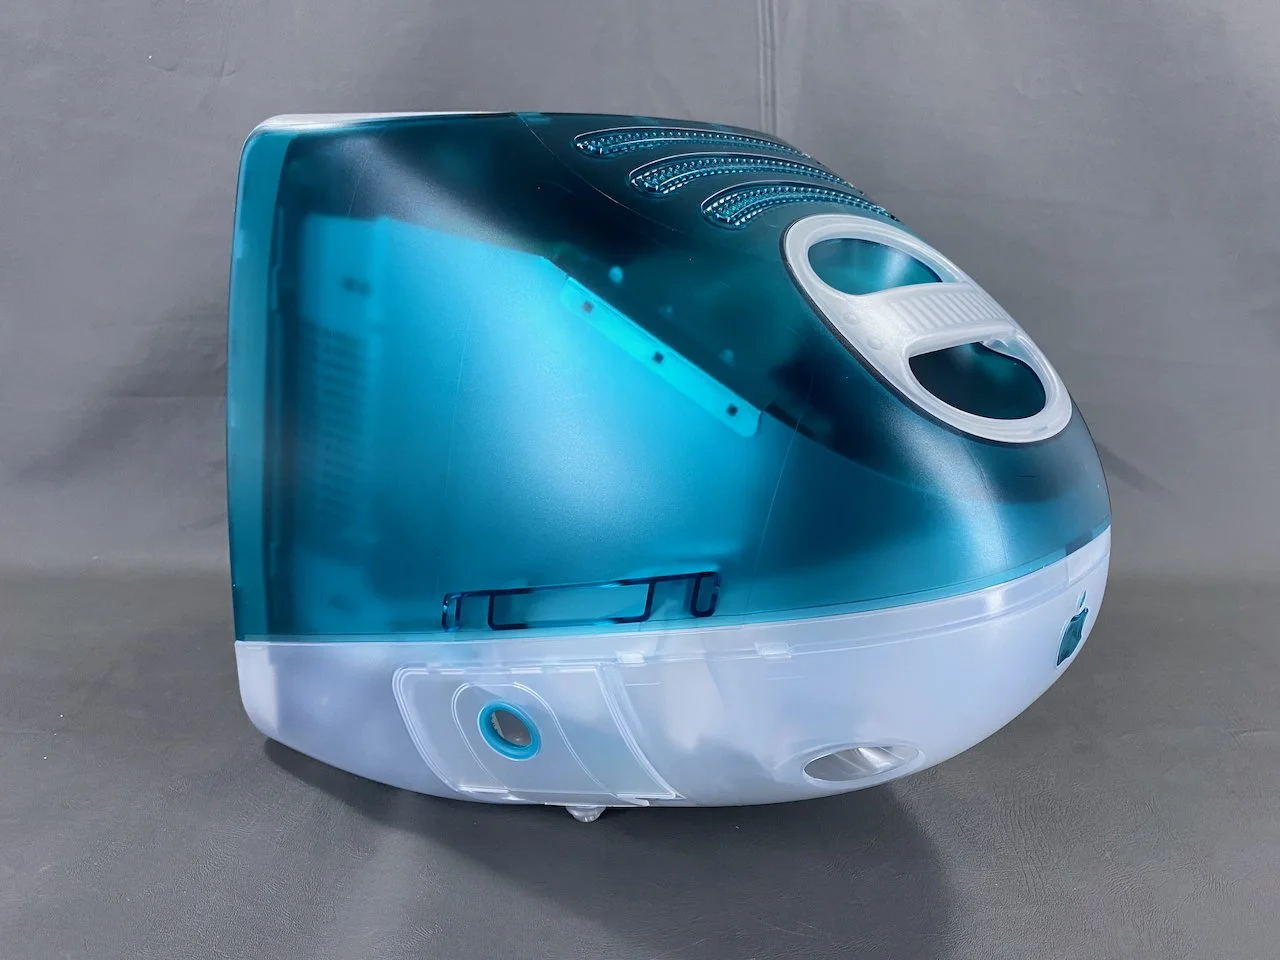
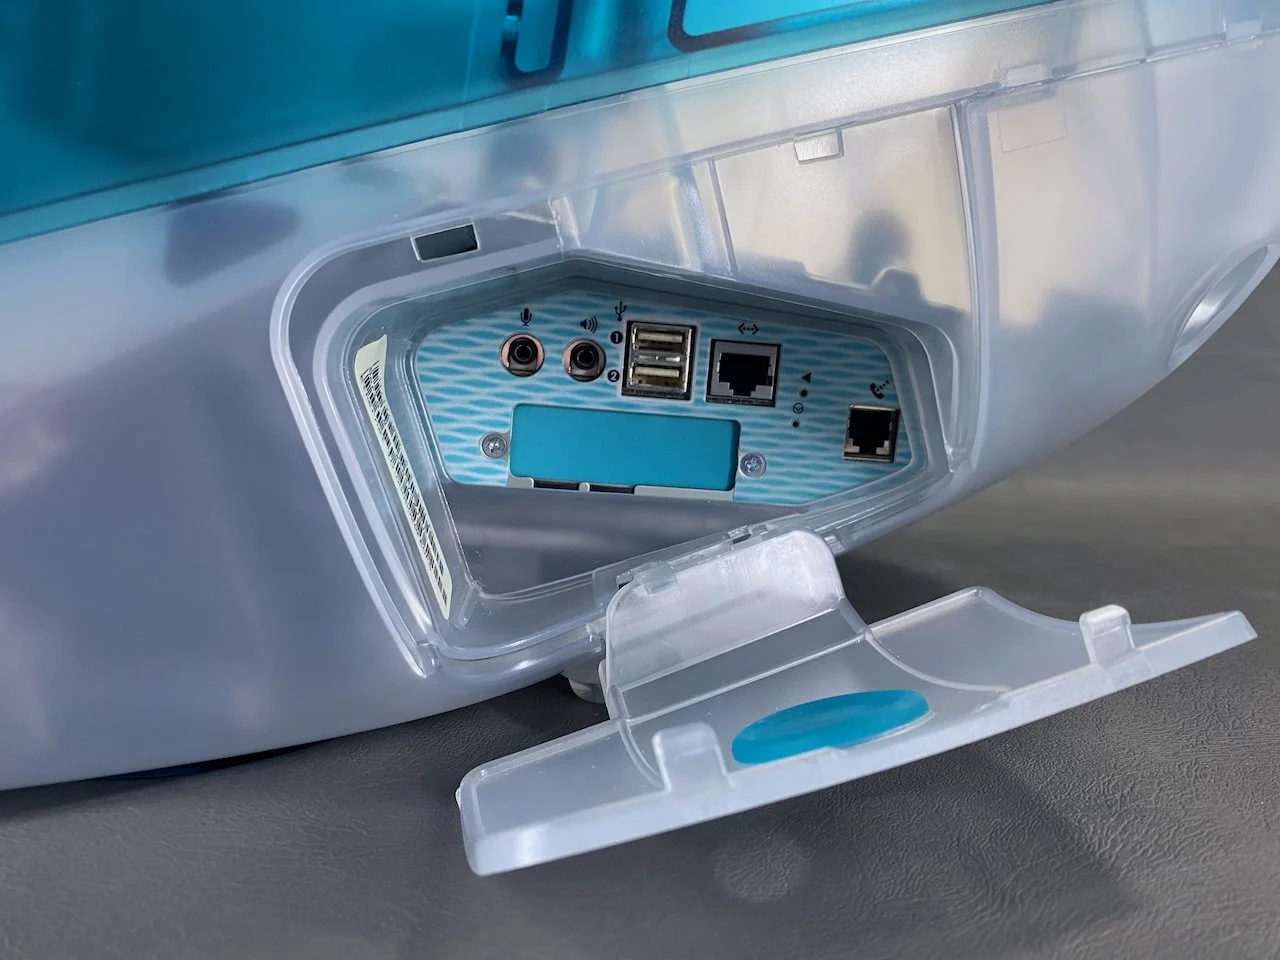
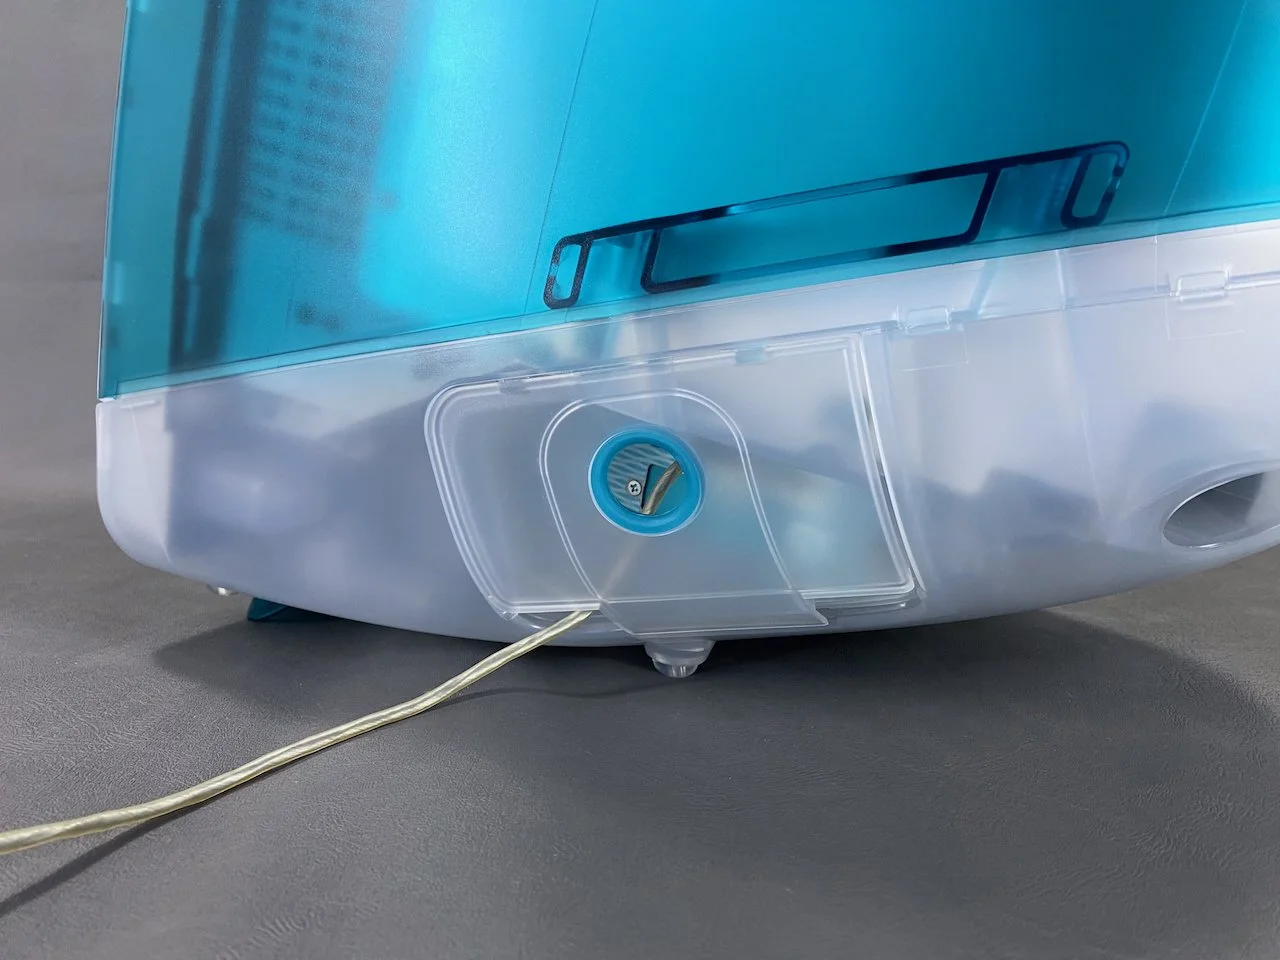
Unlike on later slot-loading iMac G3s, the tray-loading models have the I/O panel hidden behind a pop-out door on the right side of the machine alongside the power input.
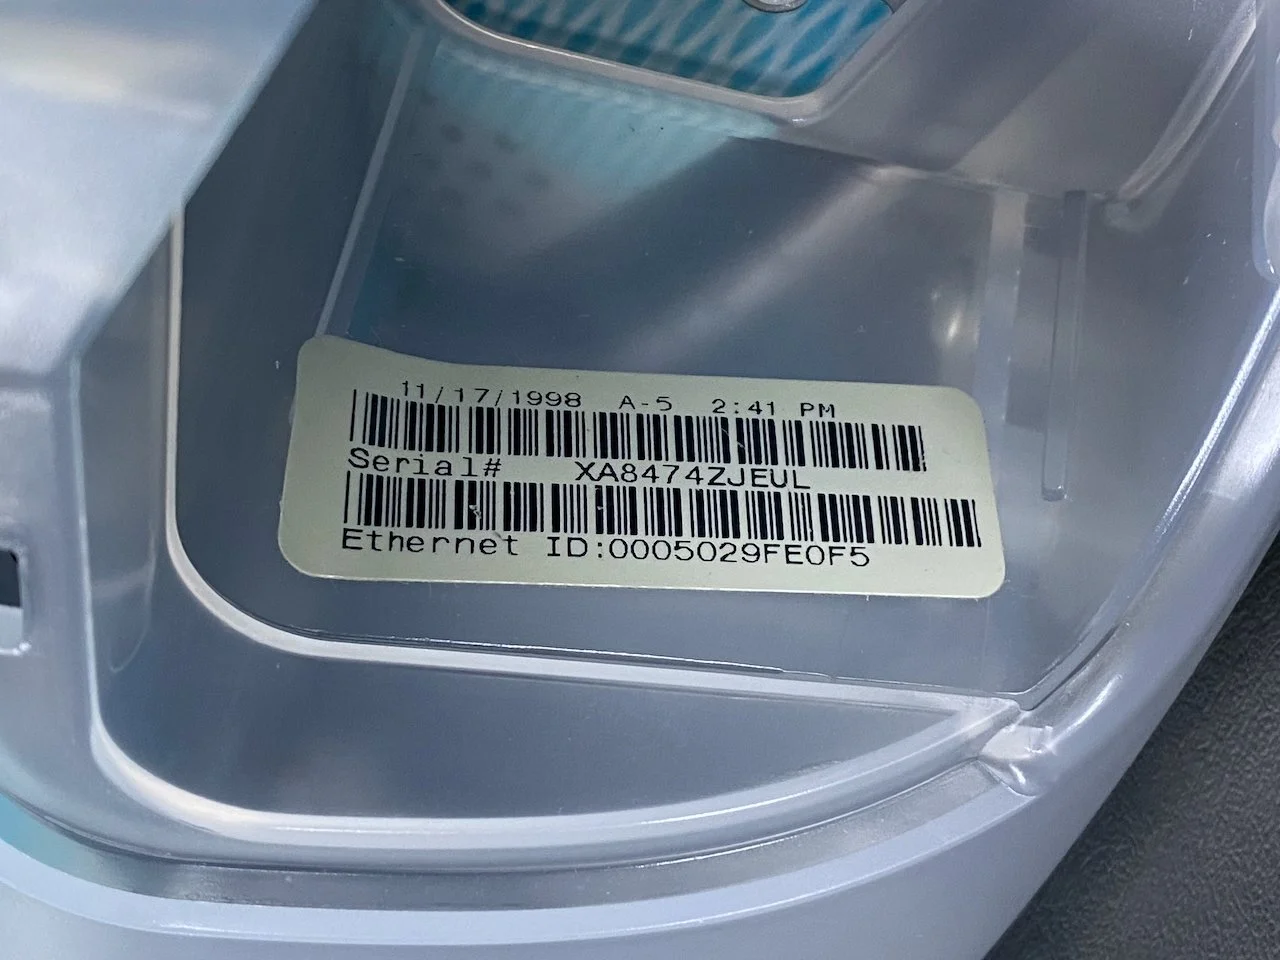
Production barcode label inside the I/O compartment with the serial number, Ethernet ID, and date/time stamp of 11/17/1998 at 2:41 PM.
The I/O ports (and “mezzanine” blanking plate) are located behind the door on a panel with holographic decal, similar to those on the peripherals and bottom case.
The circular opening with blue rubber surround on the I/O door is intended to be used as a finger slot for opening the door, NOT as a cable passthrough - there are two additional openings for this at the bottom of the door.
All set up with keyboard and mouse. The screen is crisp and sharp in person - these dark refresh bands/lines only appear on camera, as is typical for CRT displays.
Accessory Kit
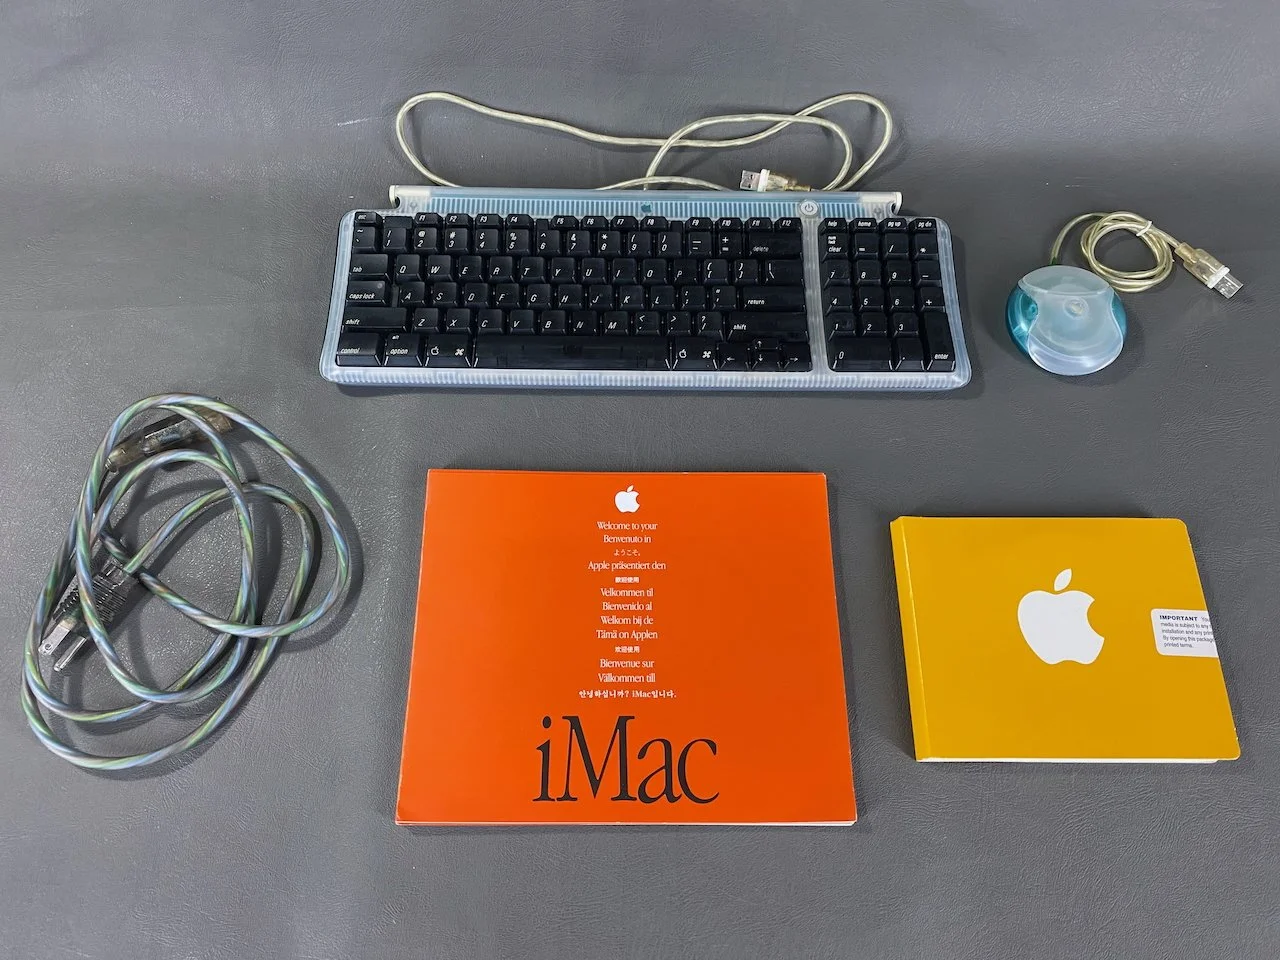
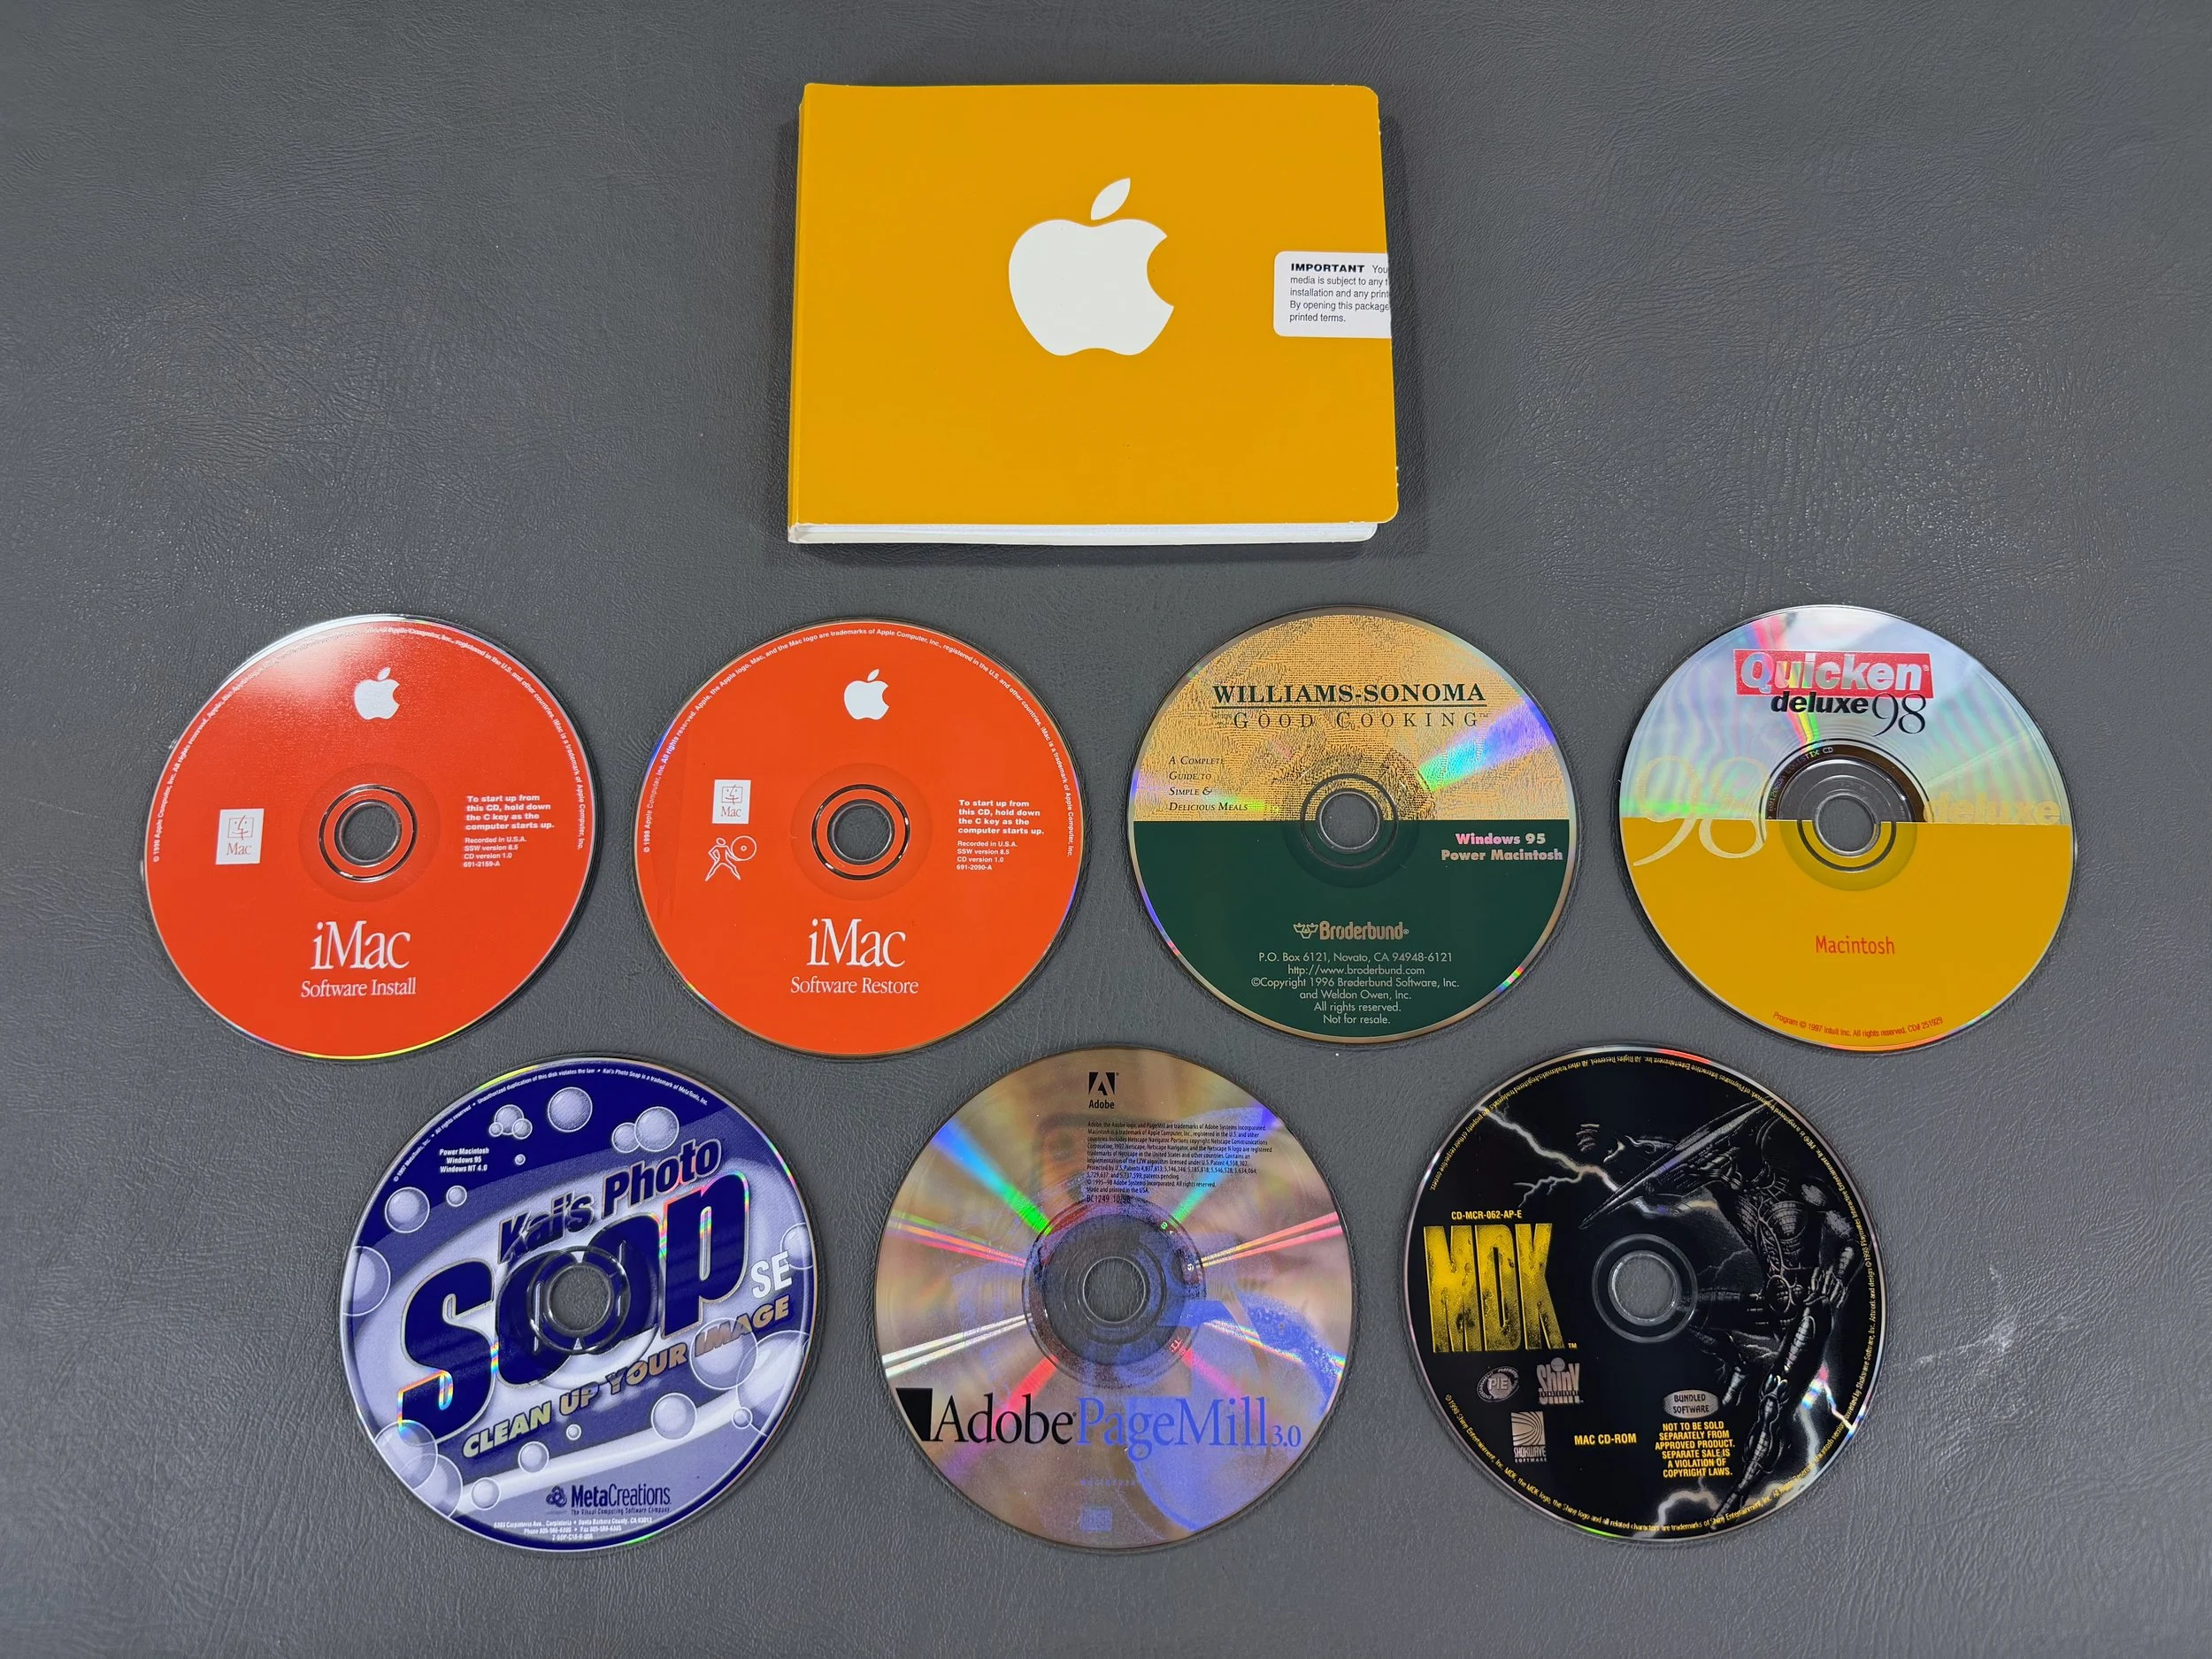
Keyboard, mouse, power cable, software CD packet, and documentation. The CD packet contains all the OEM CDs that are individually stored in soft-backed sleeves with plastic covers, so it was clearly intended to be kept as a long-term reference booklet by the end user throughout the life of the machine.
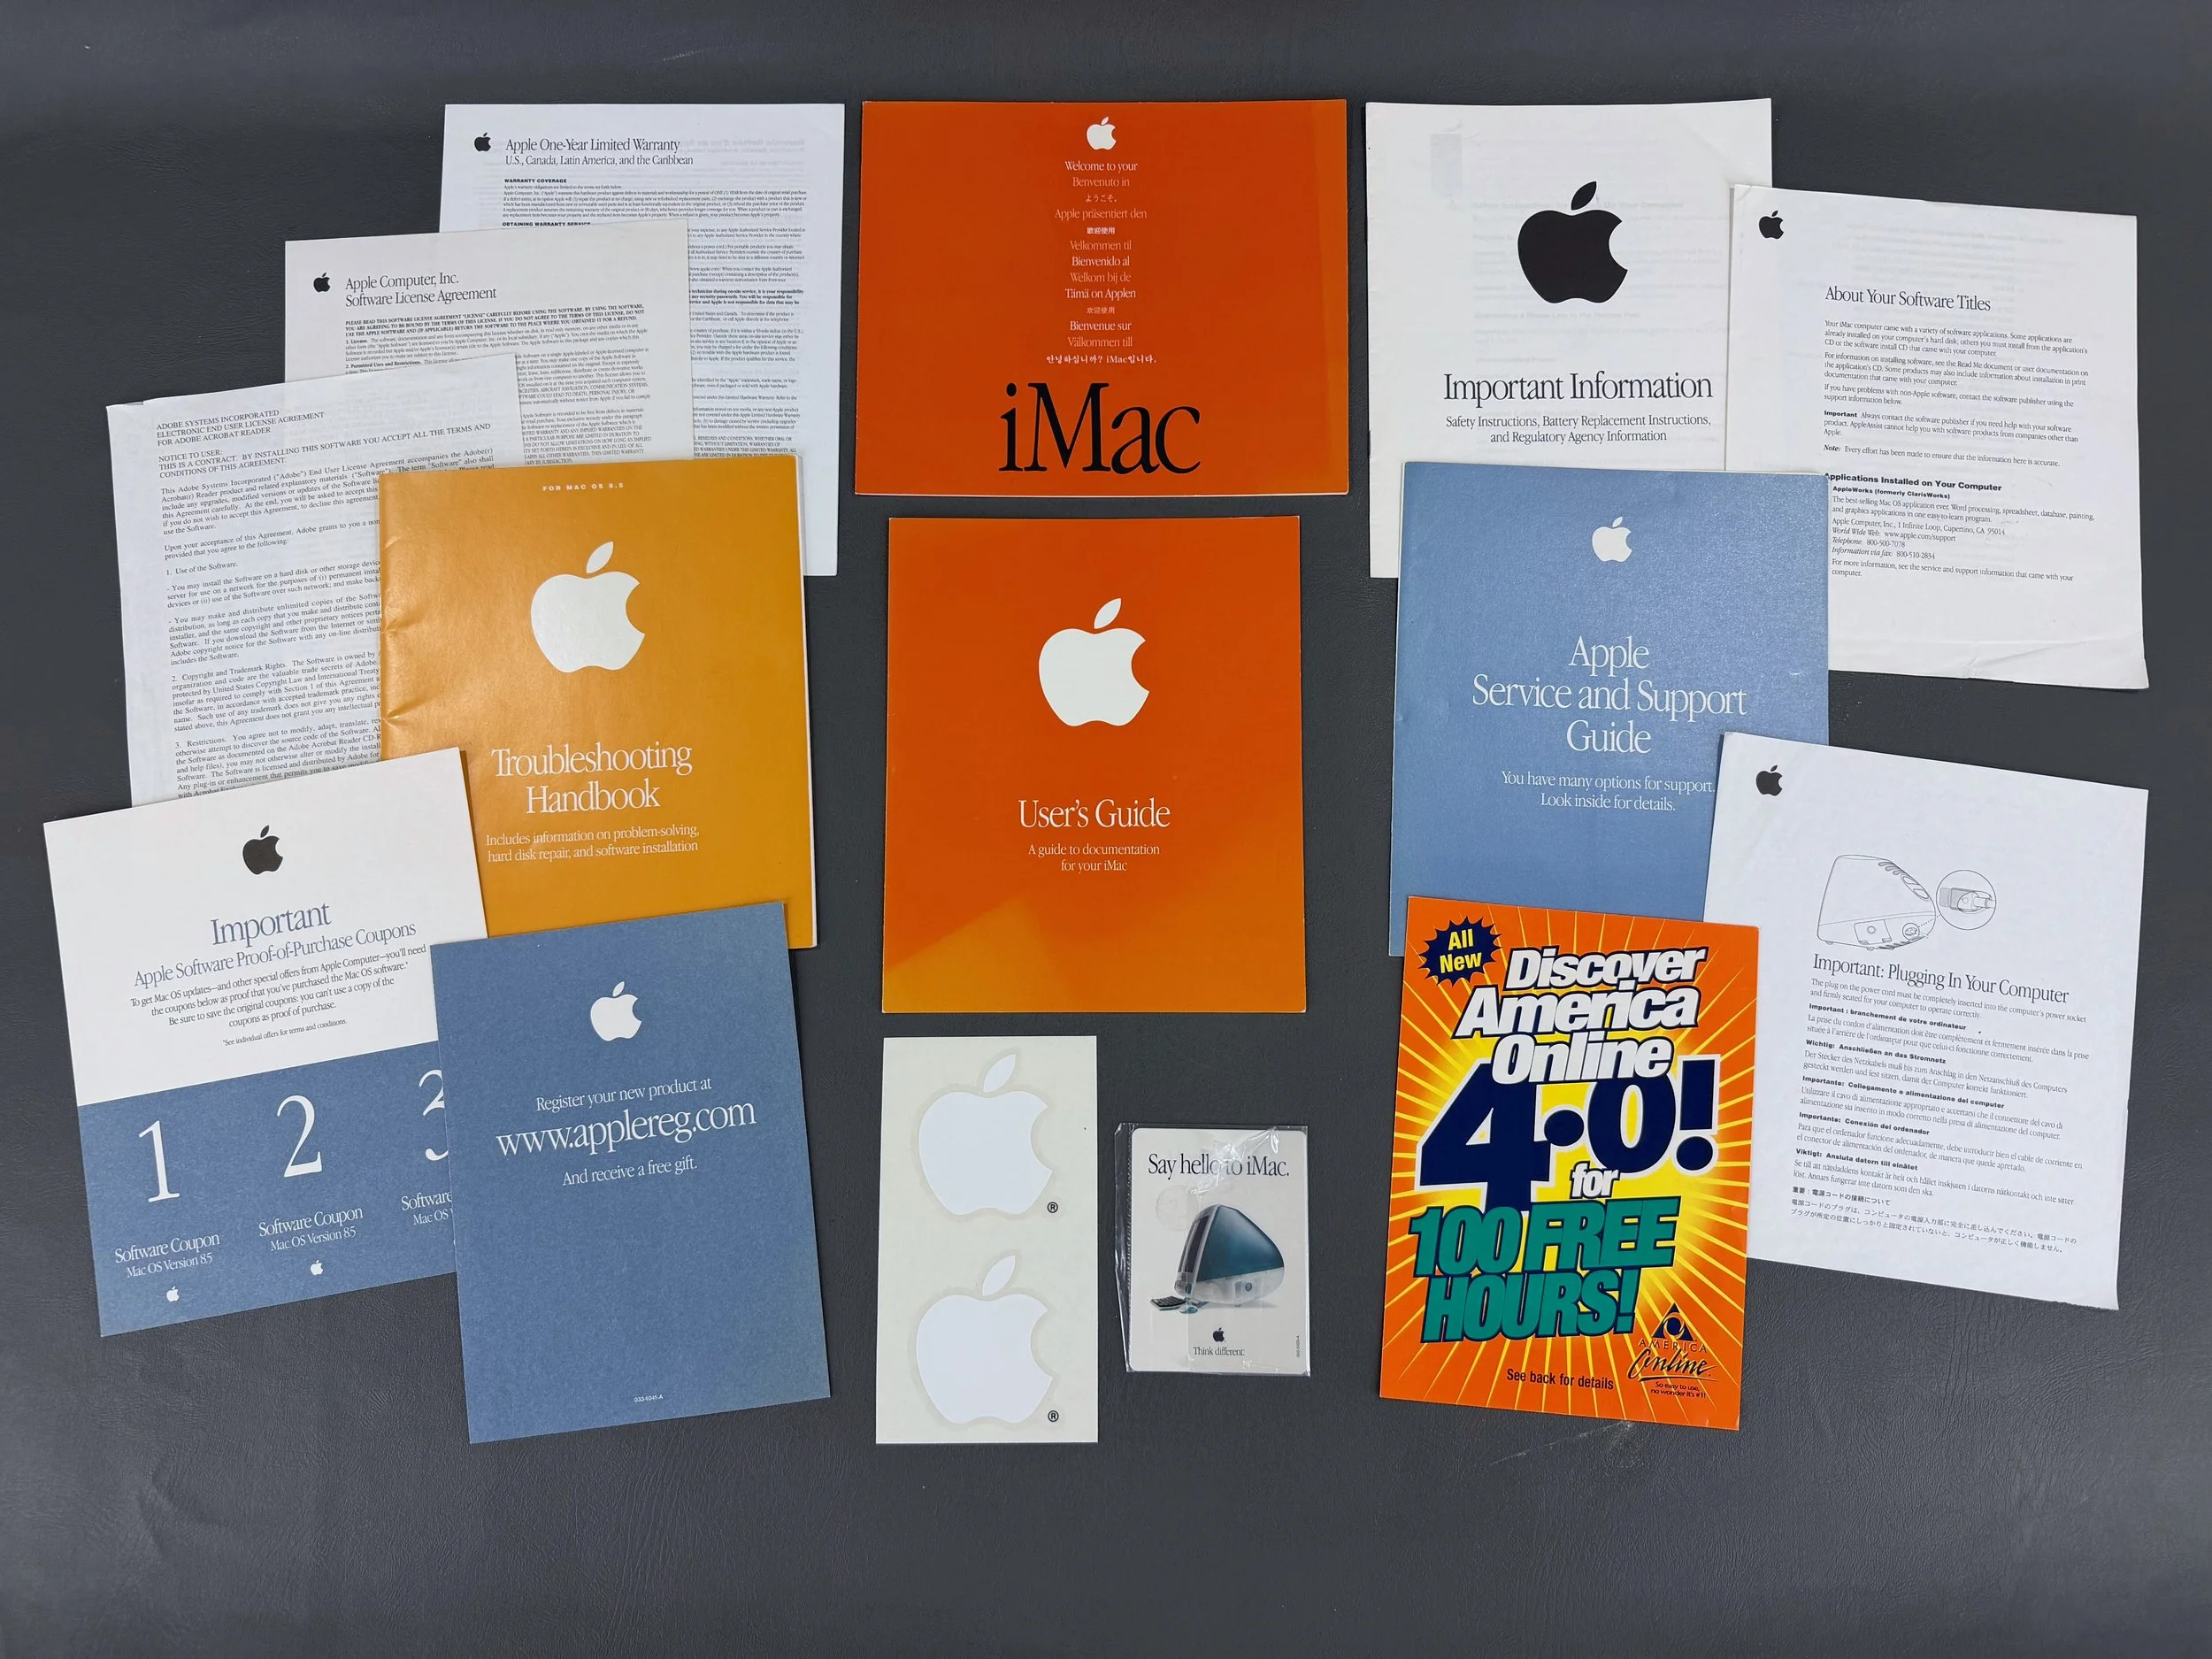
Welcome pamphlet, User’s Guide, Troubleshooting Handbook, Service & Support guide, technical info booklet, AC plug information, software info sheet, software coupons, warranty/license/registration info, Adobe license agreement, AOL promo sheet, Apple stickers, and iMac promo handouts.
Software CDs: iMac software install, iMac software restore, Williams-Sonoma Good Cooking, Quicken ‘98 Deluxe, Kai’s Photo Soap, Adobe PageMill, and MDK. Other software titles came pre-installed on the iMac’s hard drive.
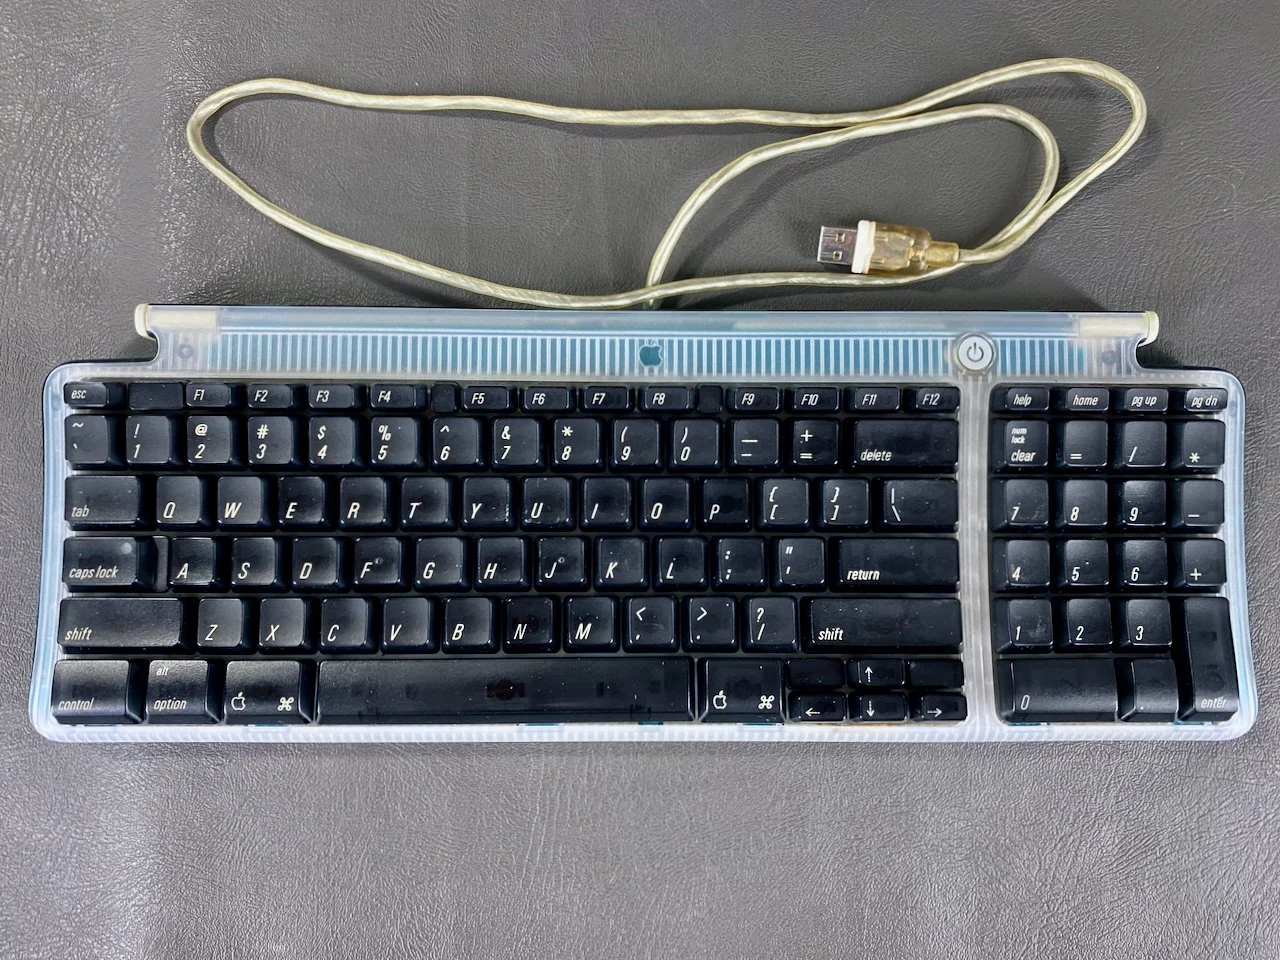
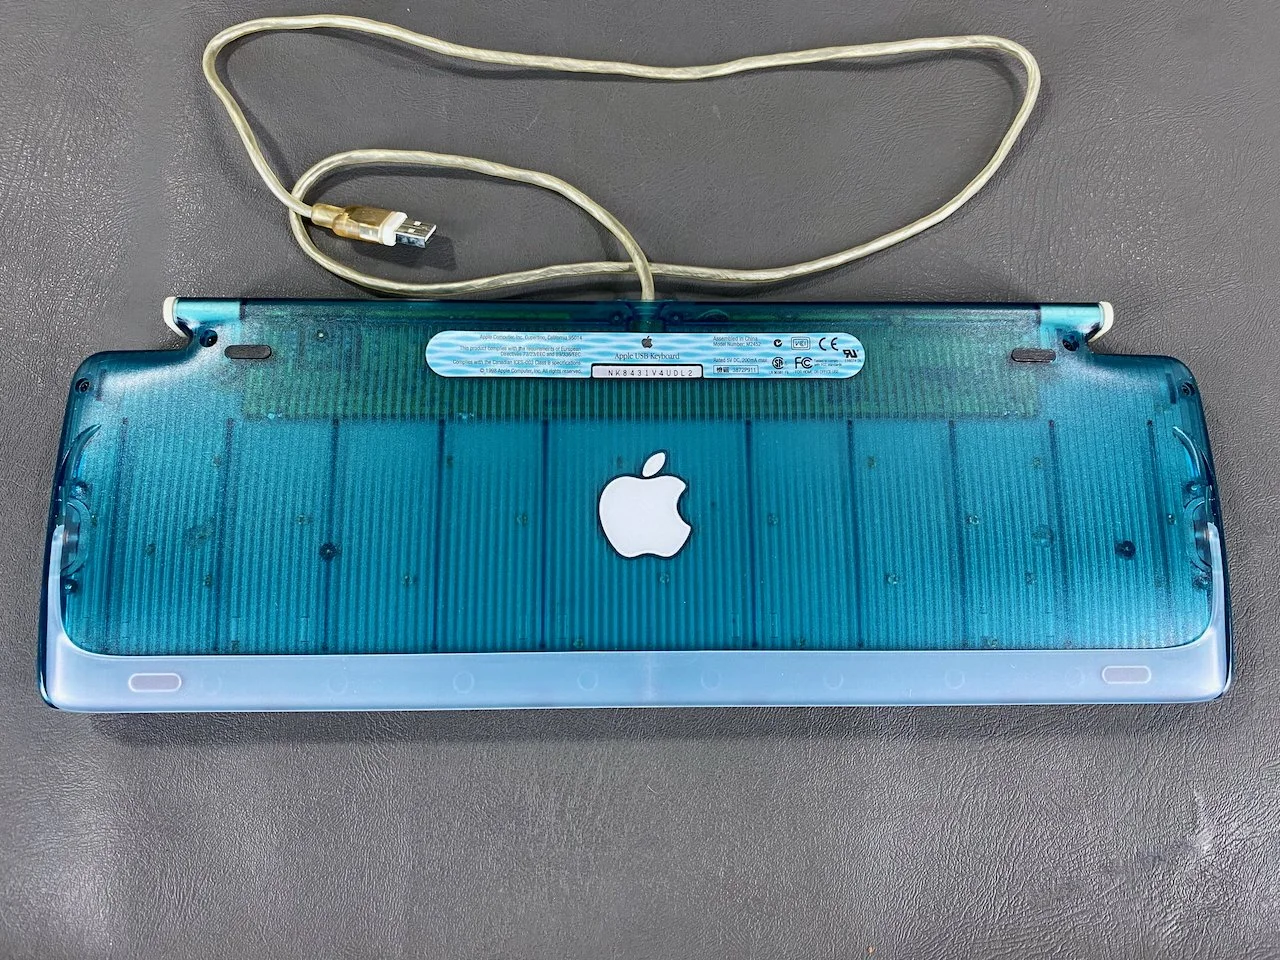
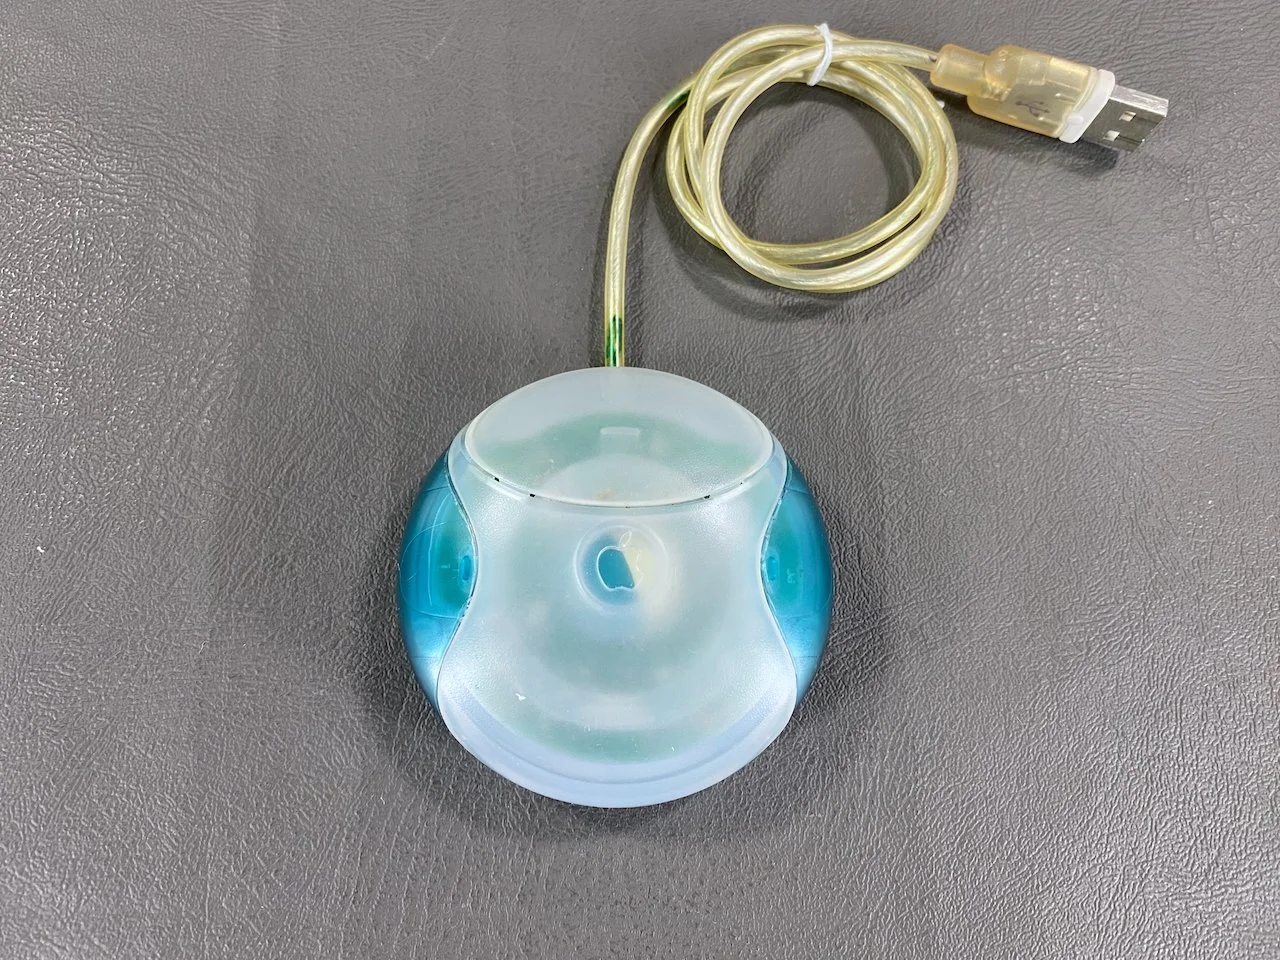
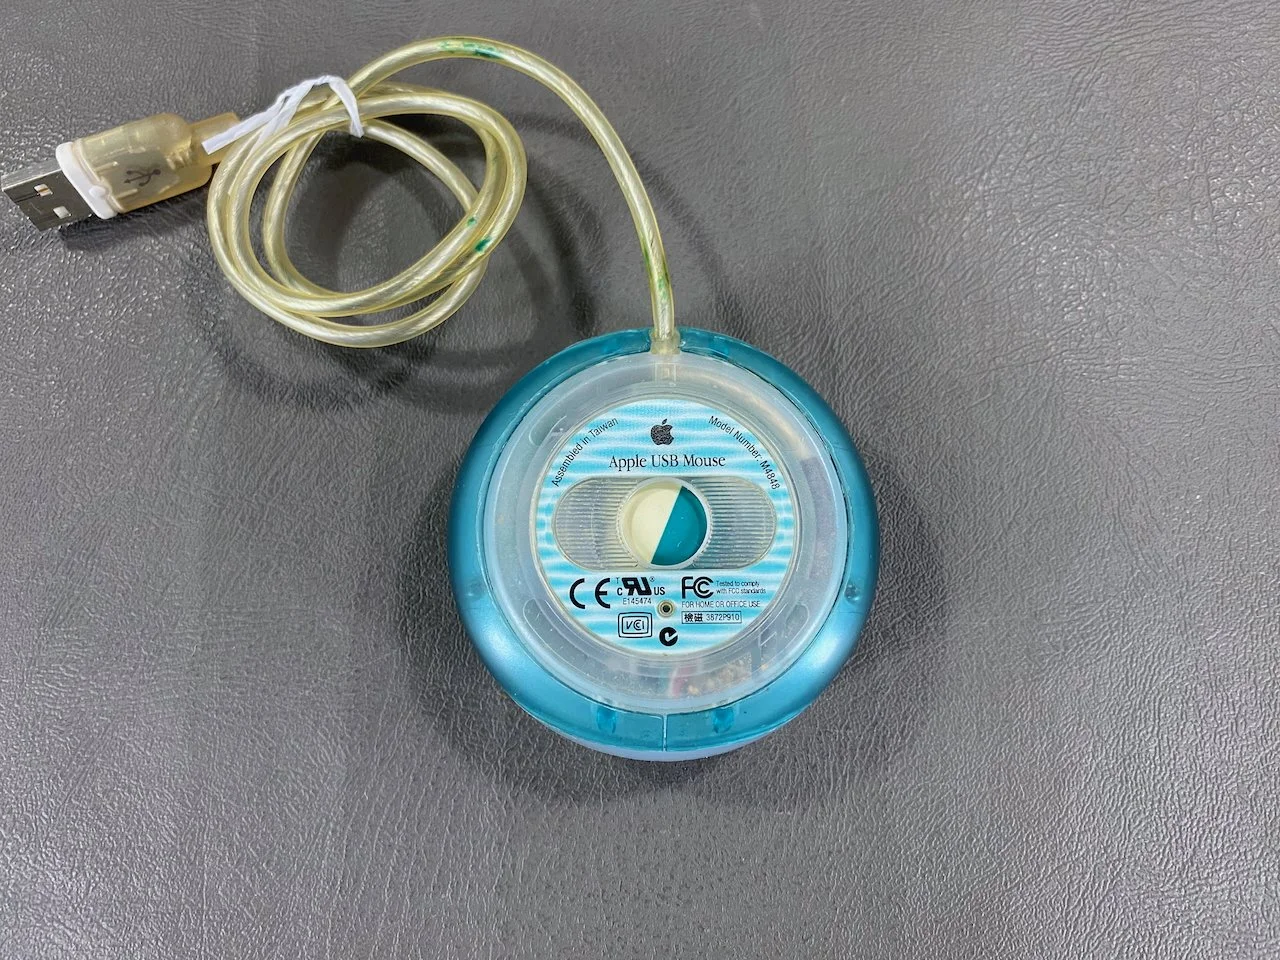
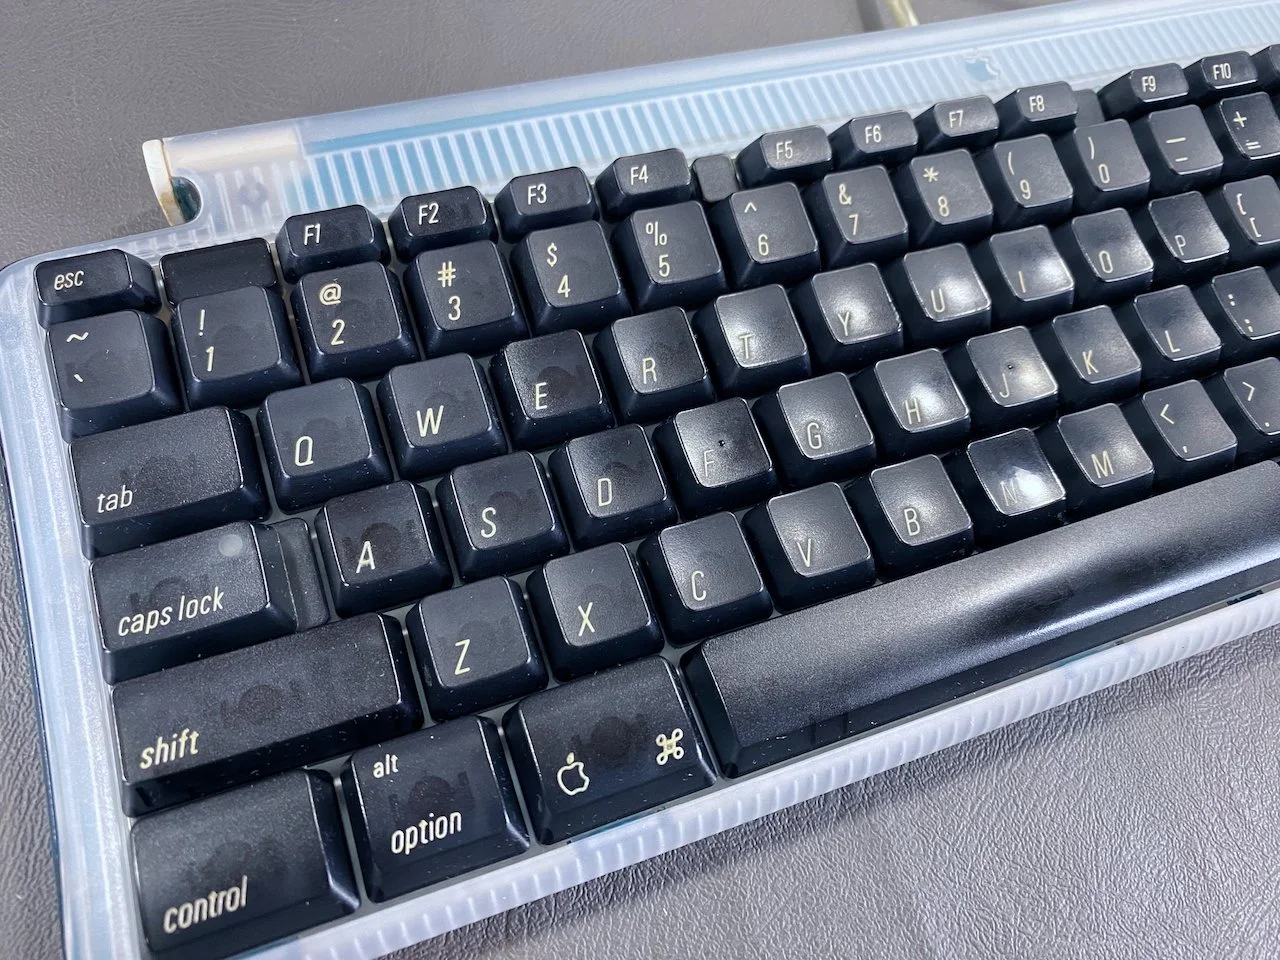
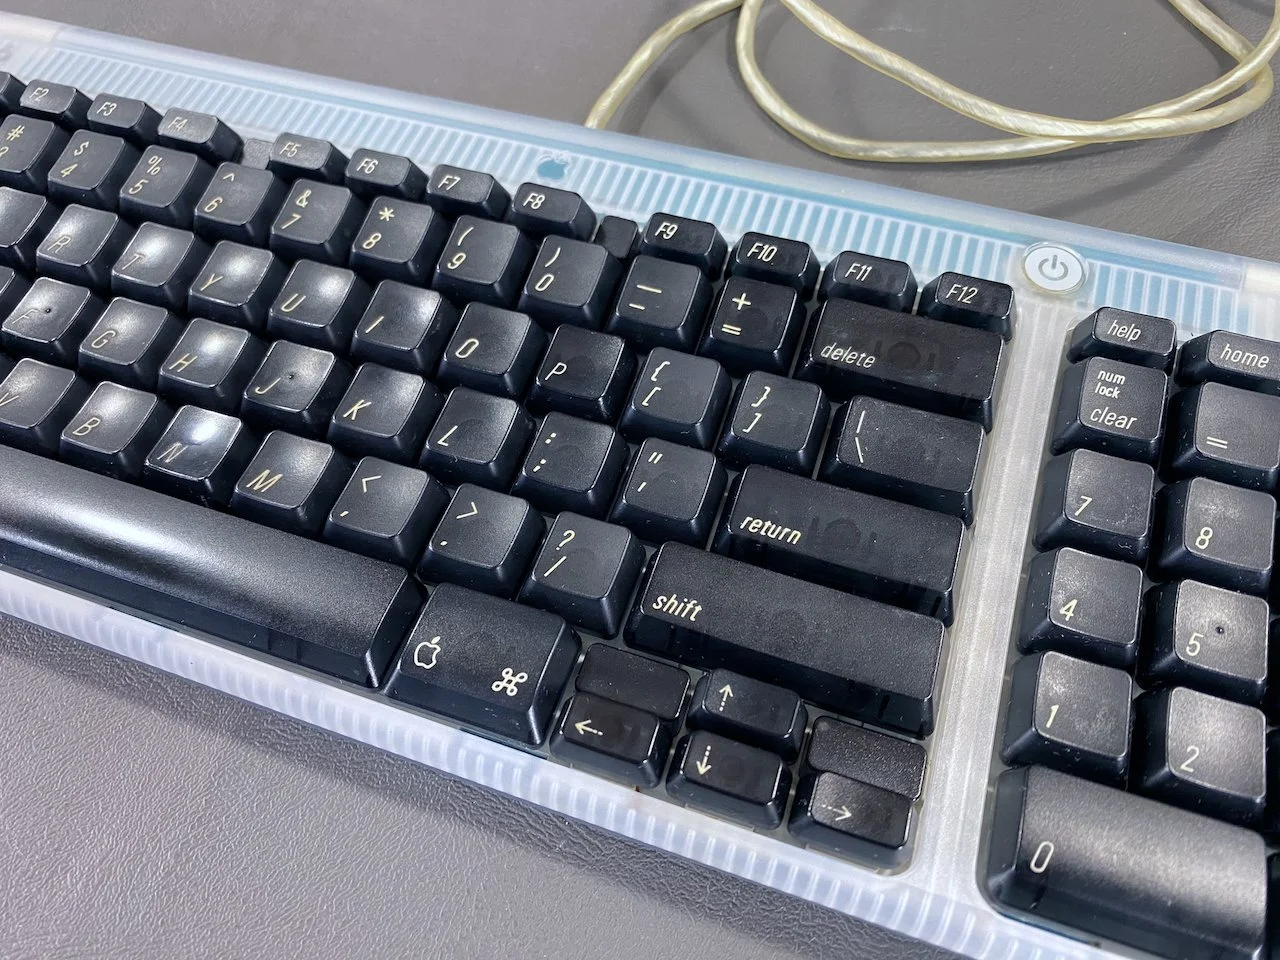
The M2452 USB Keyboard and famous M4848 “hockey puck” USB Mouse bundled with iMac and Power Mac models between mid-1998 and early 2000.
Aesthetically, this keyboard and mouse are my favorite models made by Apple. Even the bottom of the keyboard is beautiful, with the translucent plastic and holographic decal.
System Specs
mSATA SSD Installation
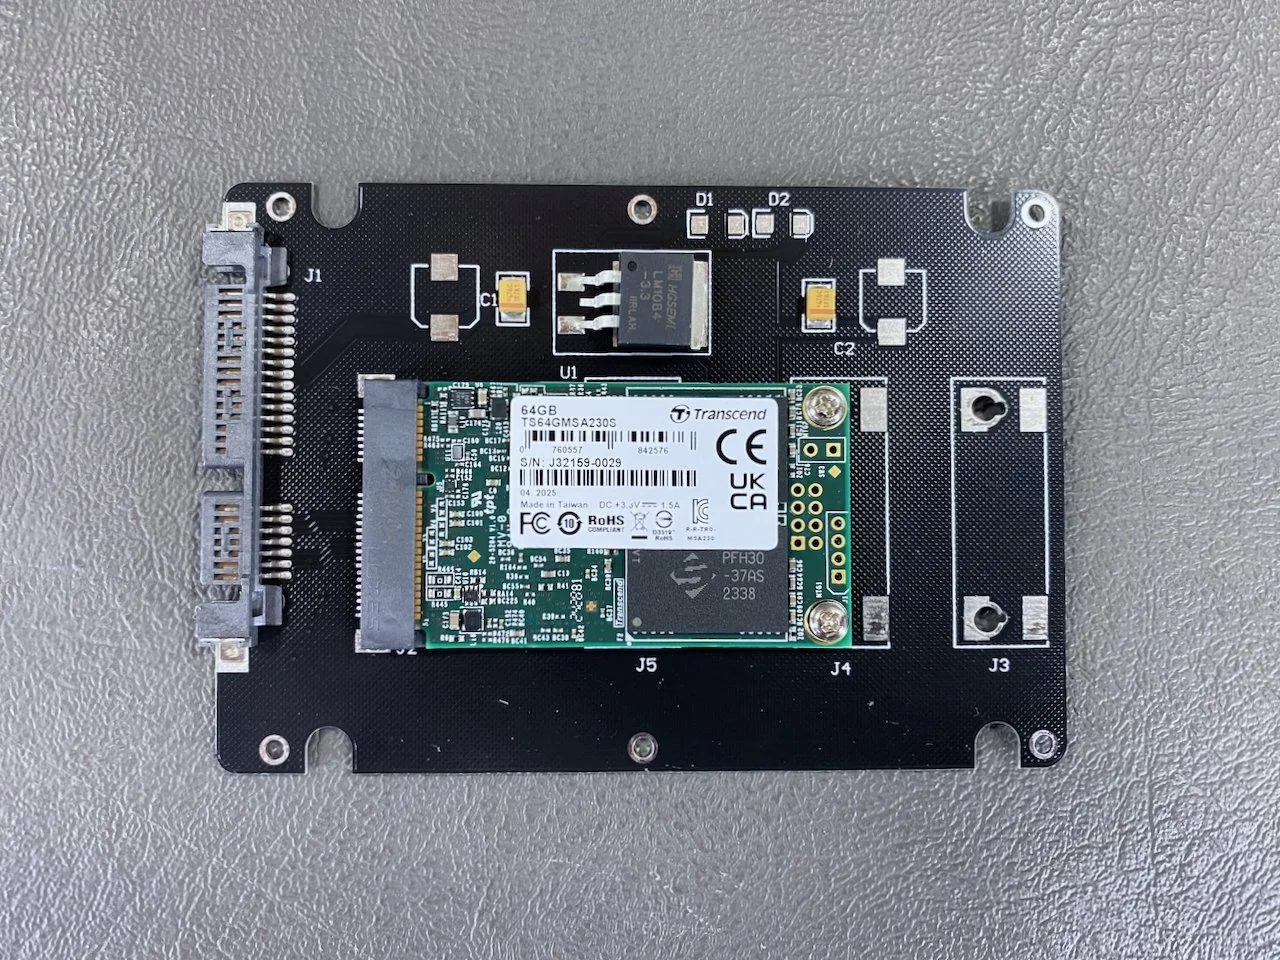
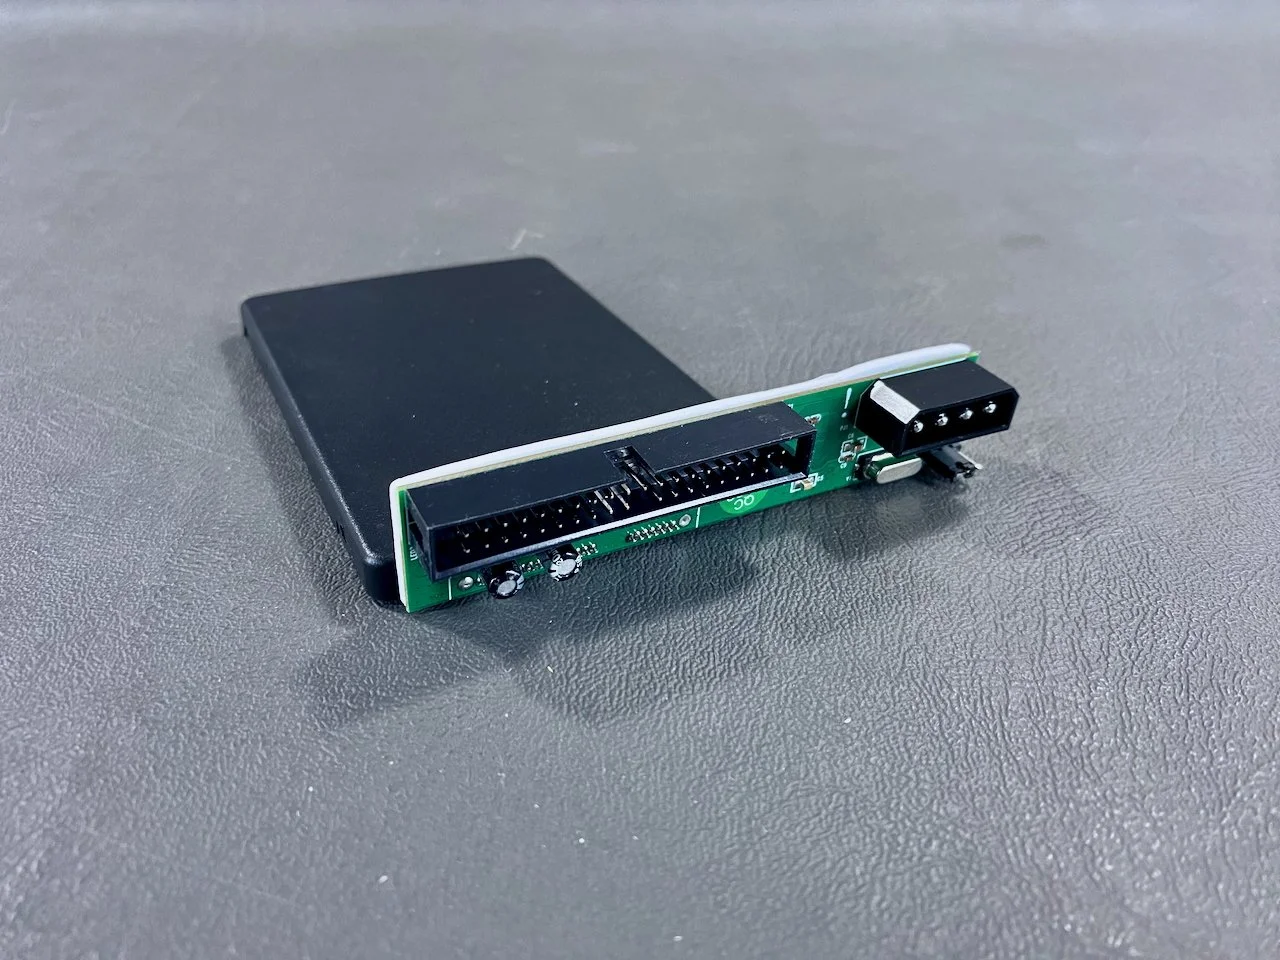
This upgrade makes the computer quieter, faster, and more reliable. I chose to install a 64 GB mSATA SSD using a 2.5” mSATA-to-SATA adapter housing and a 3.5” IDE-to-SATA adapter.
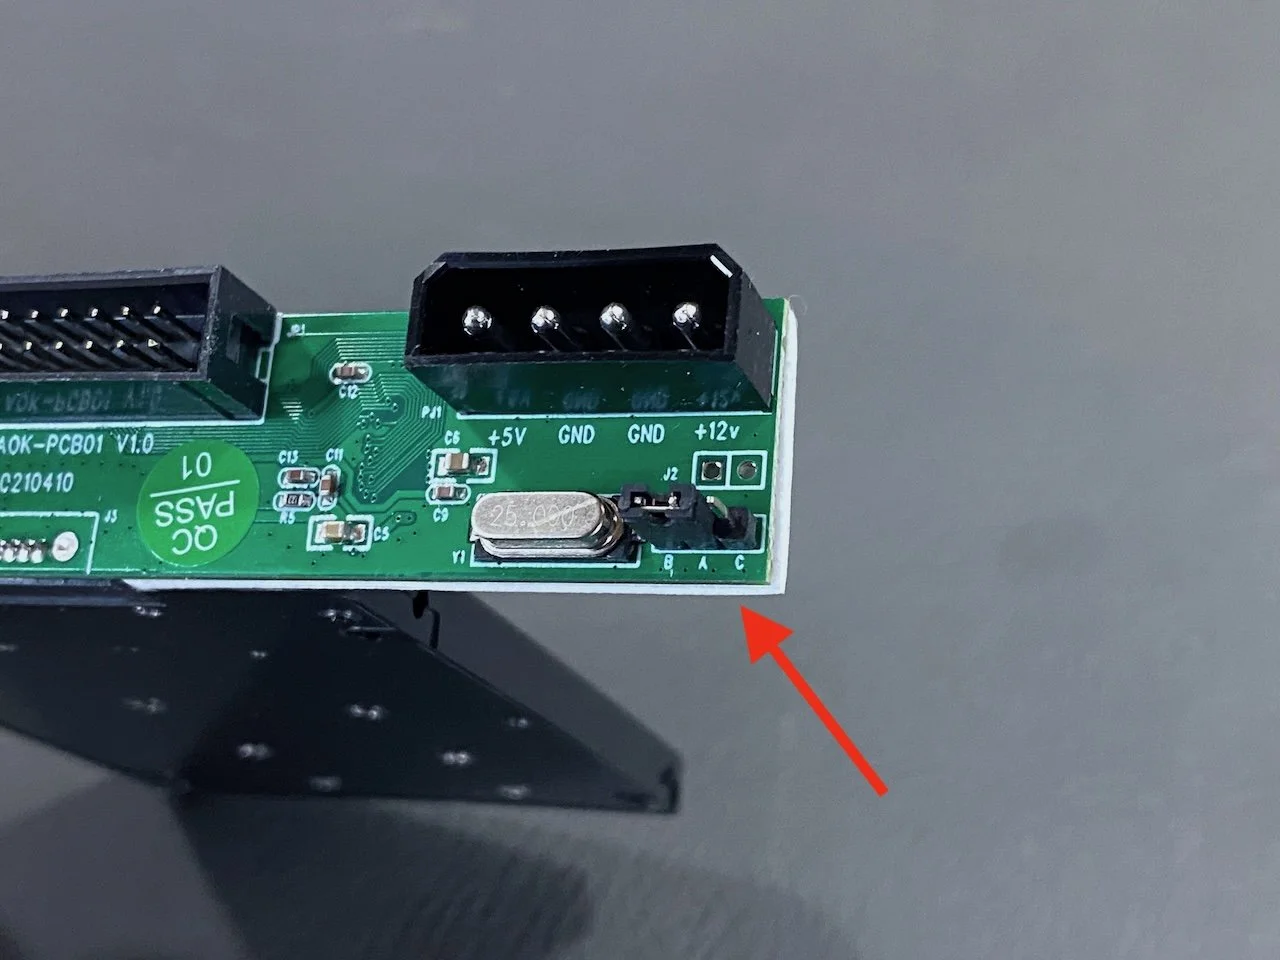
The 3.5” IDE-to-SATA adapter I used has some jumper pins on it; I left the jumper in the default “A-B” configuration and this worked fine. This differs from the slot-loading iMac G3s that require a Master-Slave jumper configuration.
I can verify that this 3.5” IDE-to-SATA adapter is a tested working solution for tray-loading iMacs. I tried one of the red Startech adapter boards first, and it did NOT work in this particular model.
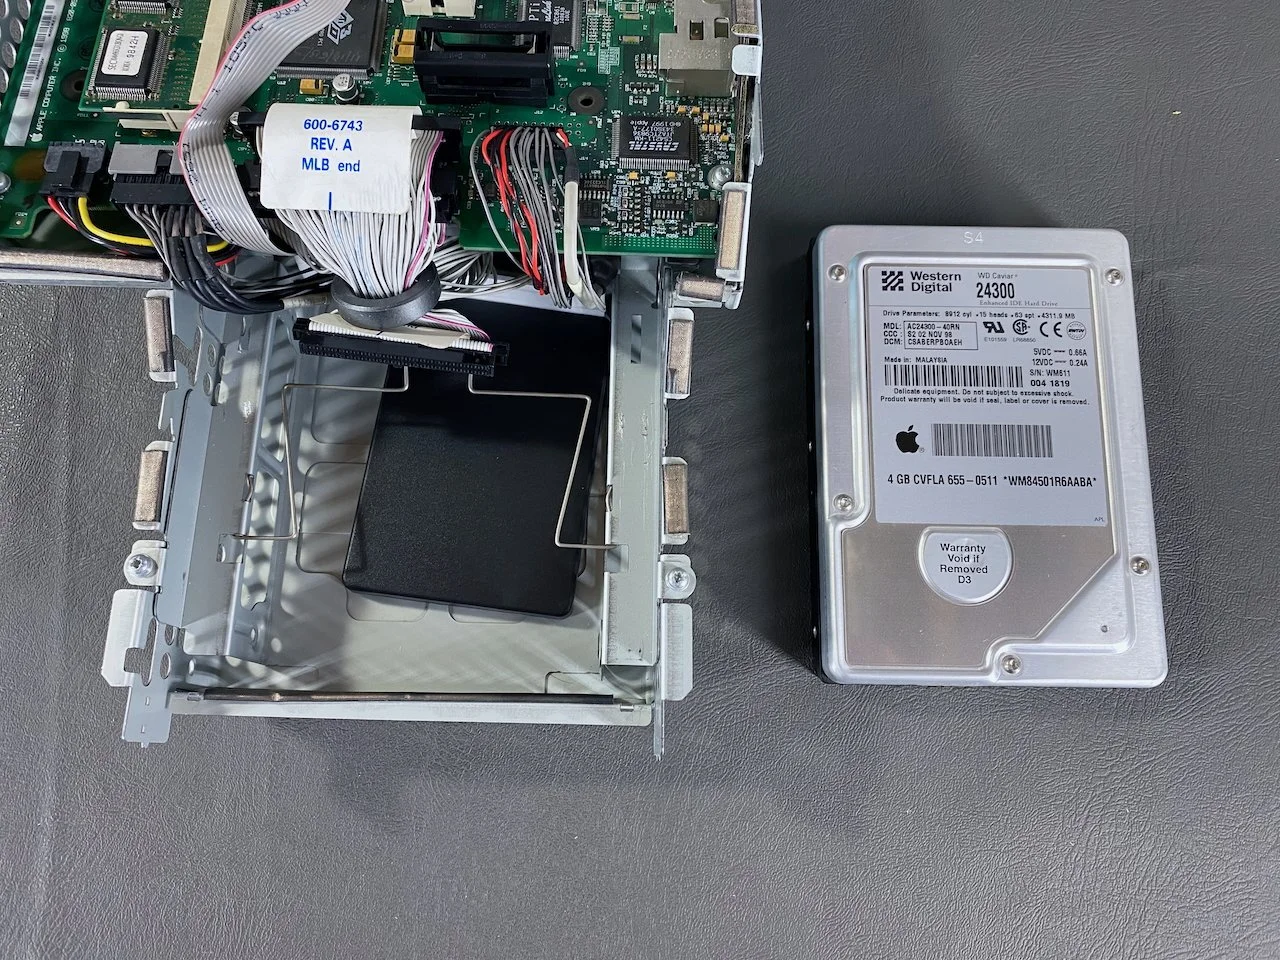
This SSD was a plug-and-play solution. I had to mount it at a slight angle due to the width of the new drive assembly, but I did use some thick double-sided mounting tape to secure it properly inside the drive bracket.
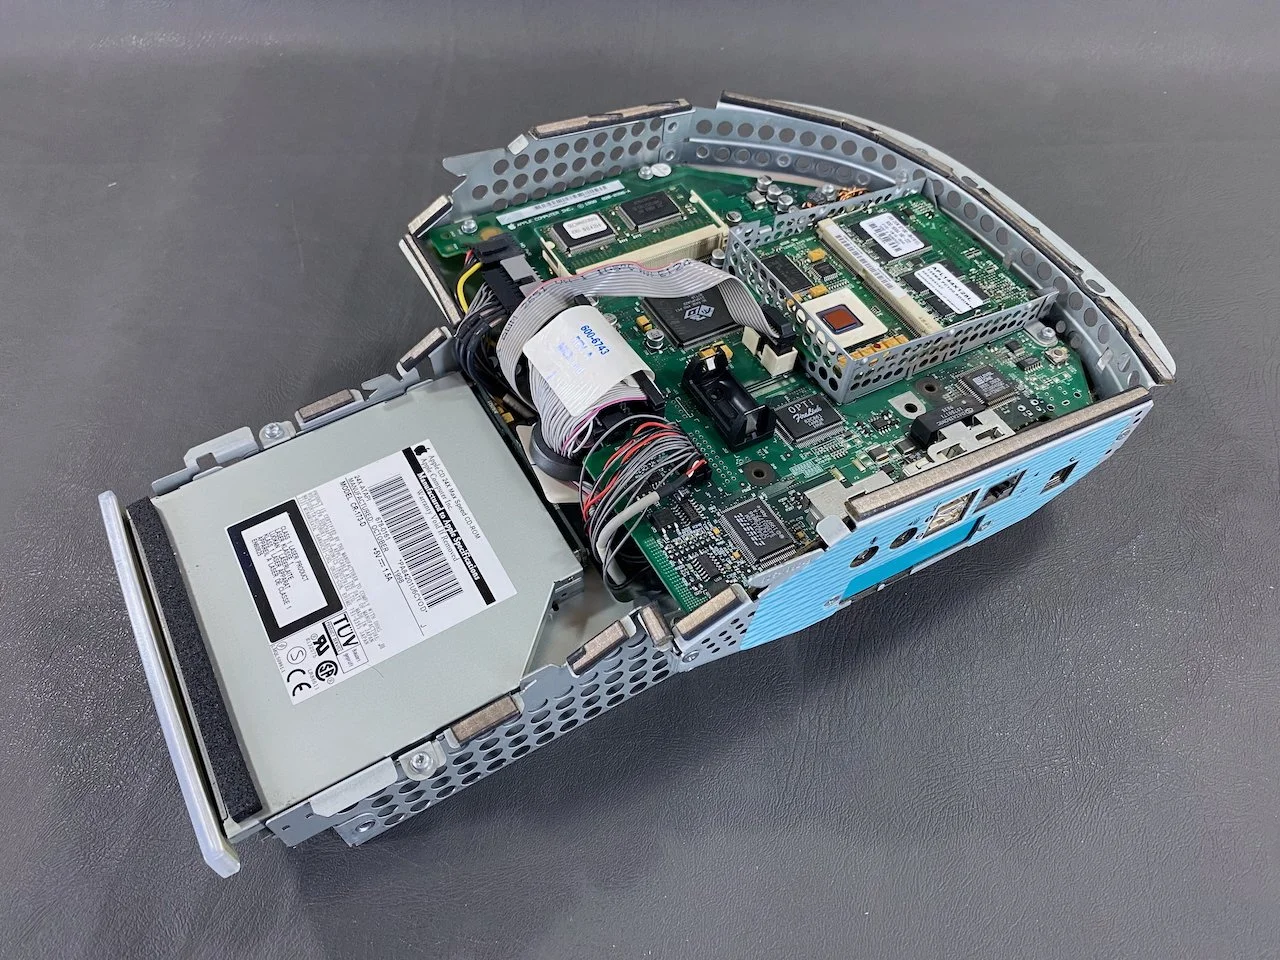
The new SSD fit nicely inside the original drive bracket and bay, underneath the optical drive (seen here at bottom left) within the iMac’s logic board assembly.
Keyboard Teardown & Cleaning
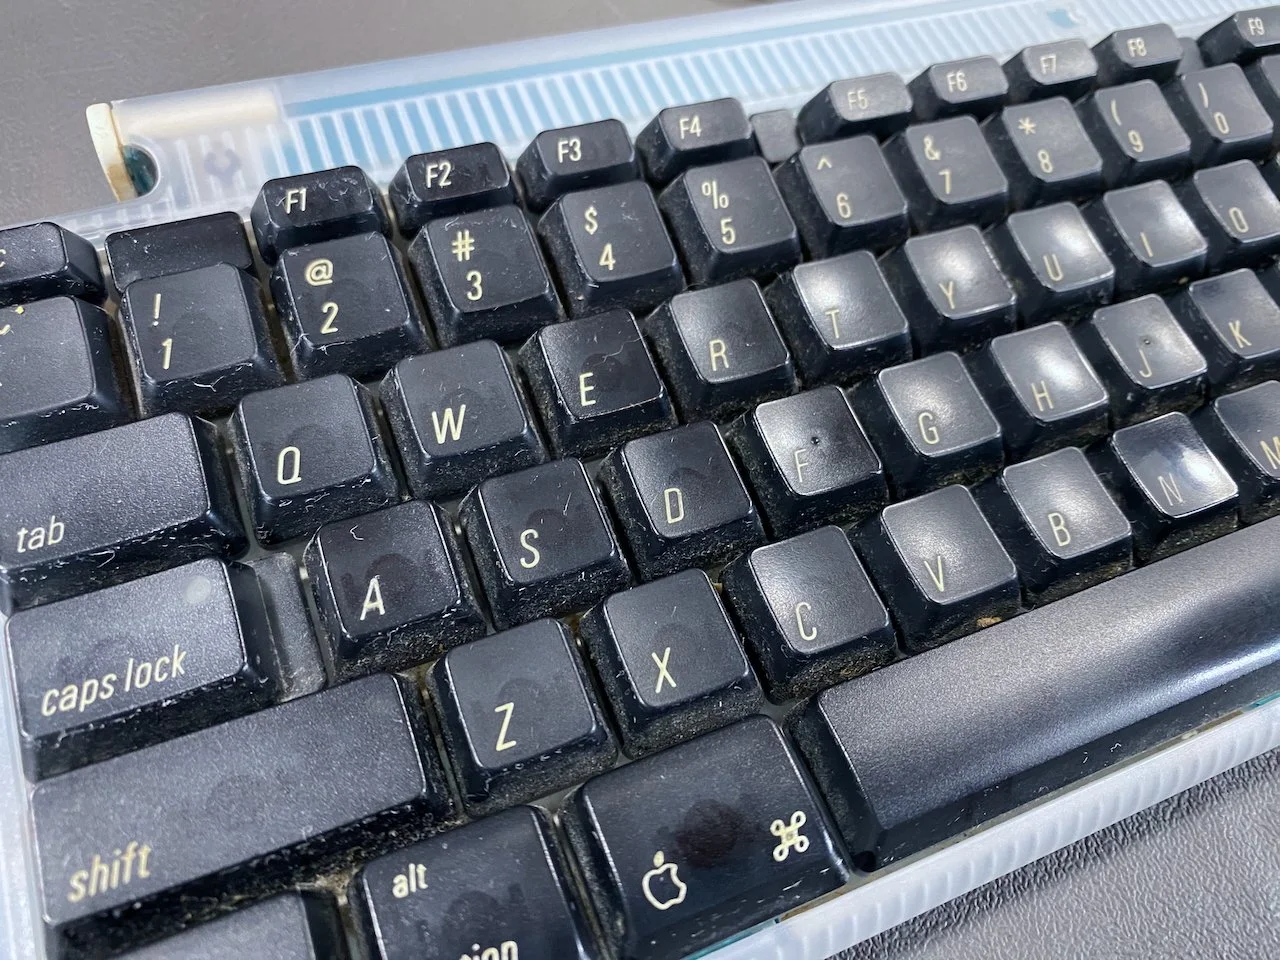
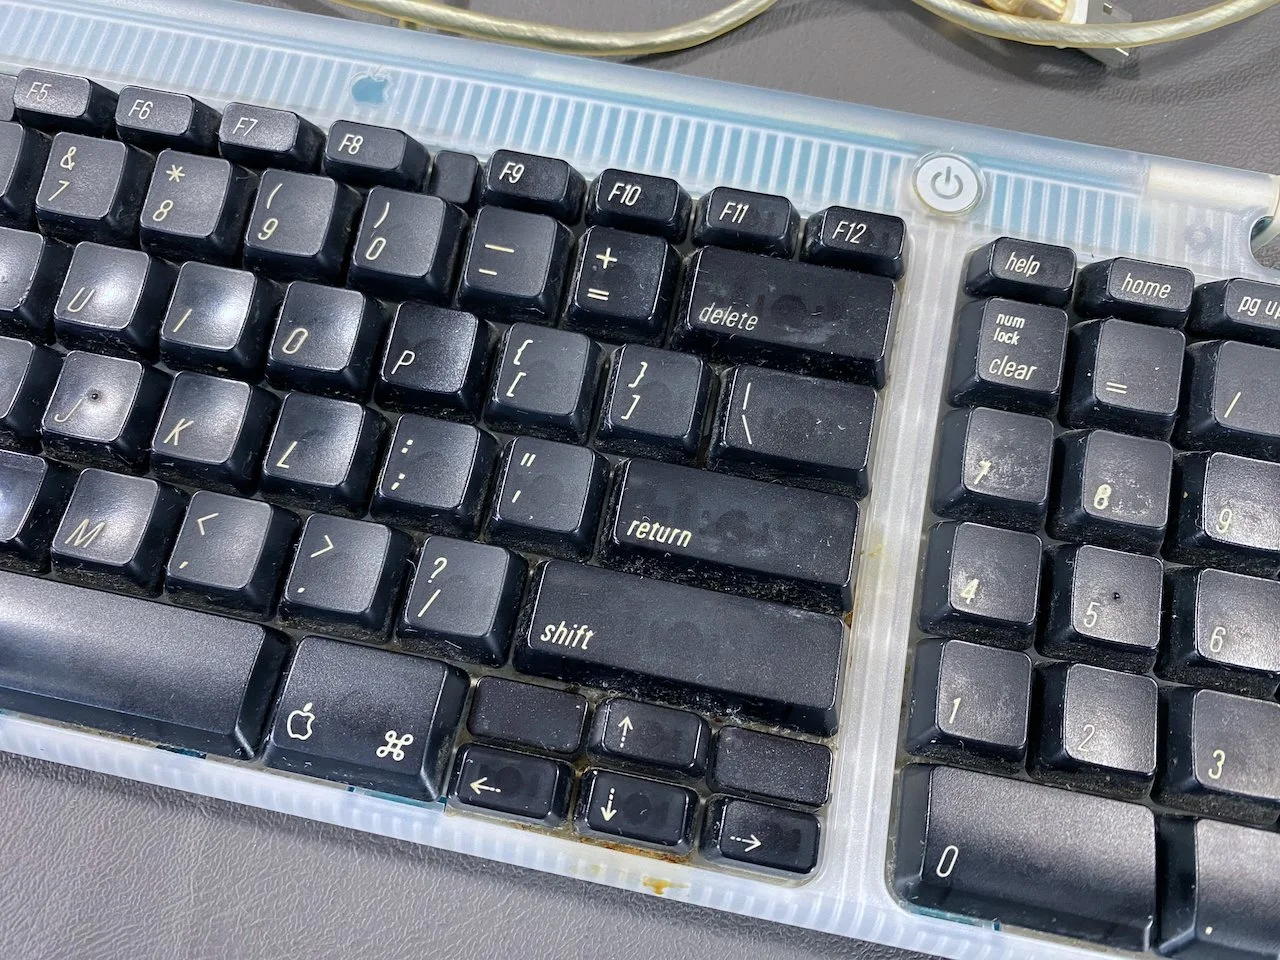
This is what the keyboard looked like when I acquired it. Every single key was at least somewhat dirty, and most were quite gross. Lots of dust and debris between the keys and there was clearly a lot of dirt beneath them as well.
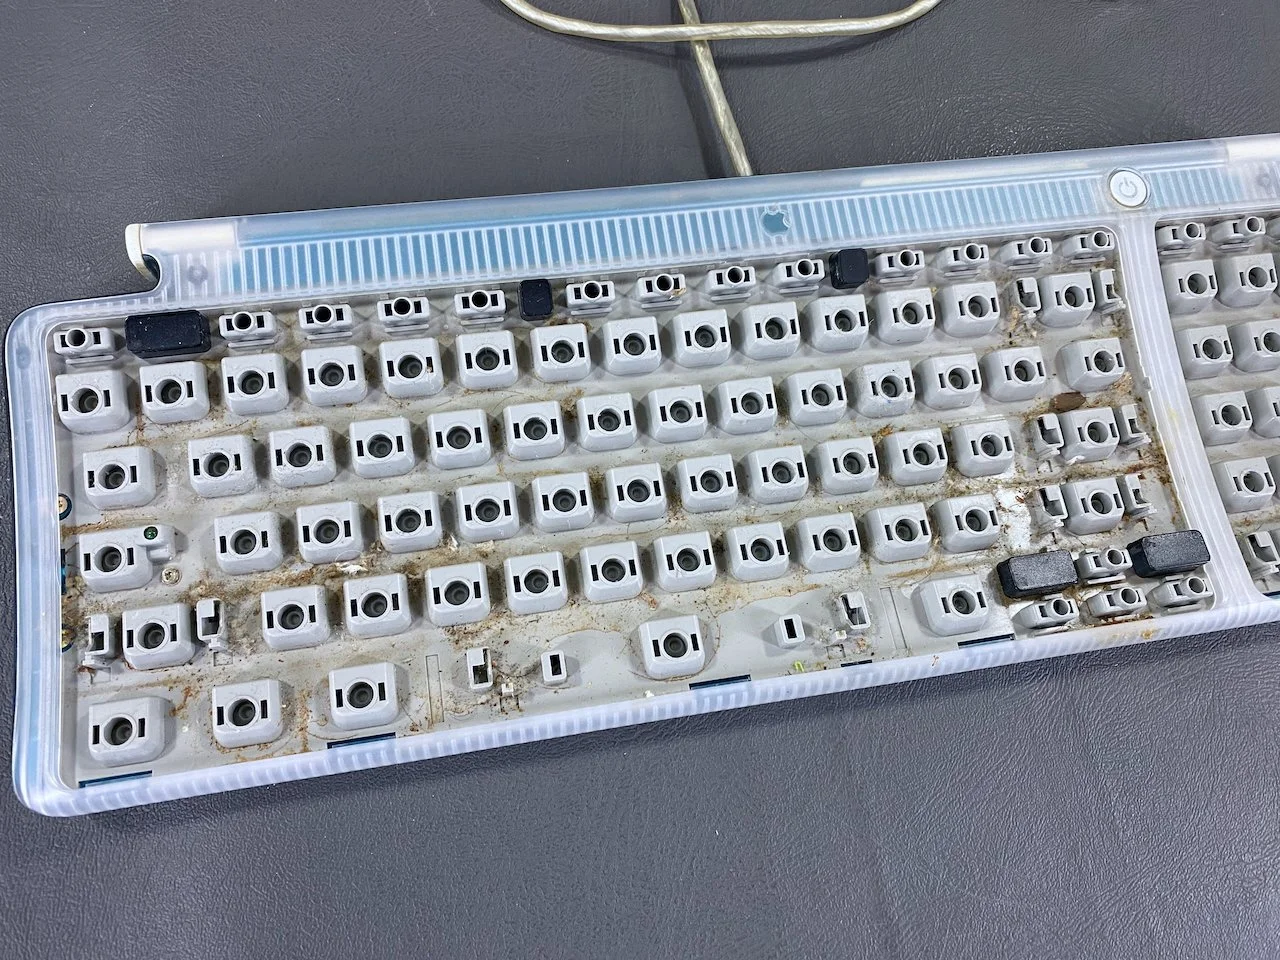
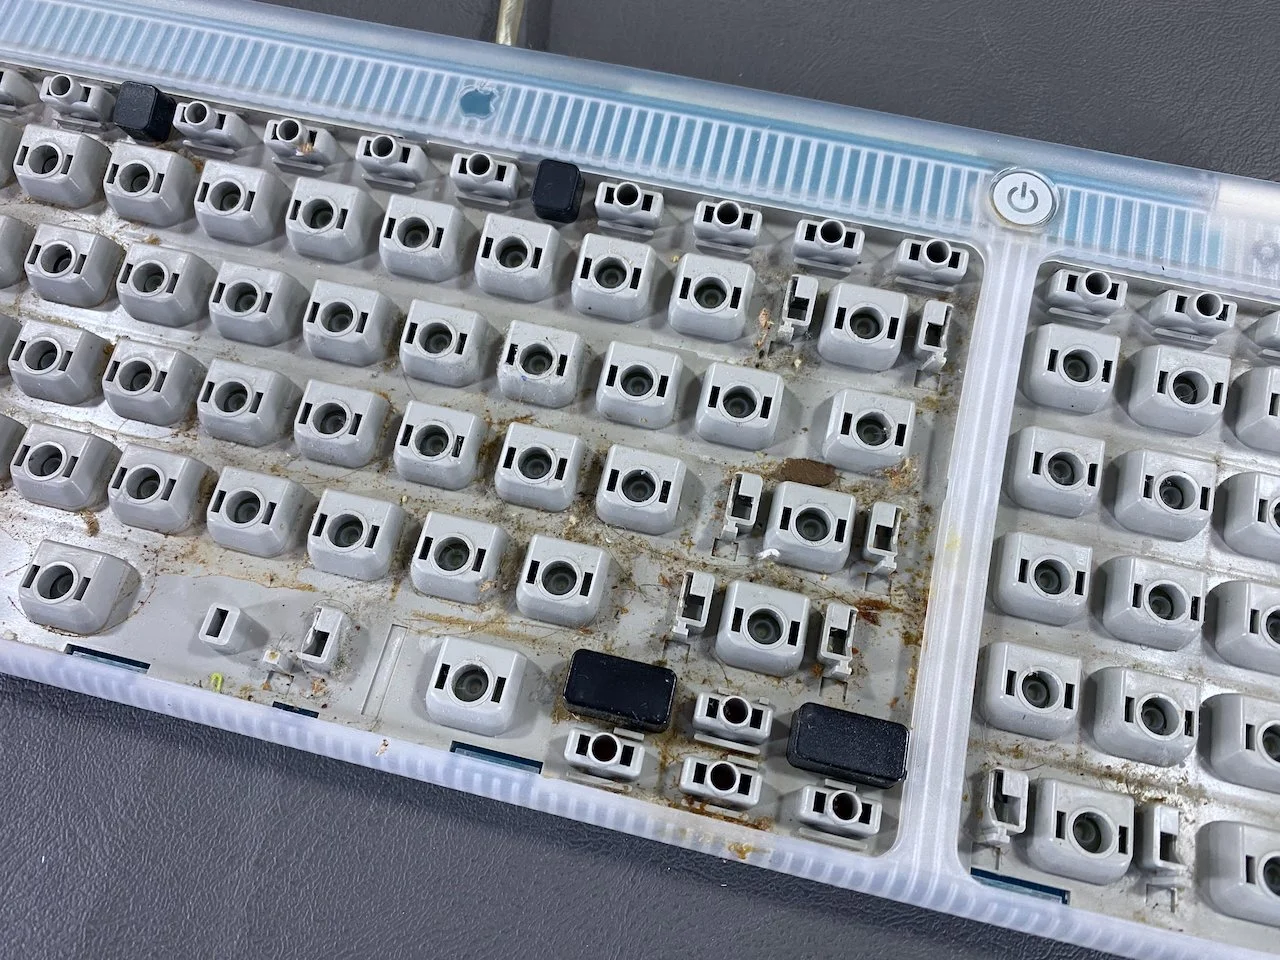
The hidden filth that was hiding beneath the keys - pretty gross. Cleaning this requires the removal of every key and cleaning all 97 of them, one by one, as well.
The keyboard itself was in excellent physical condition, with no scuffs or other damage, so it just needed a thorough cleaning. I typically use Clorox disinfecting wipes, isopropyl alcohol, and Windex with some paper towels and Q-tips for this.
Lots of dust, crumbs, hair, and stains from dried-up liquid spills. This keyboard, and the iMac it accompanied, were clearly well-loved and well-used.
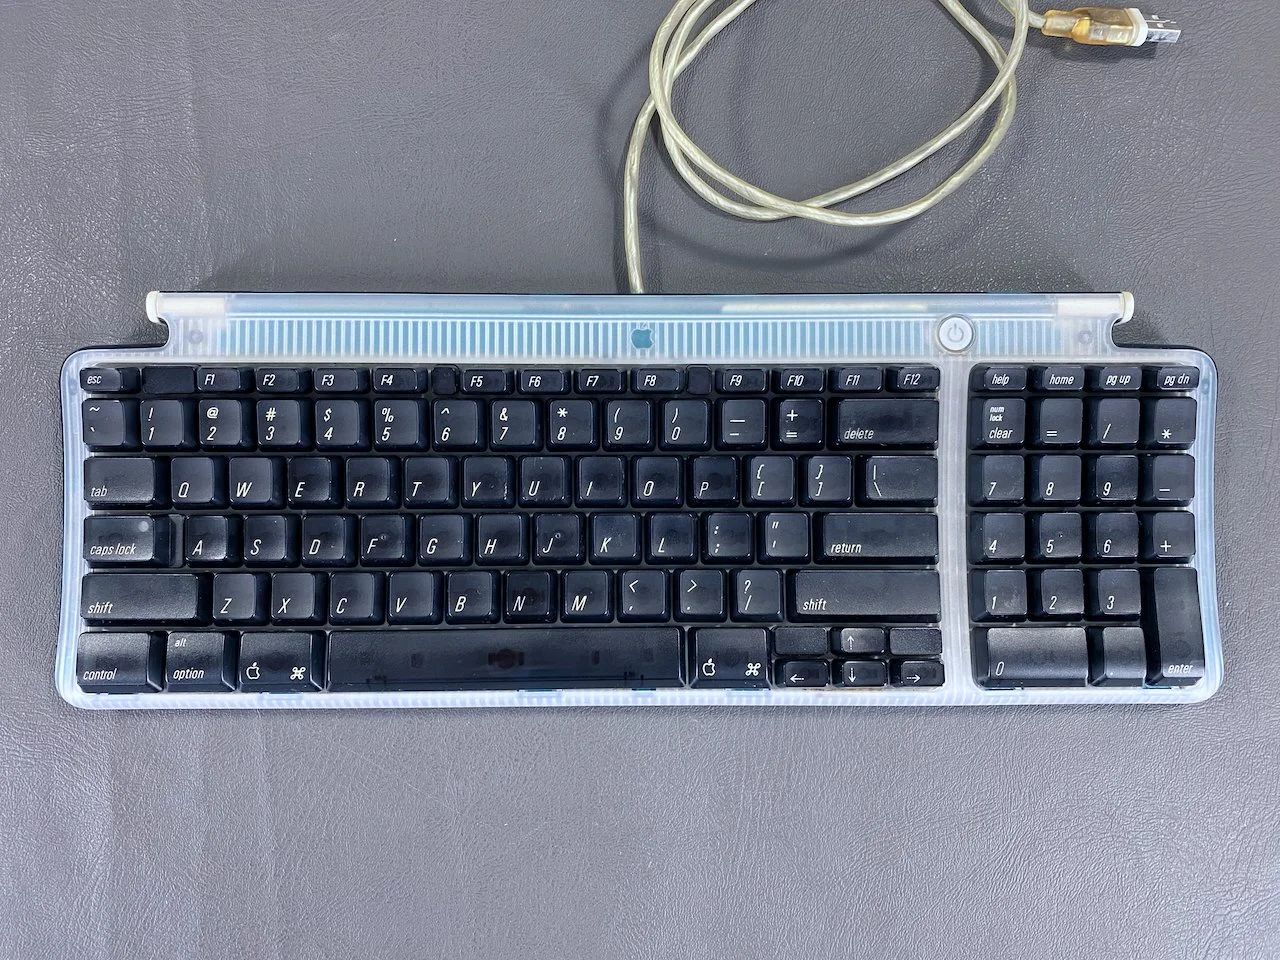
The “After” photo! Much cleaner (and more sanitary) now.
Comparison with Slot-Loading iMac G3
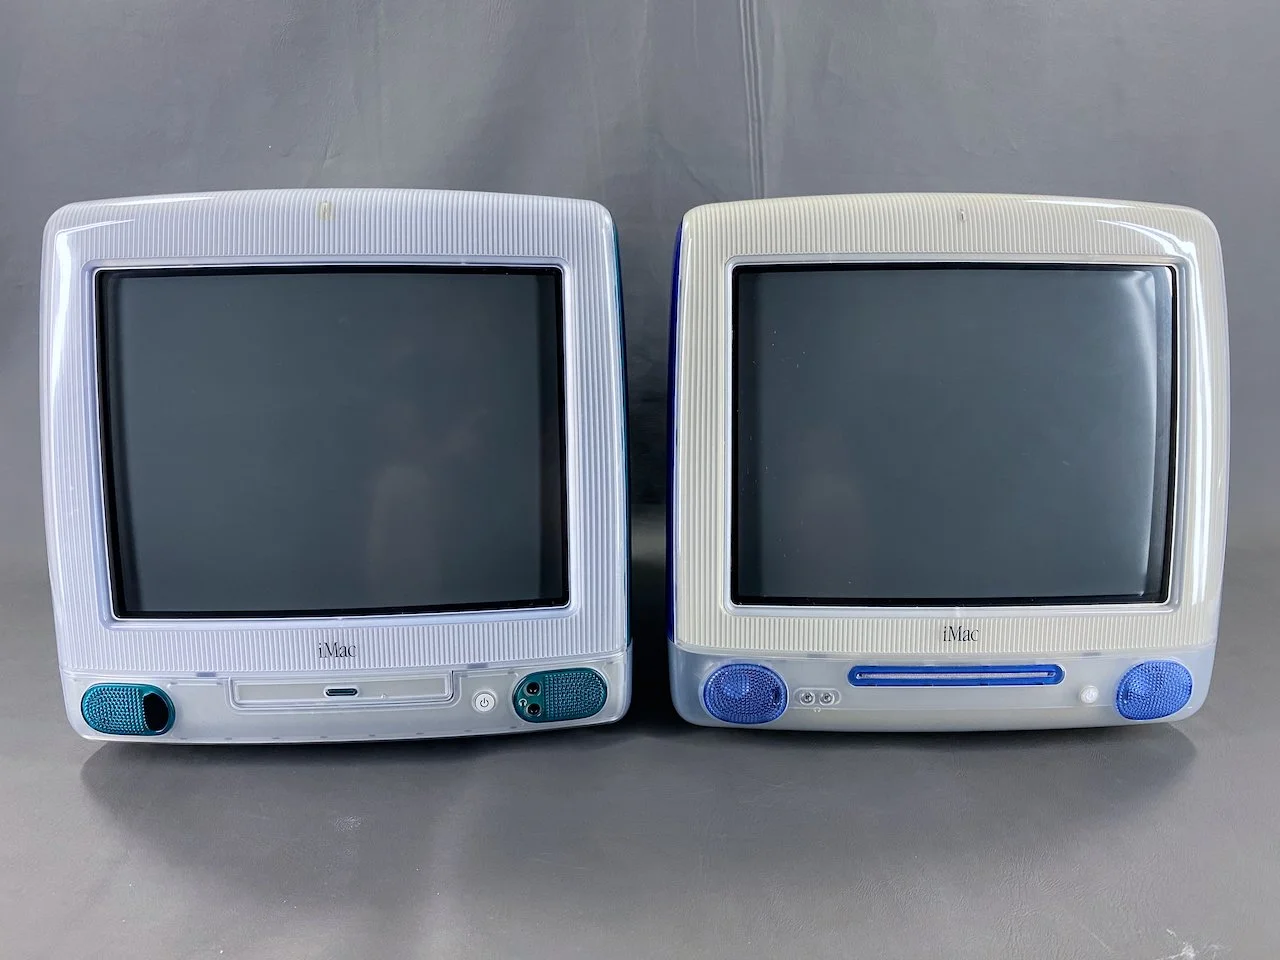
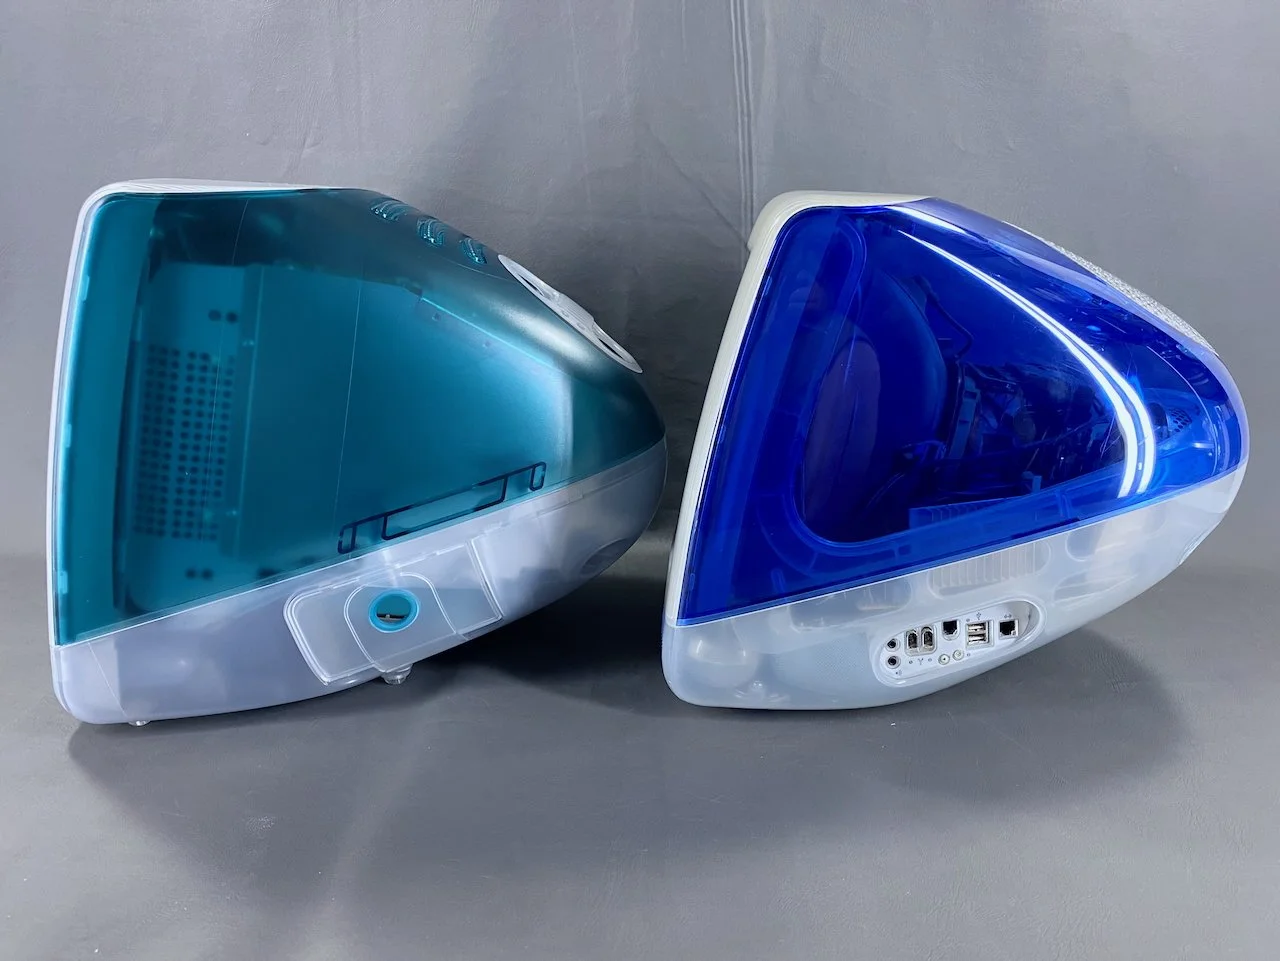
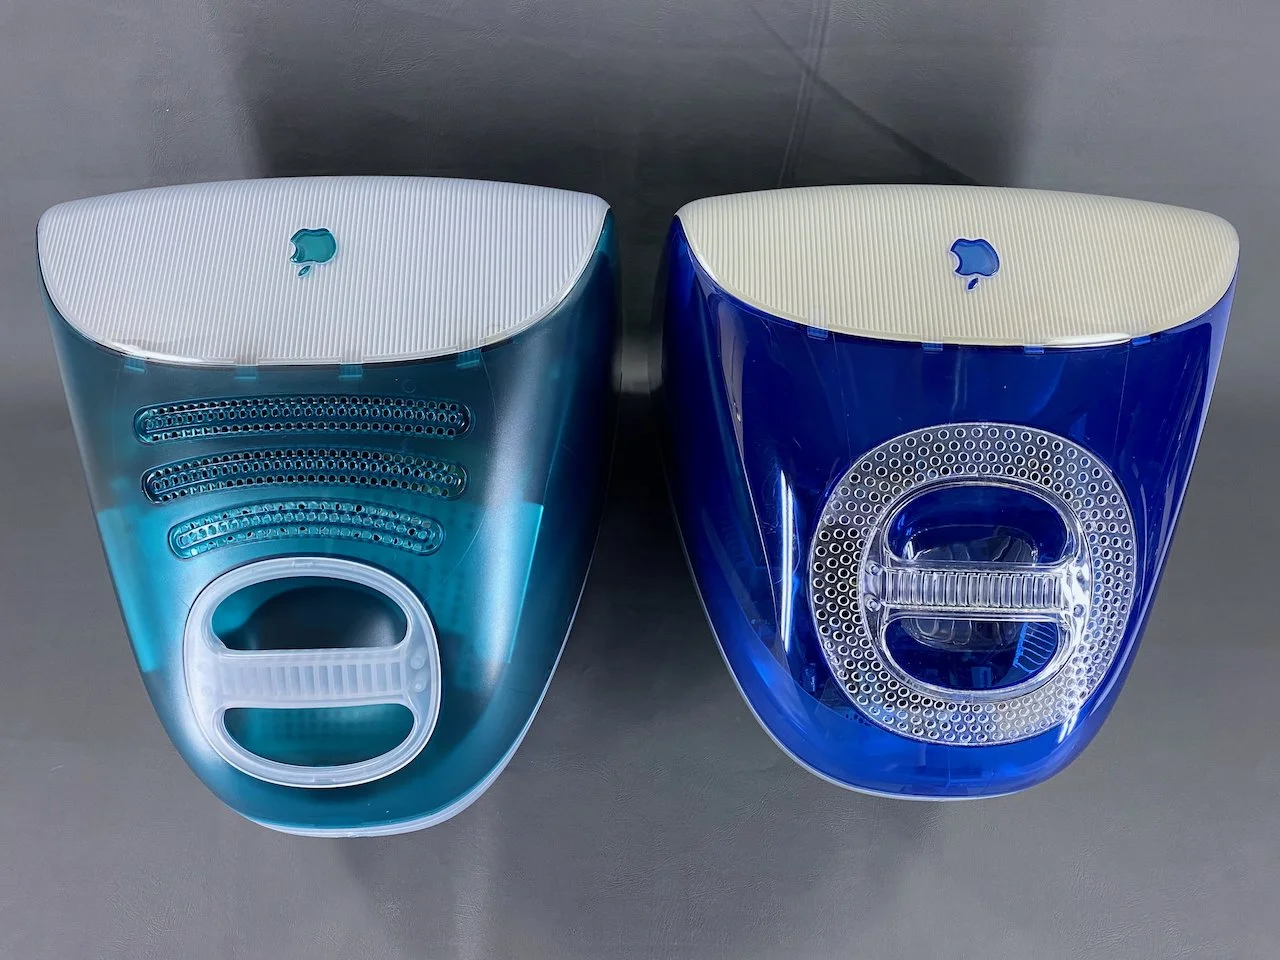
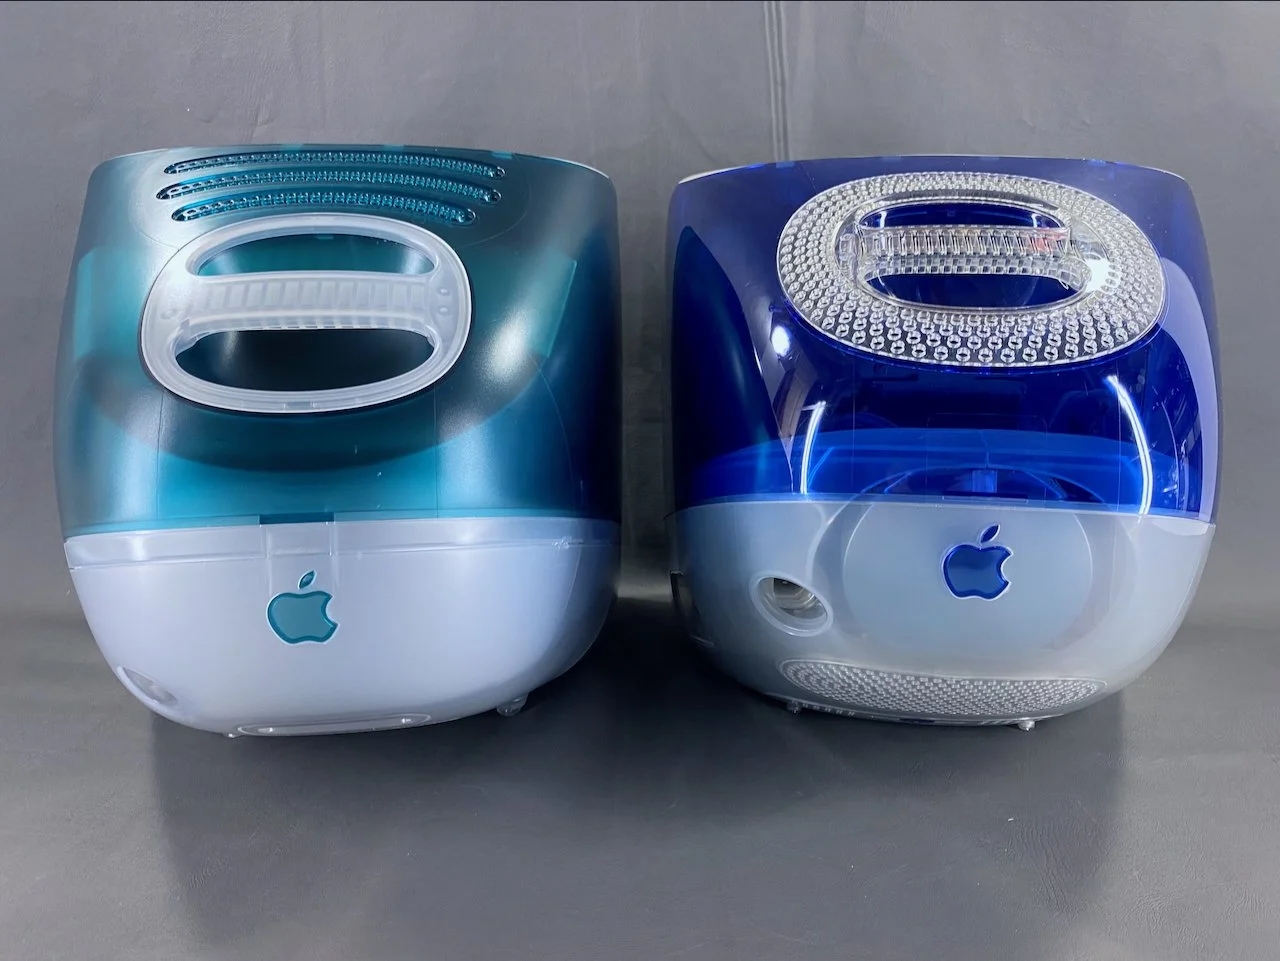
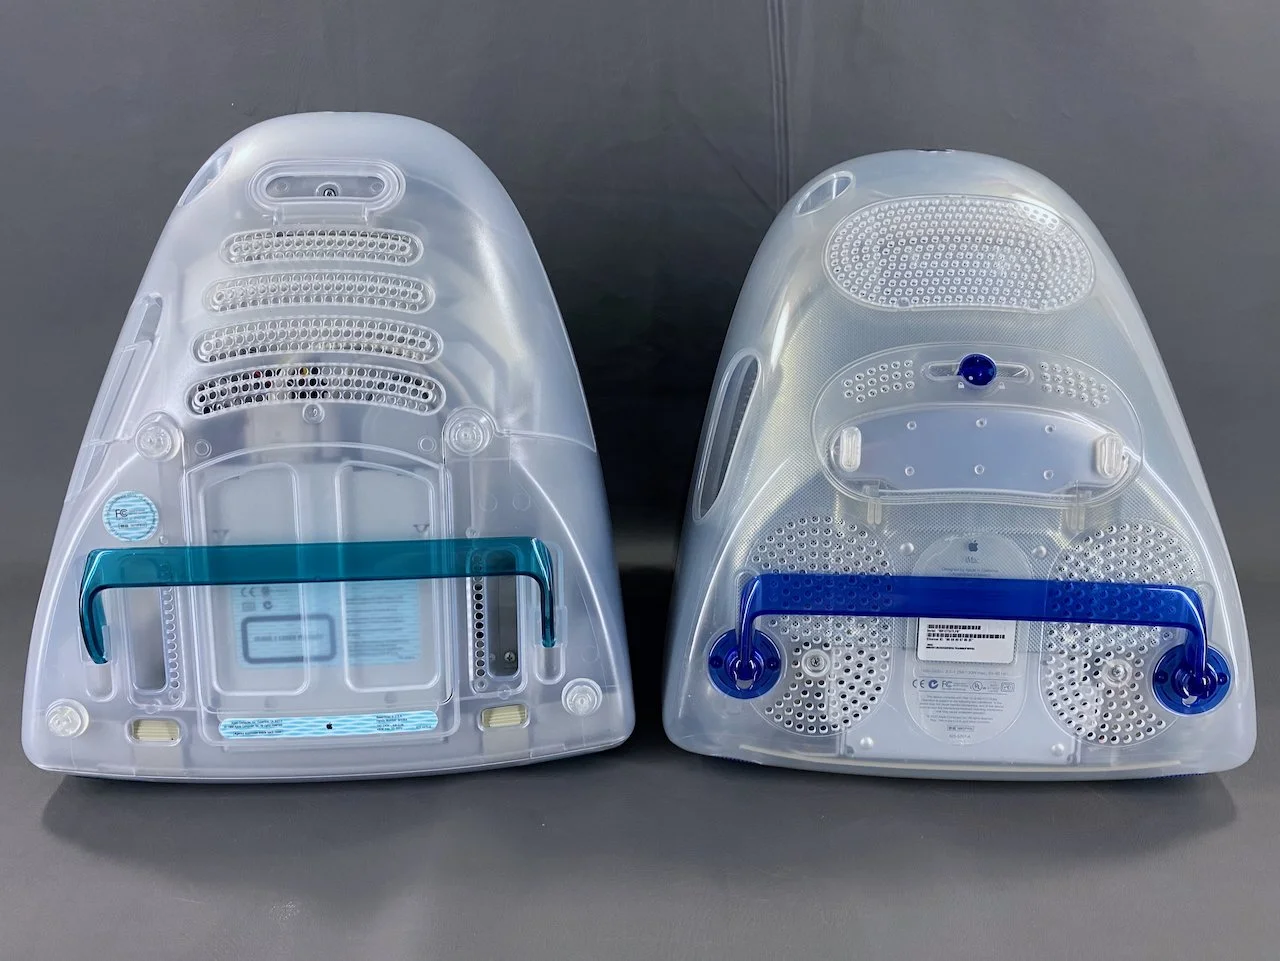
Tray-loading (Bondi Blue) iMac, left, next to a slot-loading (Indigo) iMac, right. I won’t get into all the specific differences between these machines, but suffice it to say that each one feels very different to use and work with relative to the other. As some examples, the tray-loaders have the I/O behind a door, whereas it is all exposed on the slot-loaders. The slot-loaders are also completely transparent all the way through the sides of the case, whereas the tray-loaders have shielding and boards in the way.
You may also notice that the slot-loader appears to be more visibly yellowed on the front and top than the tray-loader - this is because the inner bezel pieces on the slot-loaders are notorious for discoloring with age, as they are made of the same ABS plastic as the earlier beige Macs from the 80s and 90s that do the same thing. I plan to replace the slot-loader’s inner bezel with one of the modern replacement pieces currently being developed by MacEffects as soon as they’re available!
The slot-loaders are about an inch shorter than the tray-loaders. The slot-loaders also incorporate the ventilation grille holes into a neat circle around the handle on top.
The rear of the slot-loaders features a clearly visible circle inside the case where the CRT’s neck board assembly is clearly visible, whereas this is hidden on the tray-loaders.
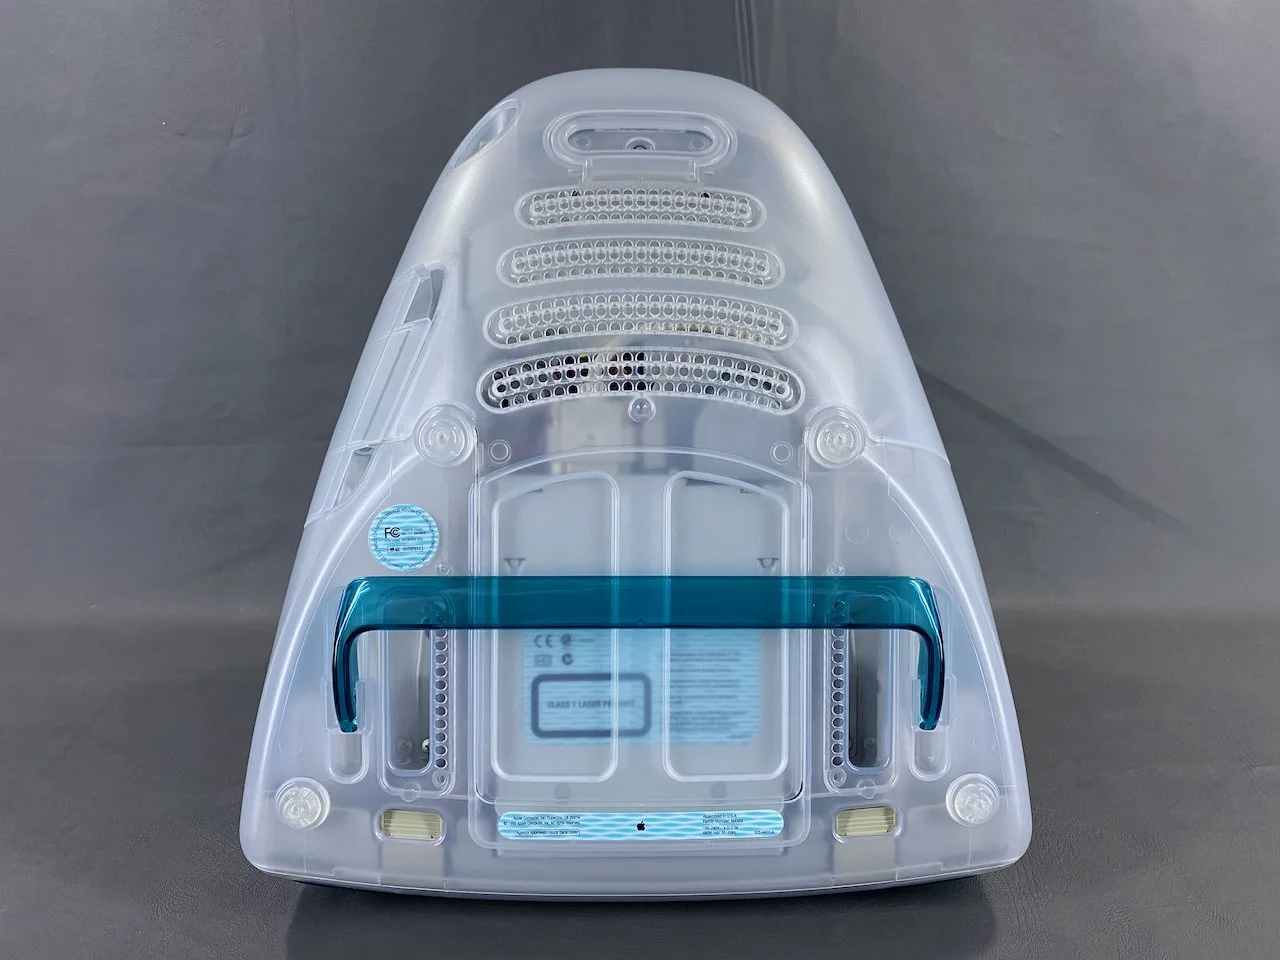
The way that the two machines are put together is completely different, as seen on the bottom. The tray-loaders have a bottom cover that is separate from the bottom case, whereas the slot-loaders have a single bottom case piece that is removed as one part.


