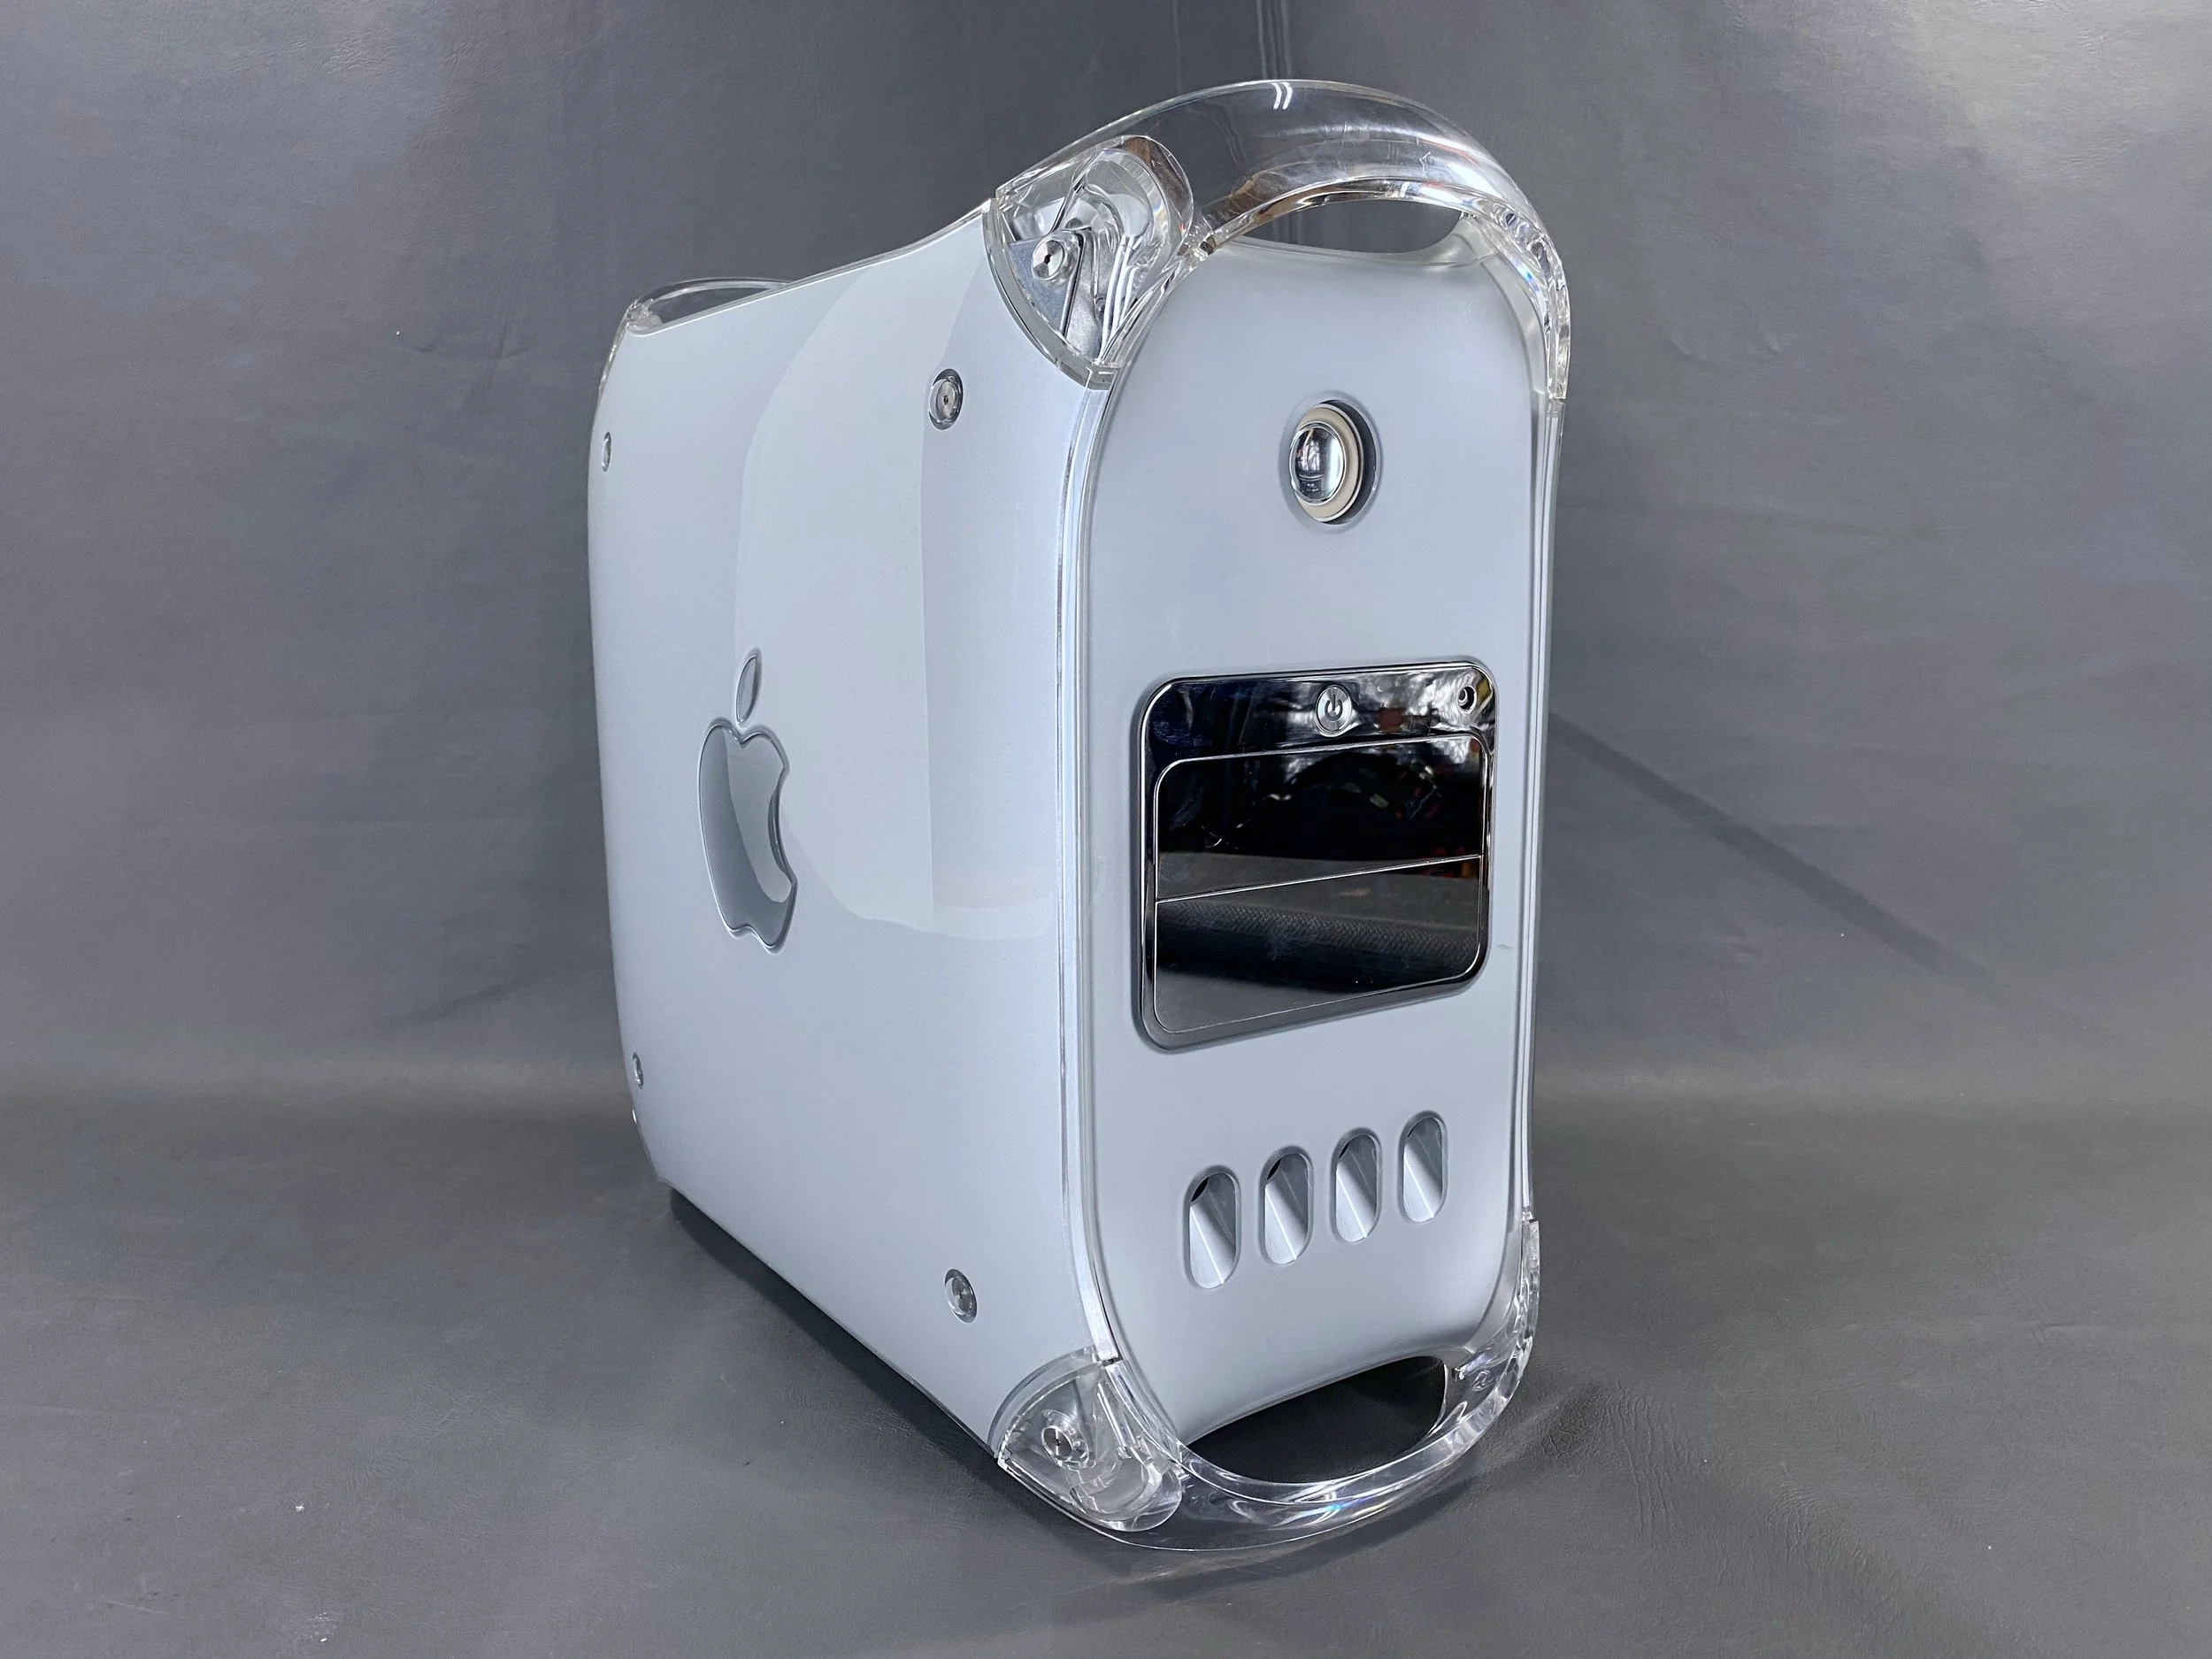
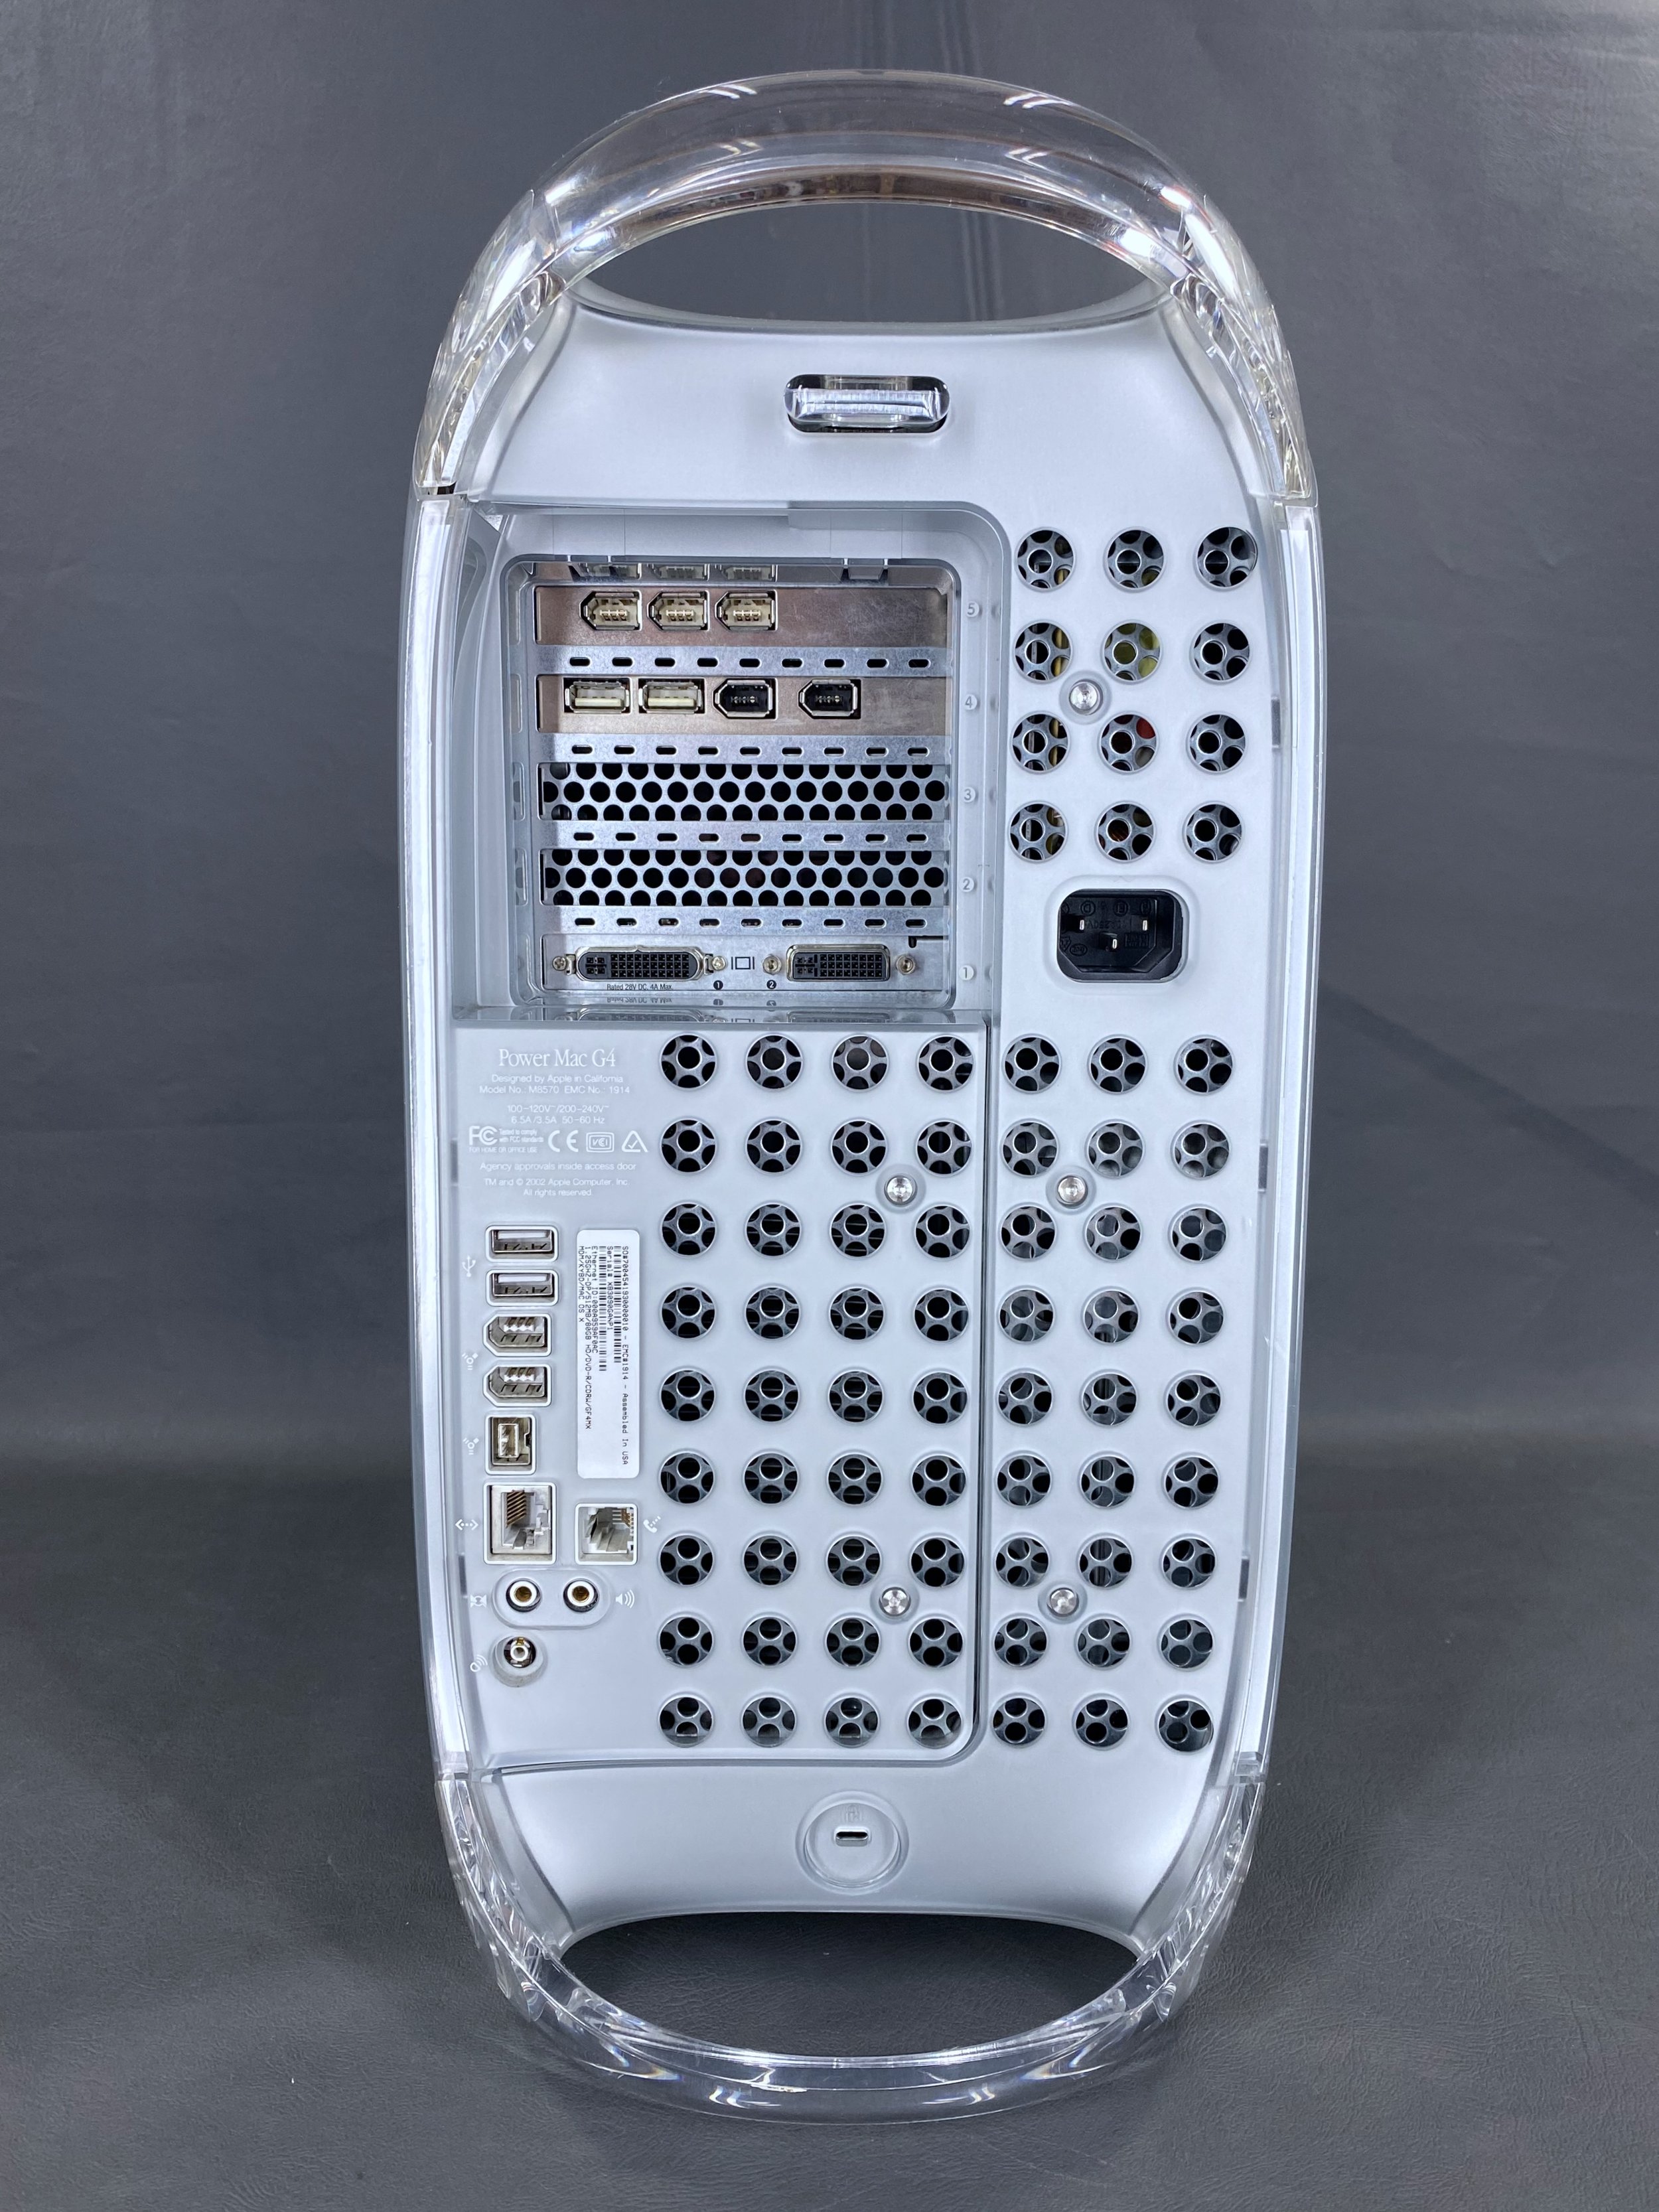
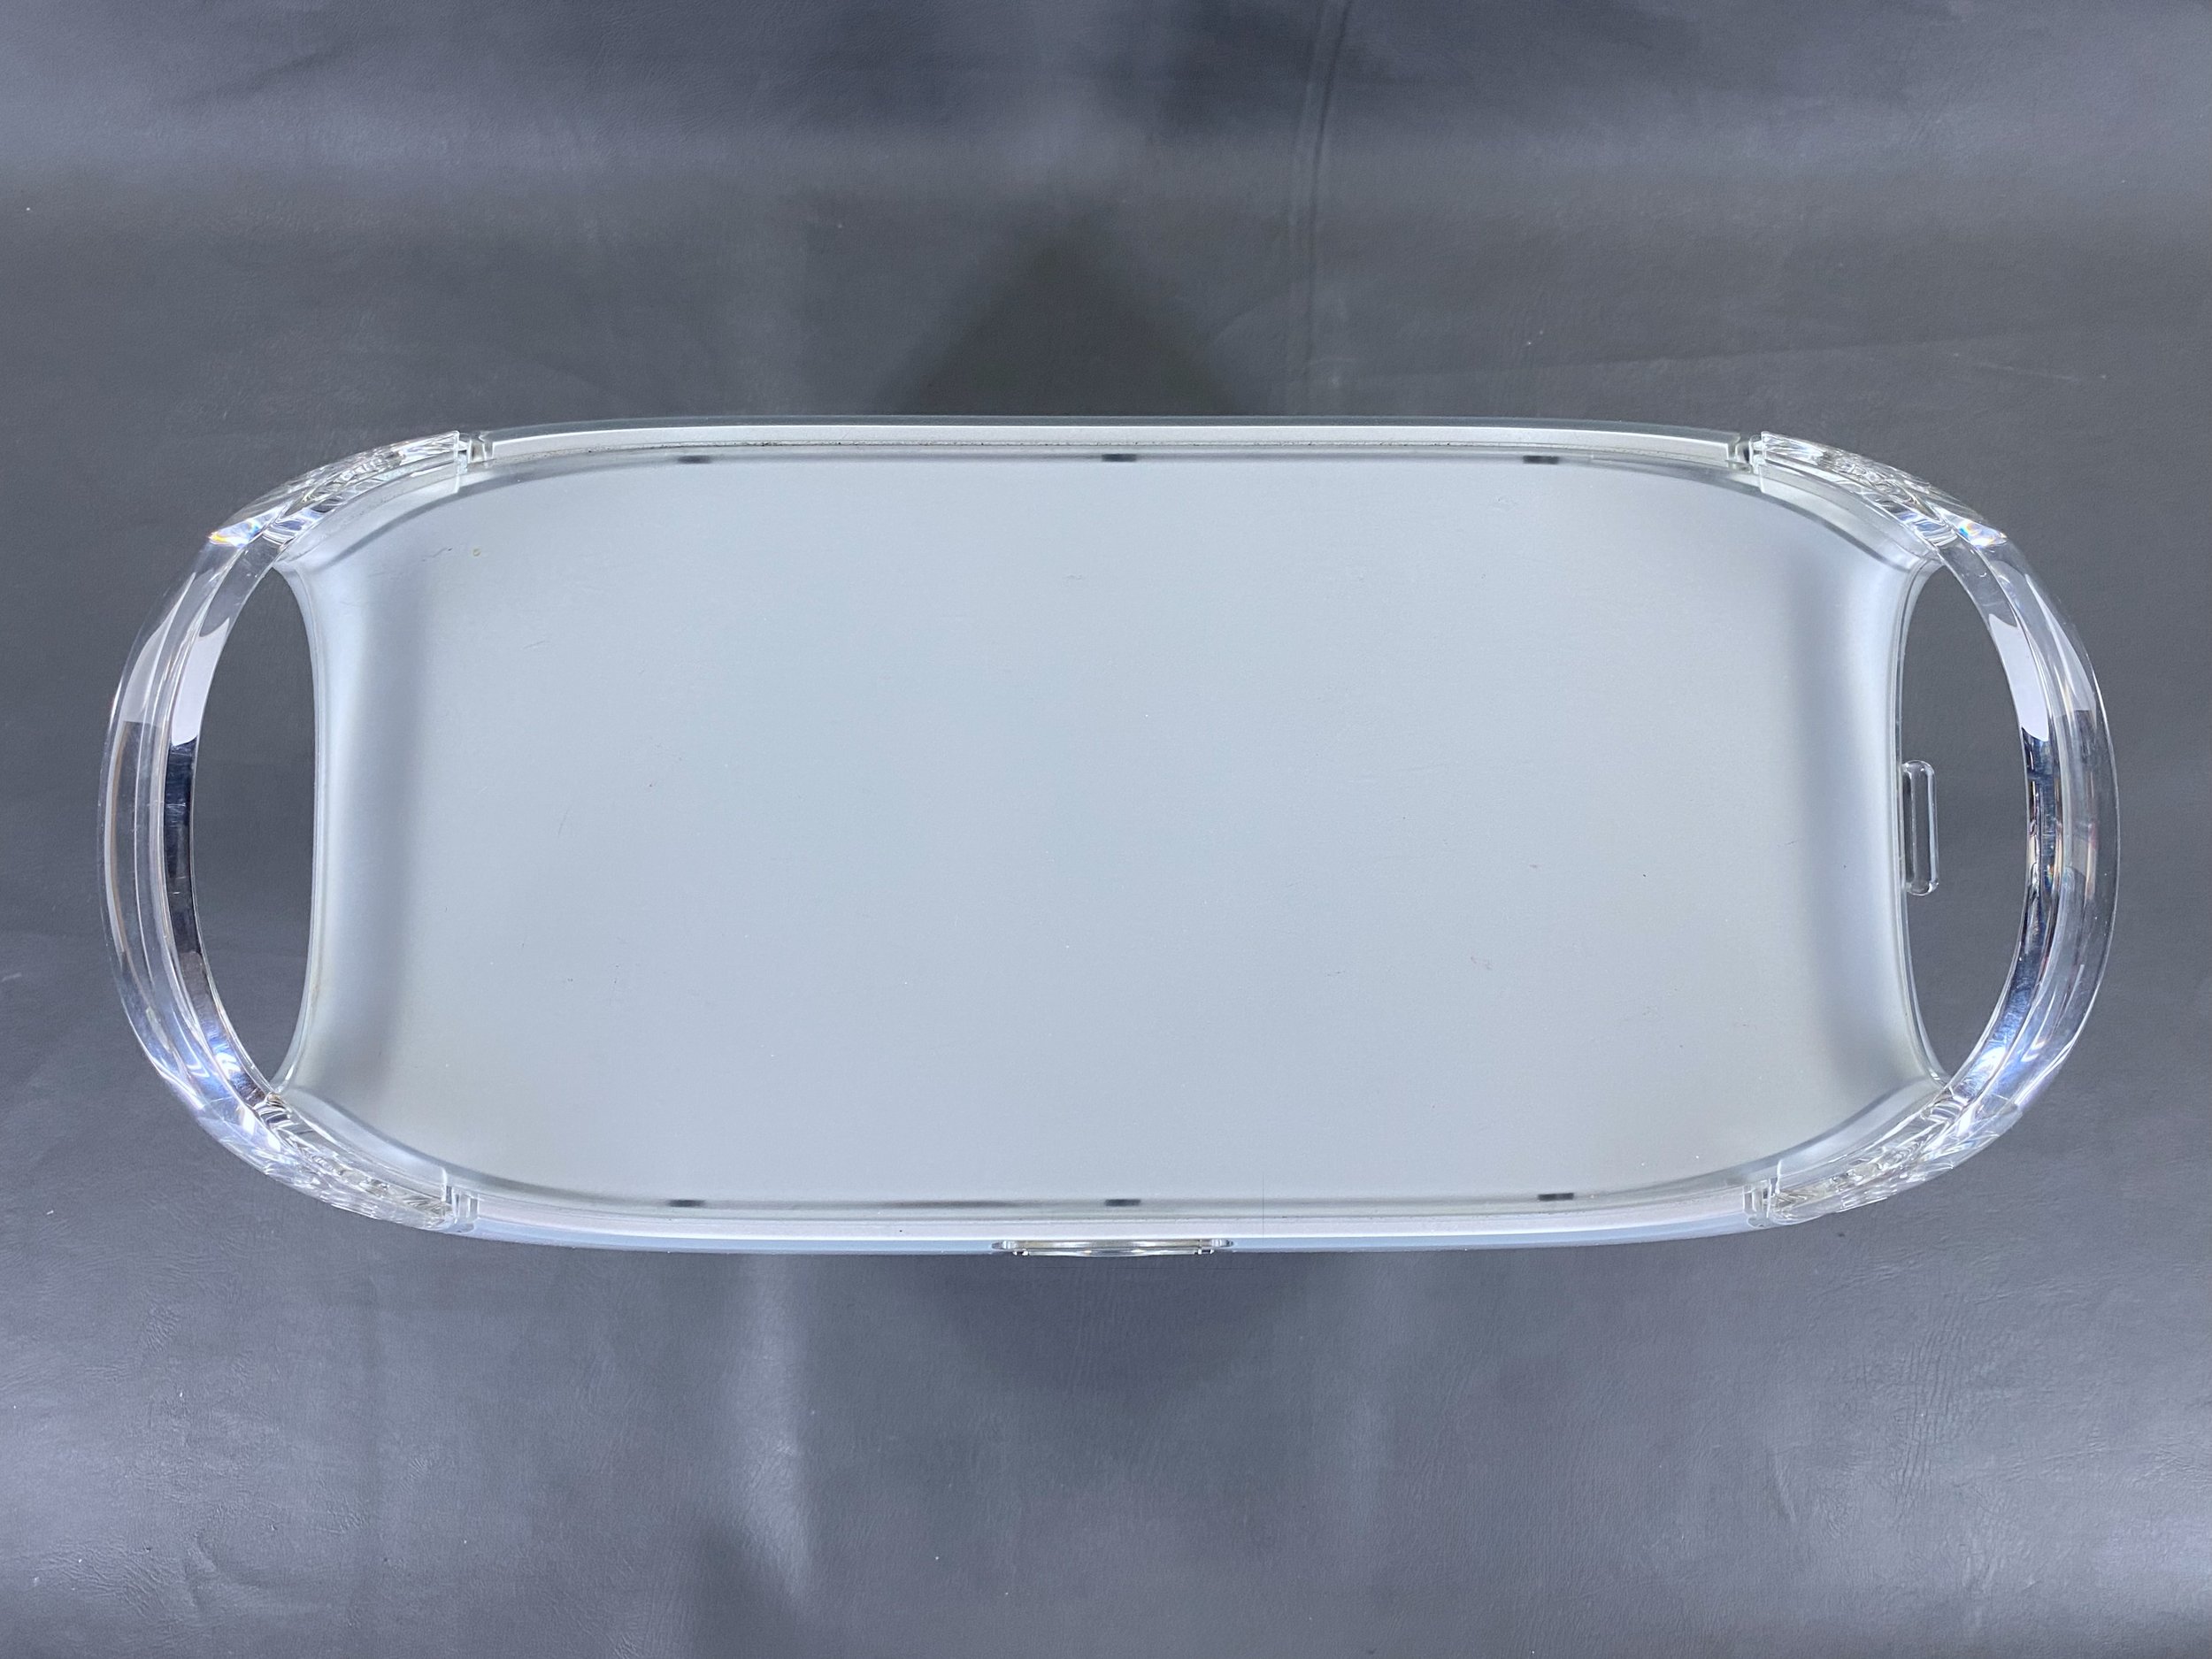
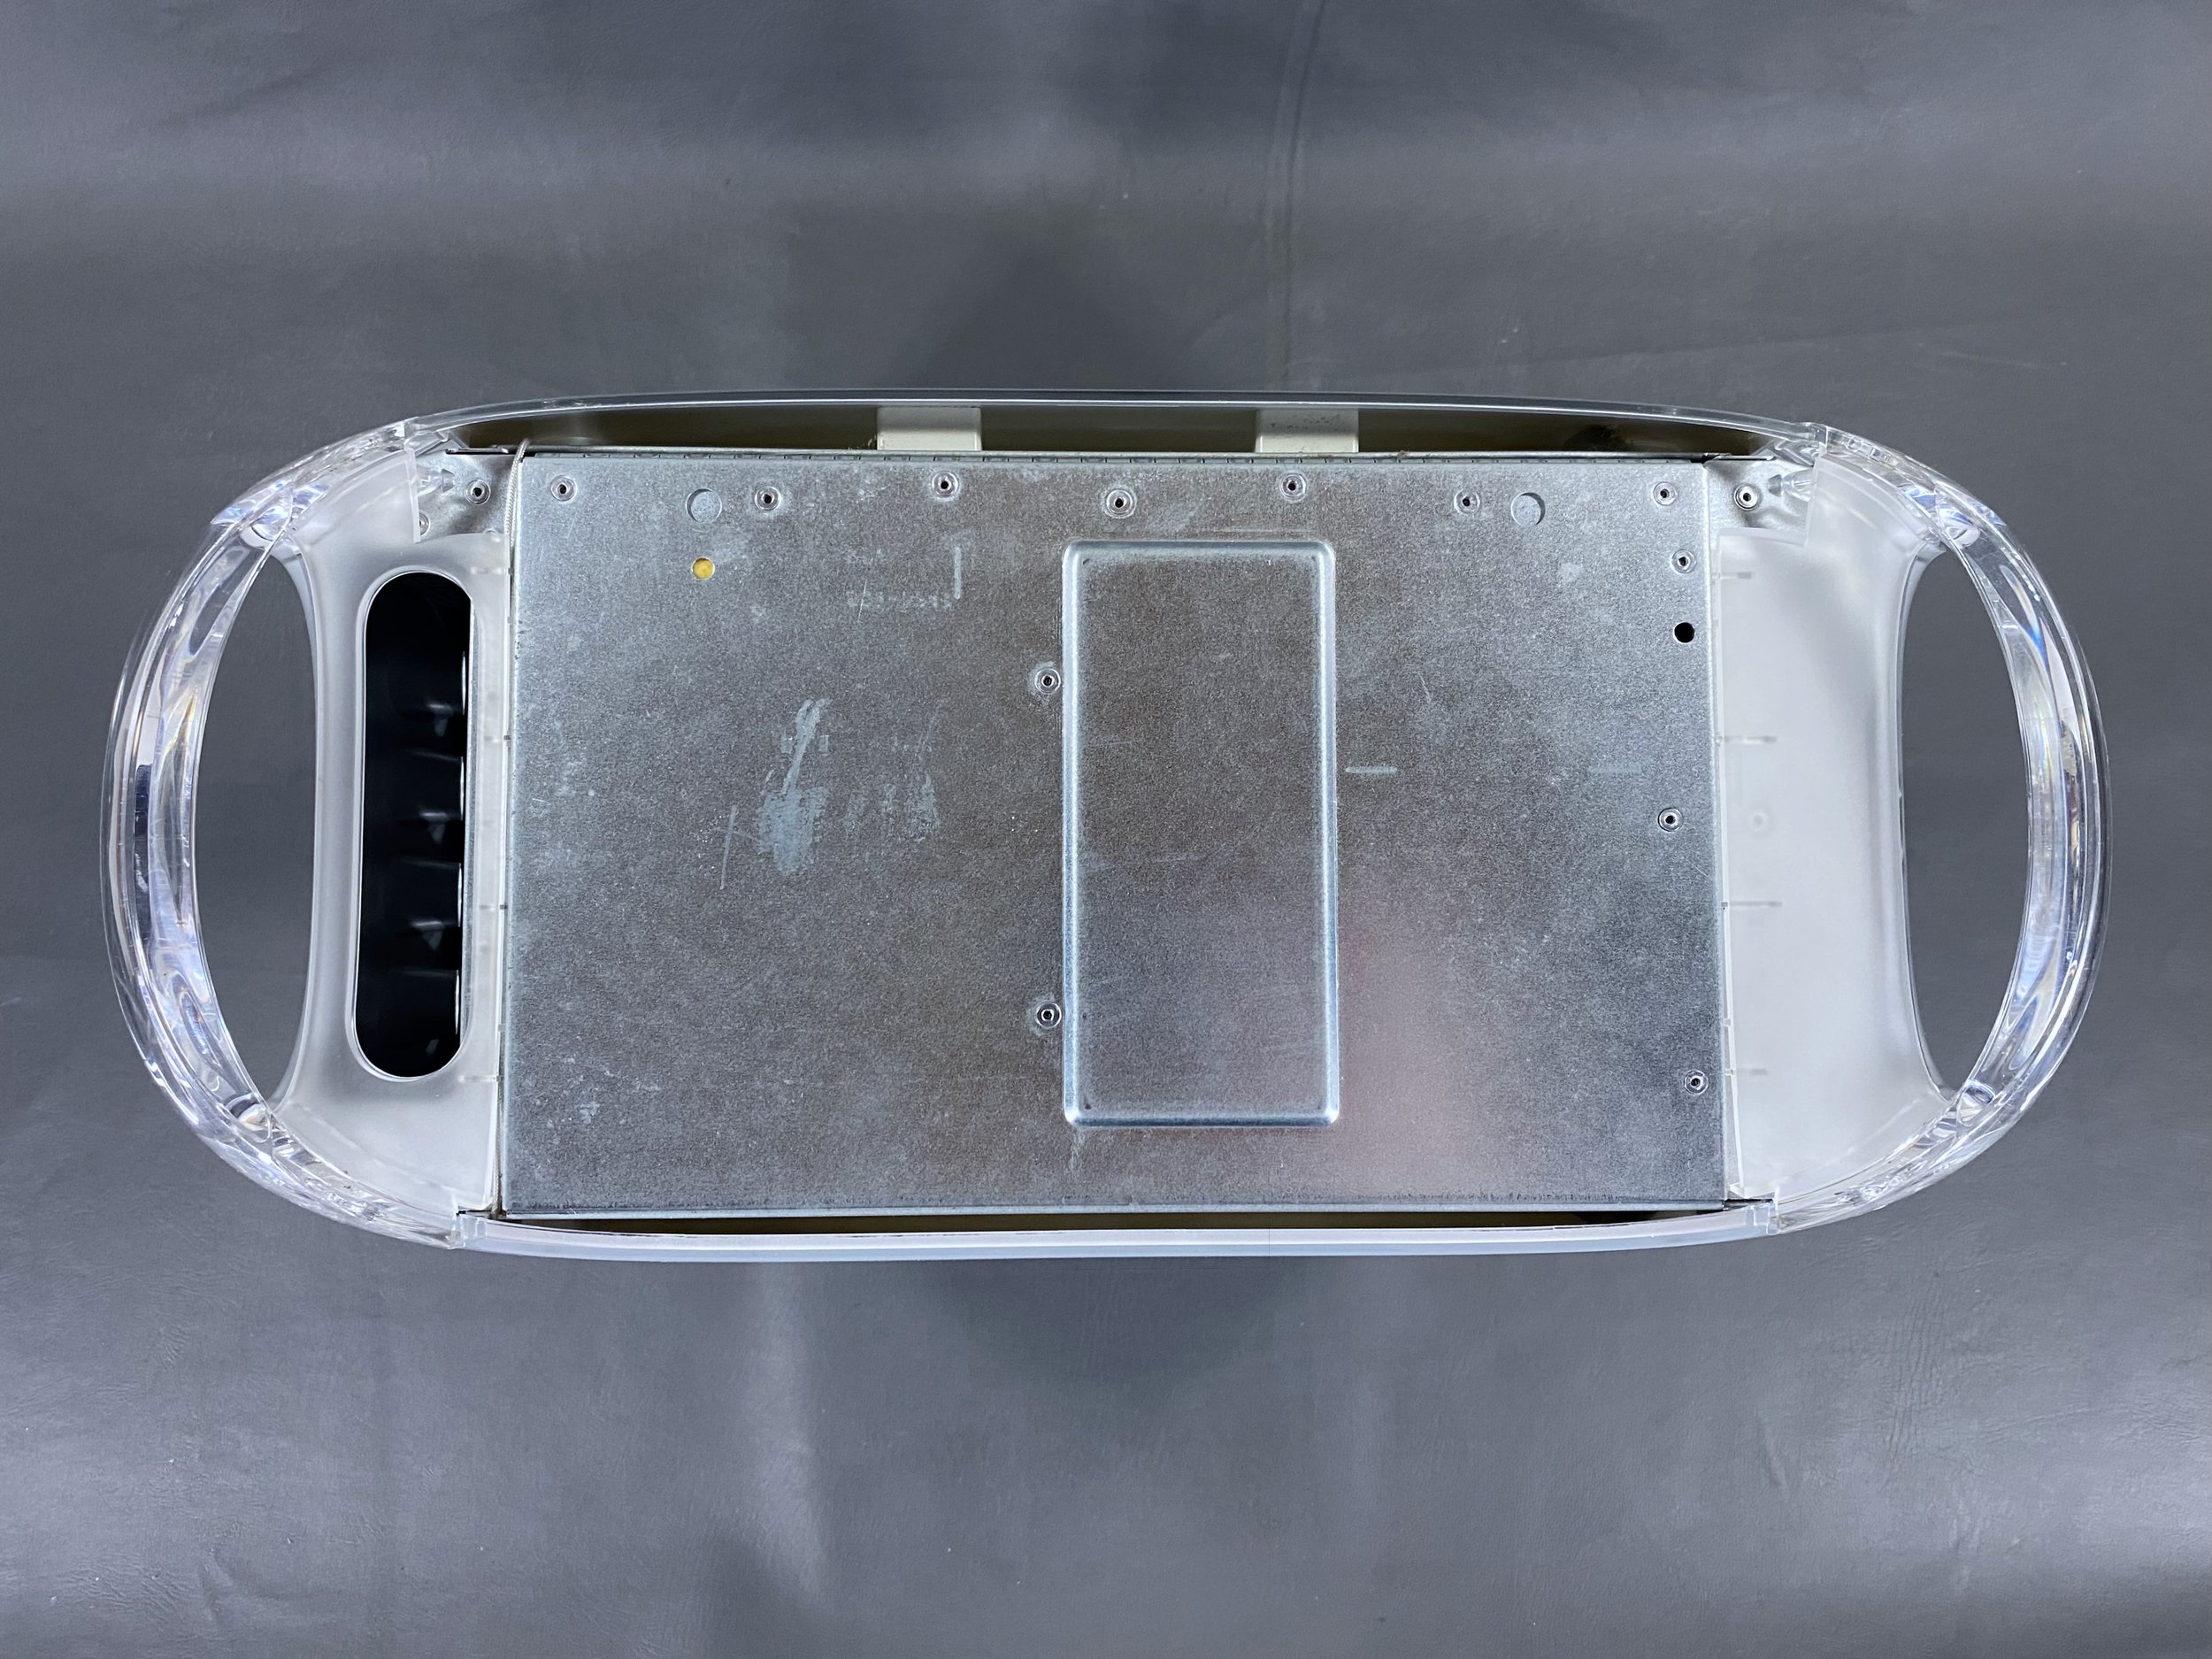
Power Mac G4
‘Mirrored Drive Doors (MDD)’
History
Introduced: August 13, 2002
Discontinued: June 9, 2004
Original Retail Price: $1,999 (Dual 1.25 GHz model)
Model #: M8570
Tech Specs
Processor: Dual 1.25 GHz PowerPC G4
RAM: 1.75 GB (upgraded)
Hard Drive: 2 x 120 GB (RAID) + 128GB SSD (upgraded)
Optical Drive: SuperDrive (DVD-R / CD-RW)
OS: 10.2.3
Condition & Notes
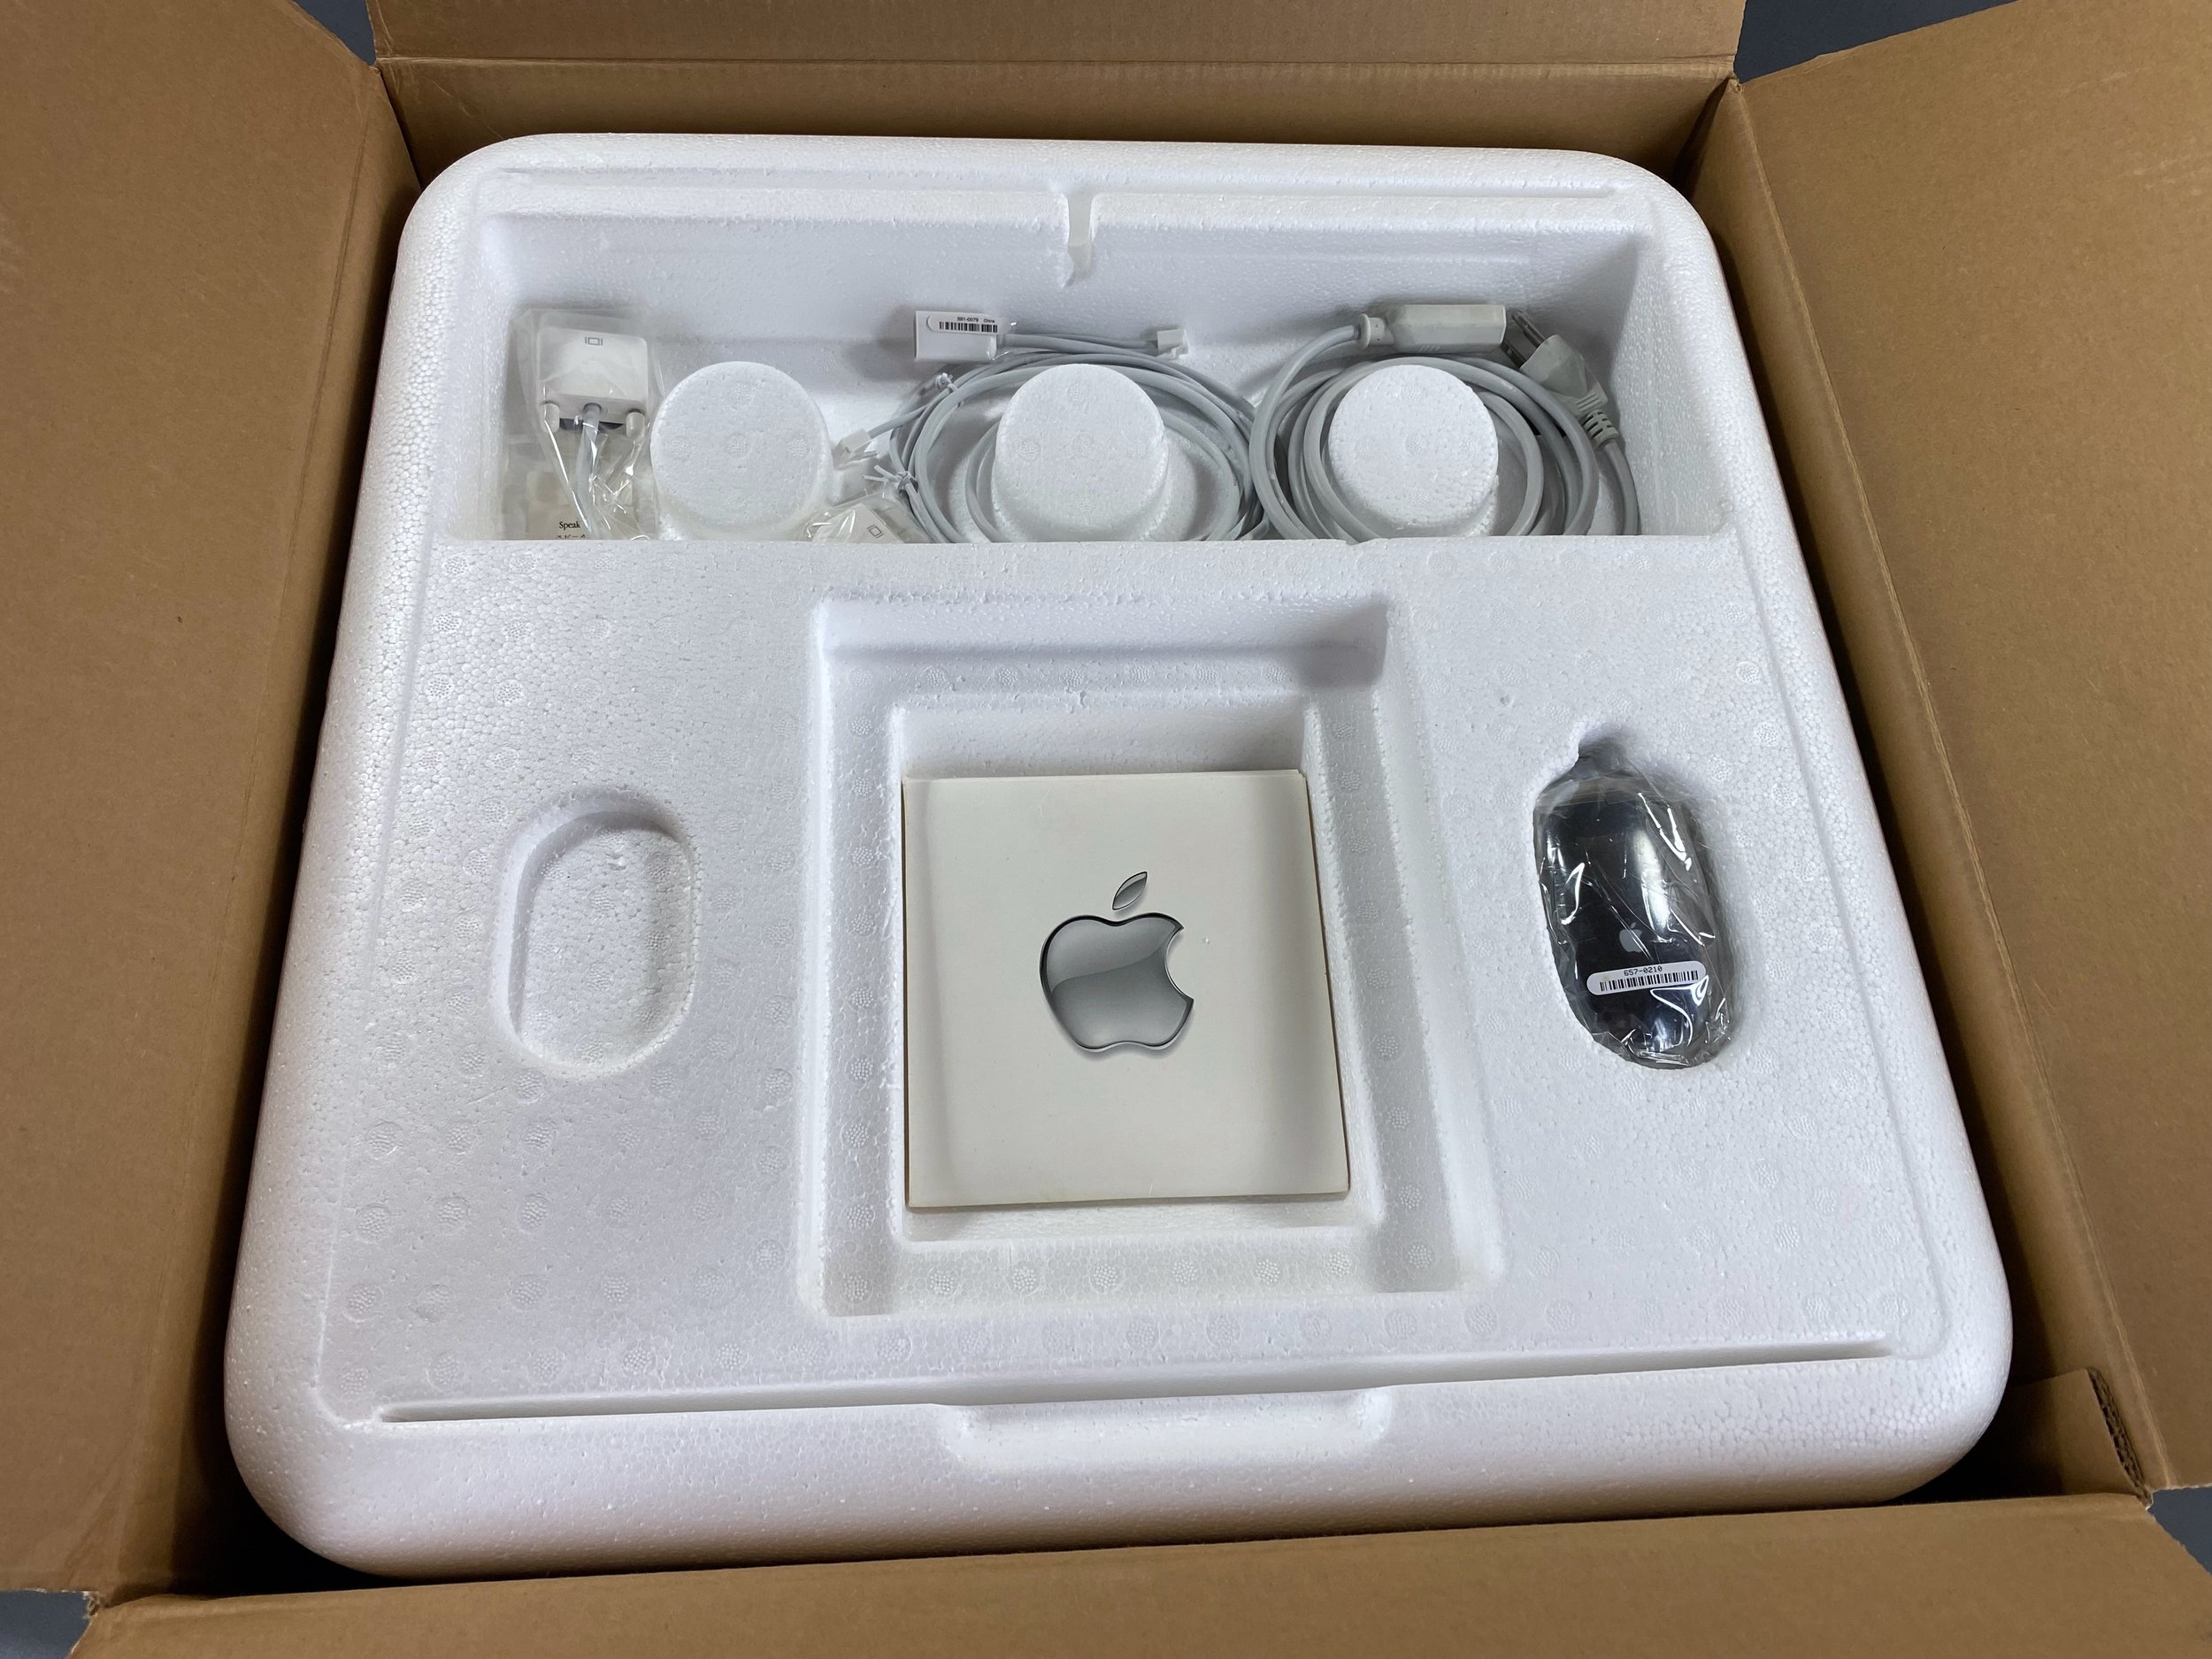
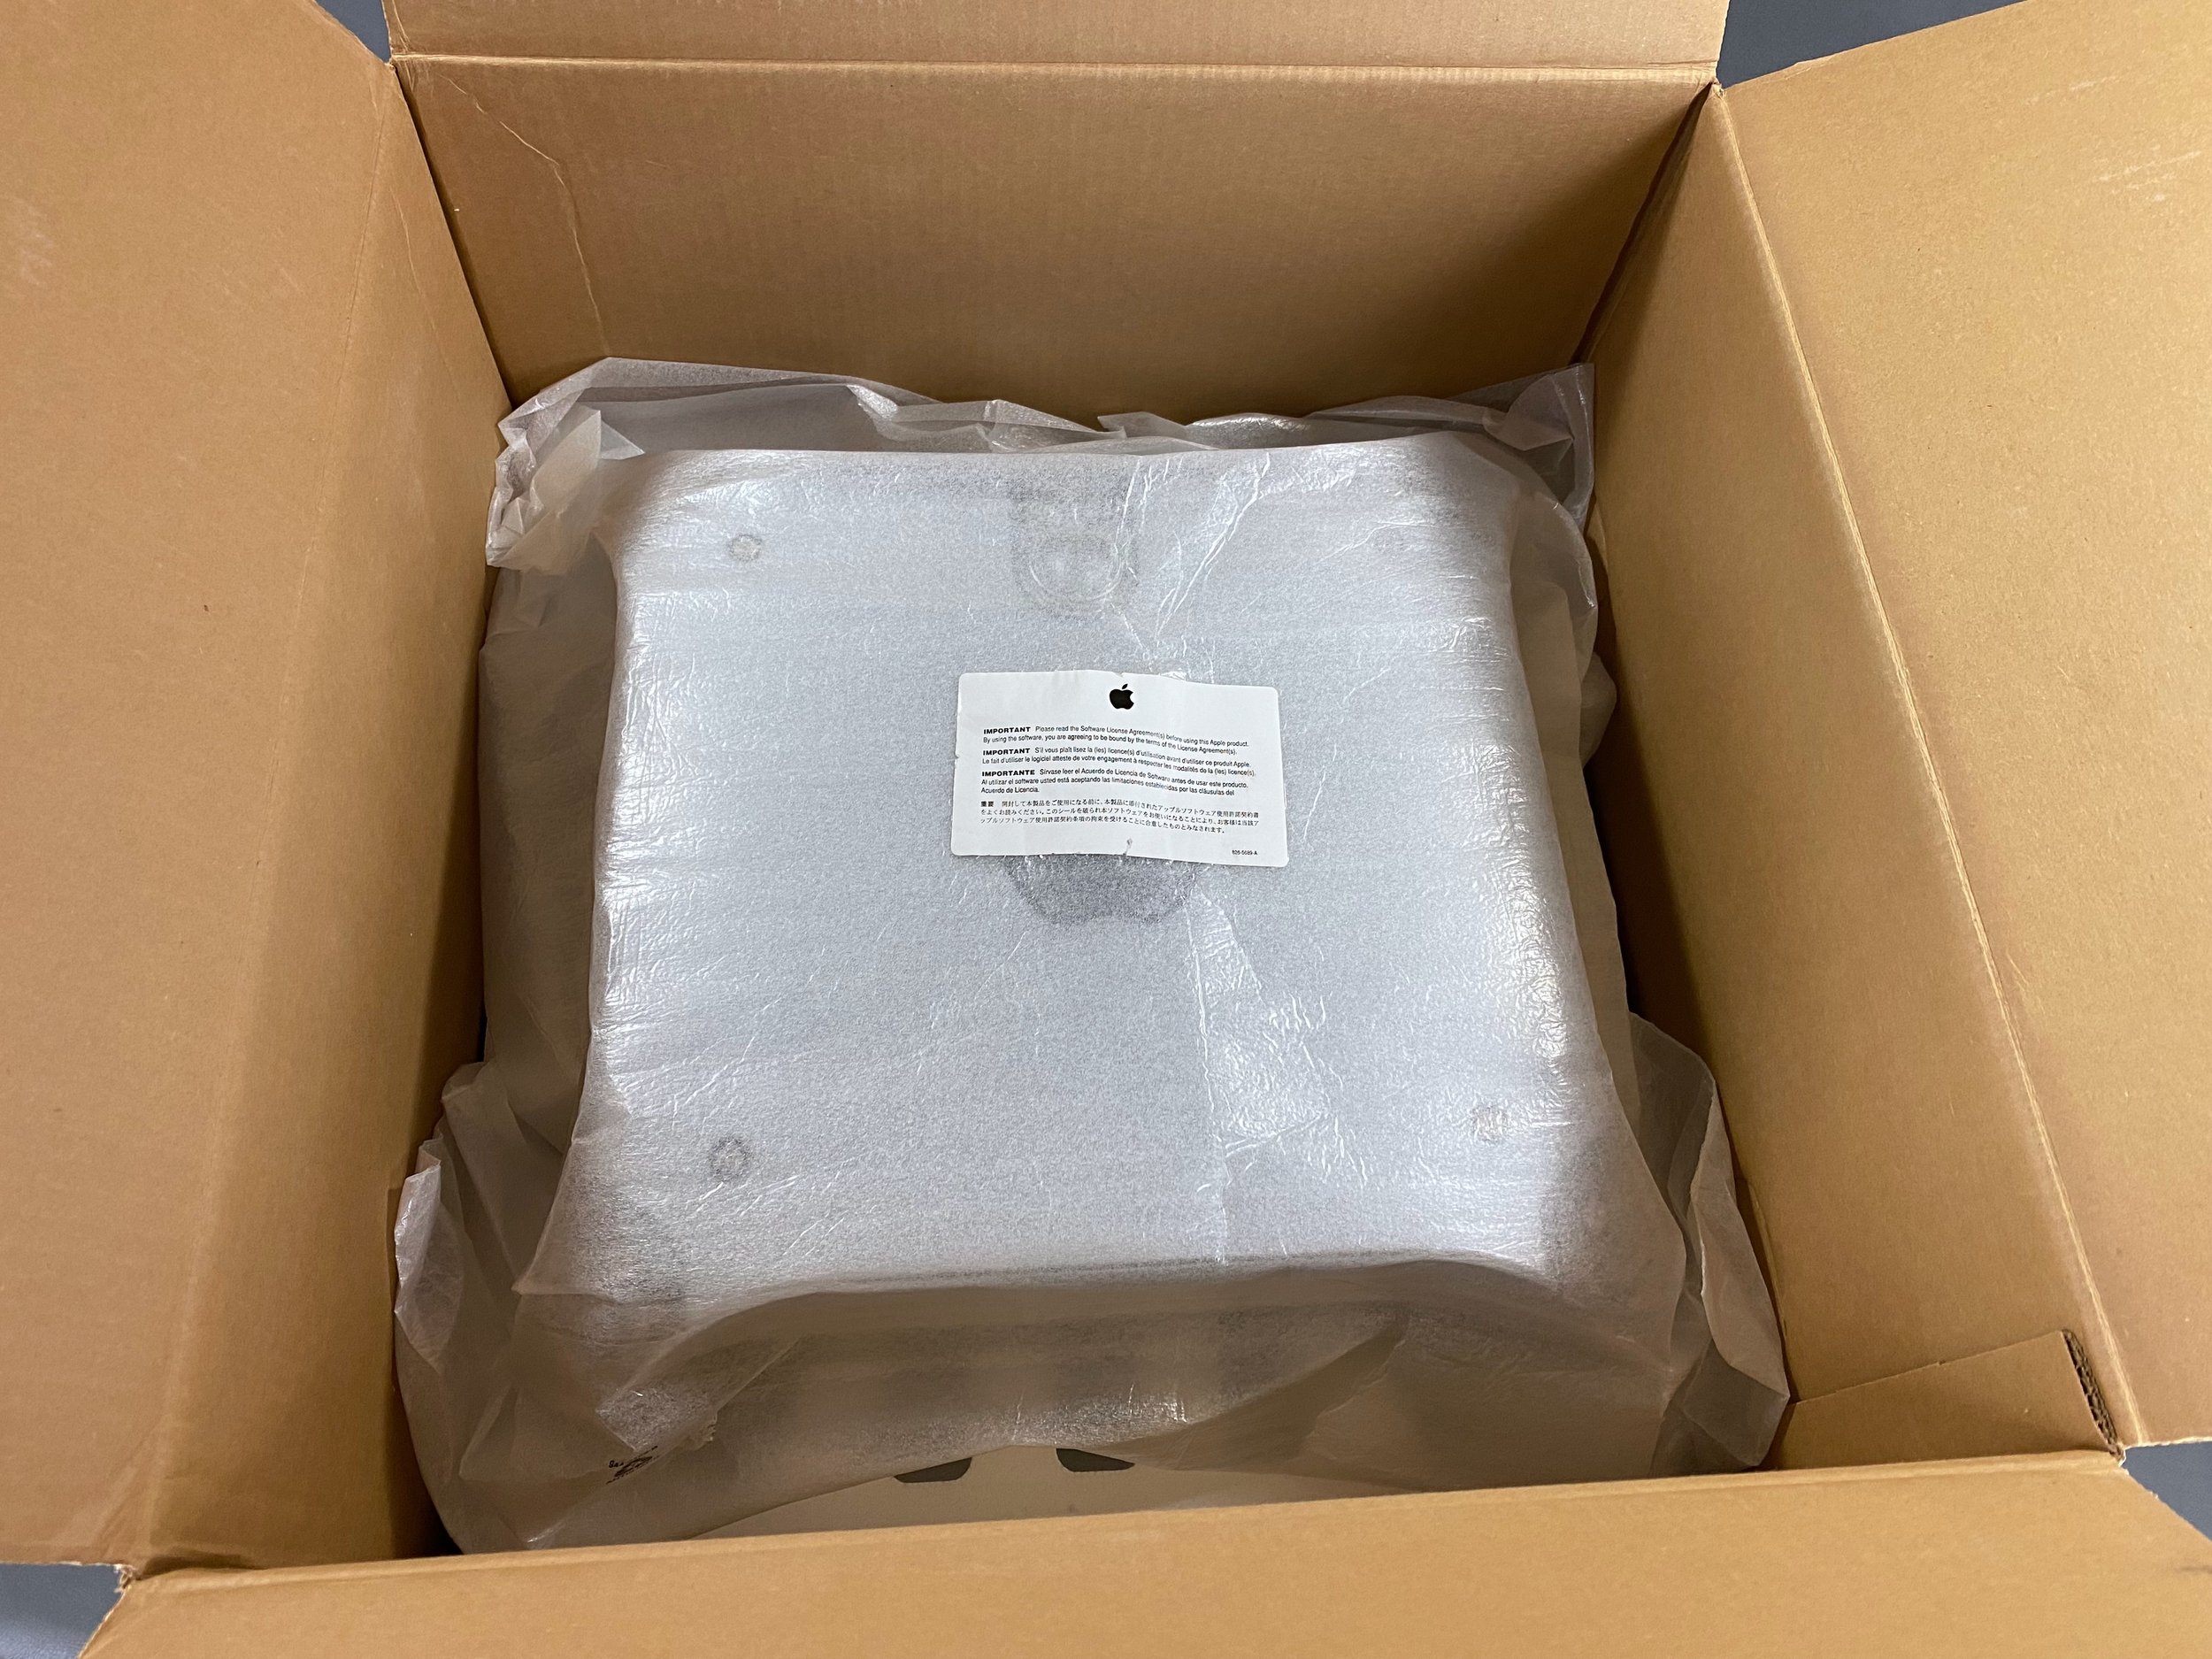
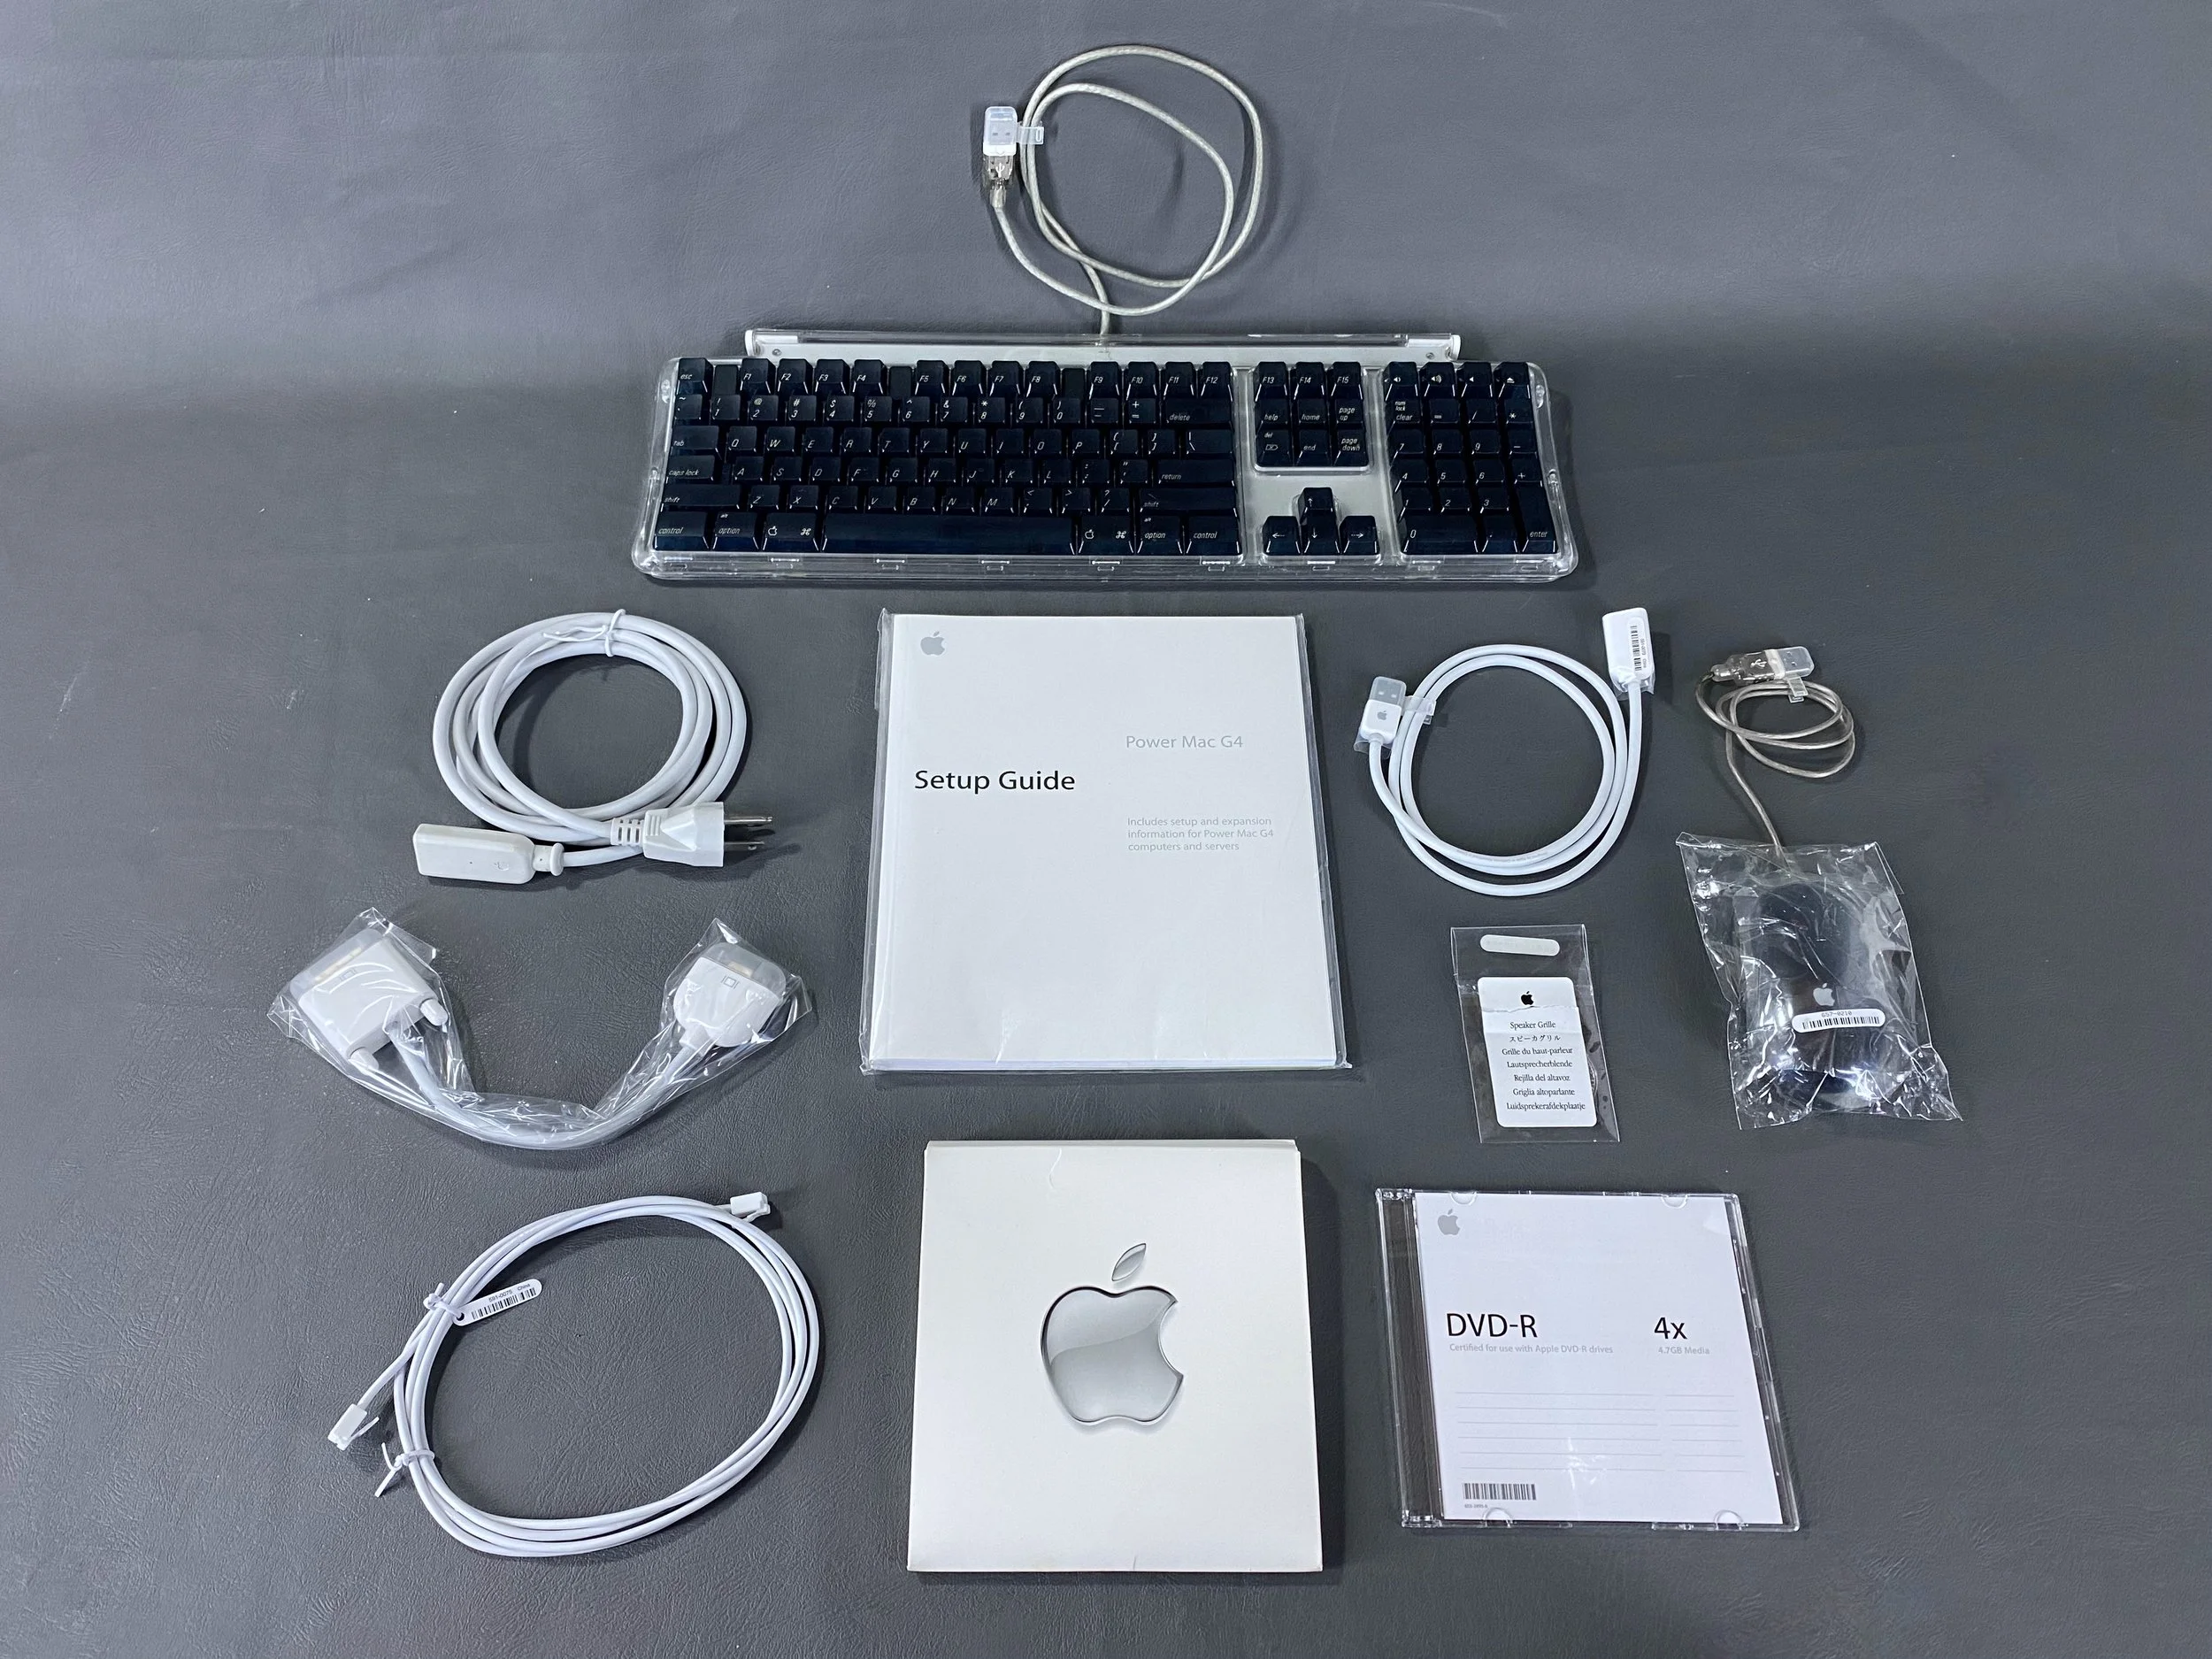
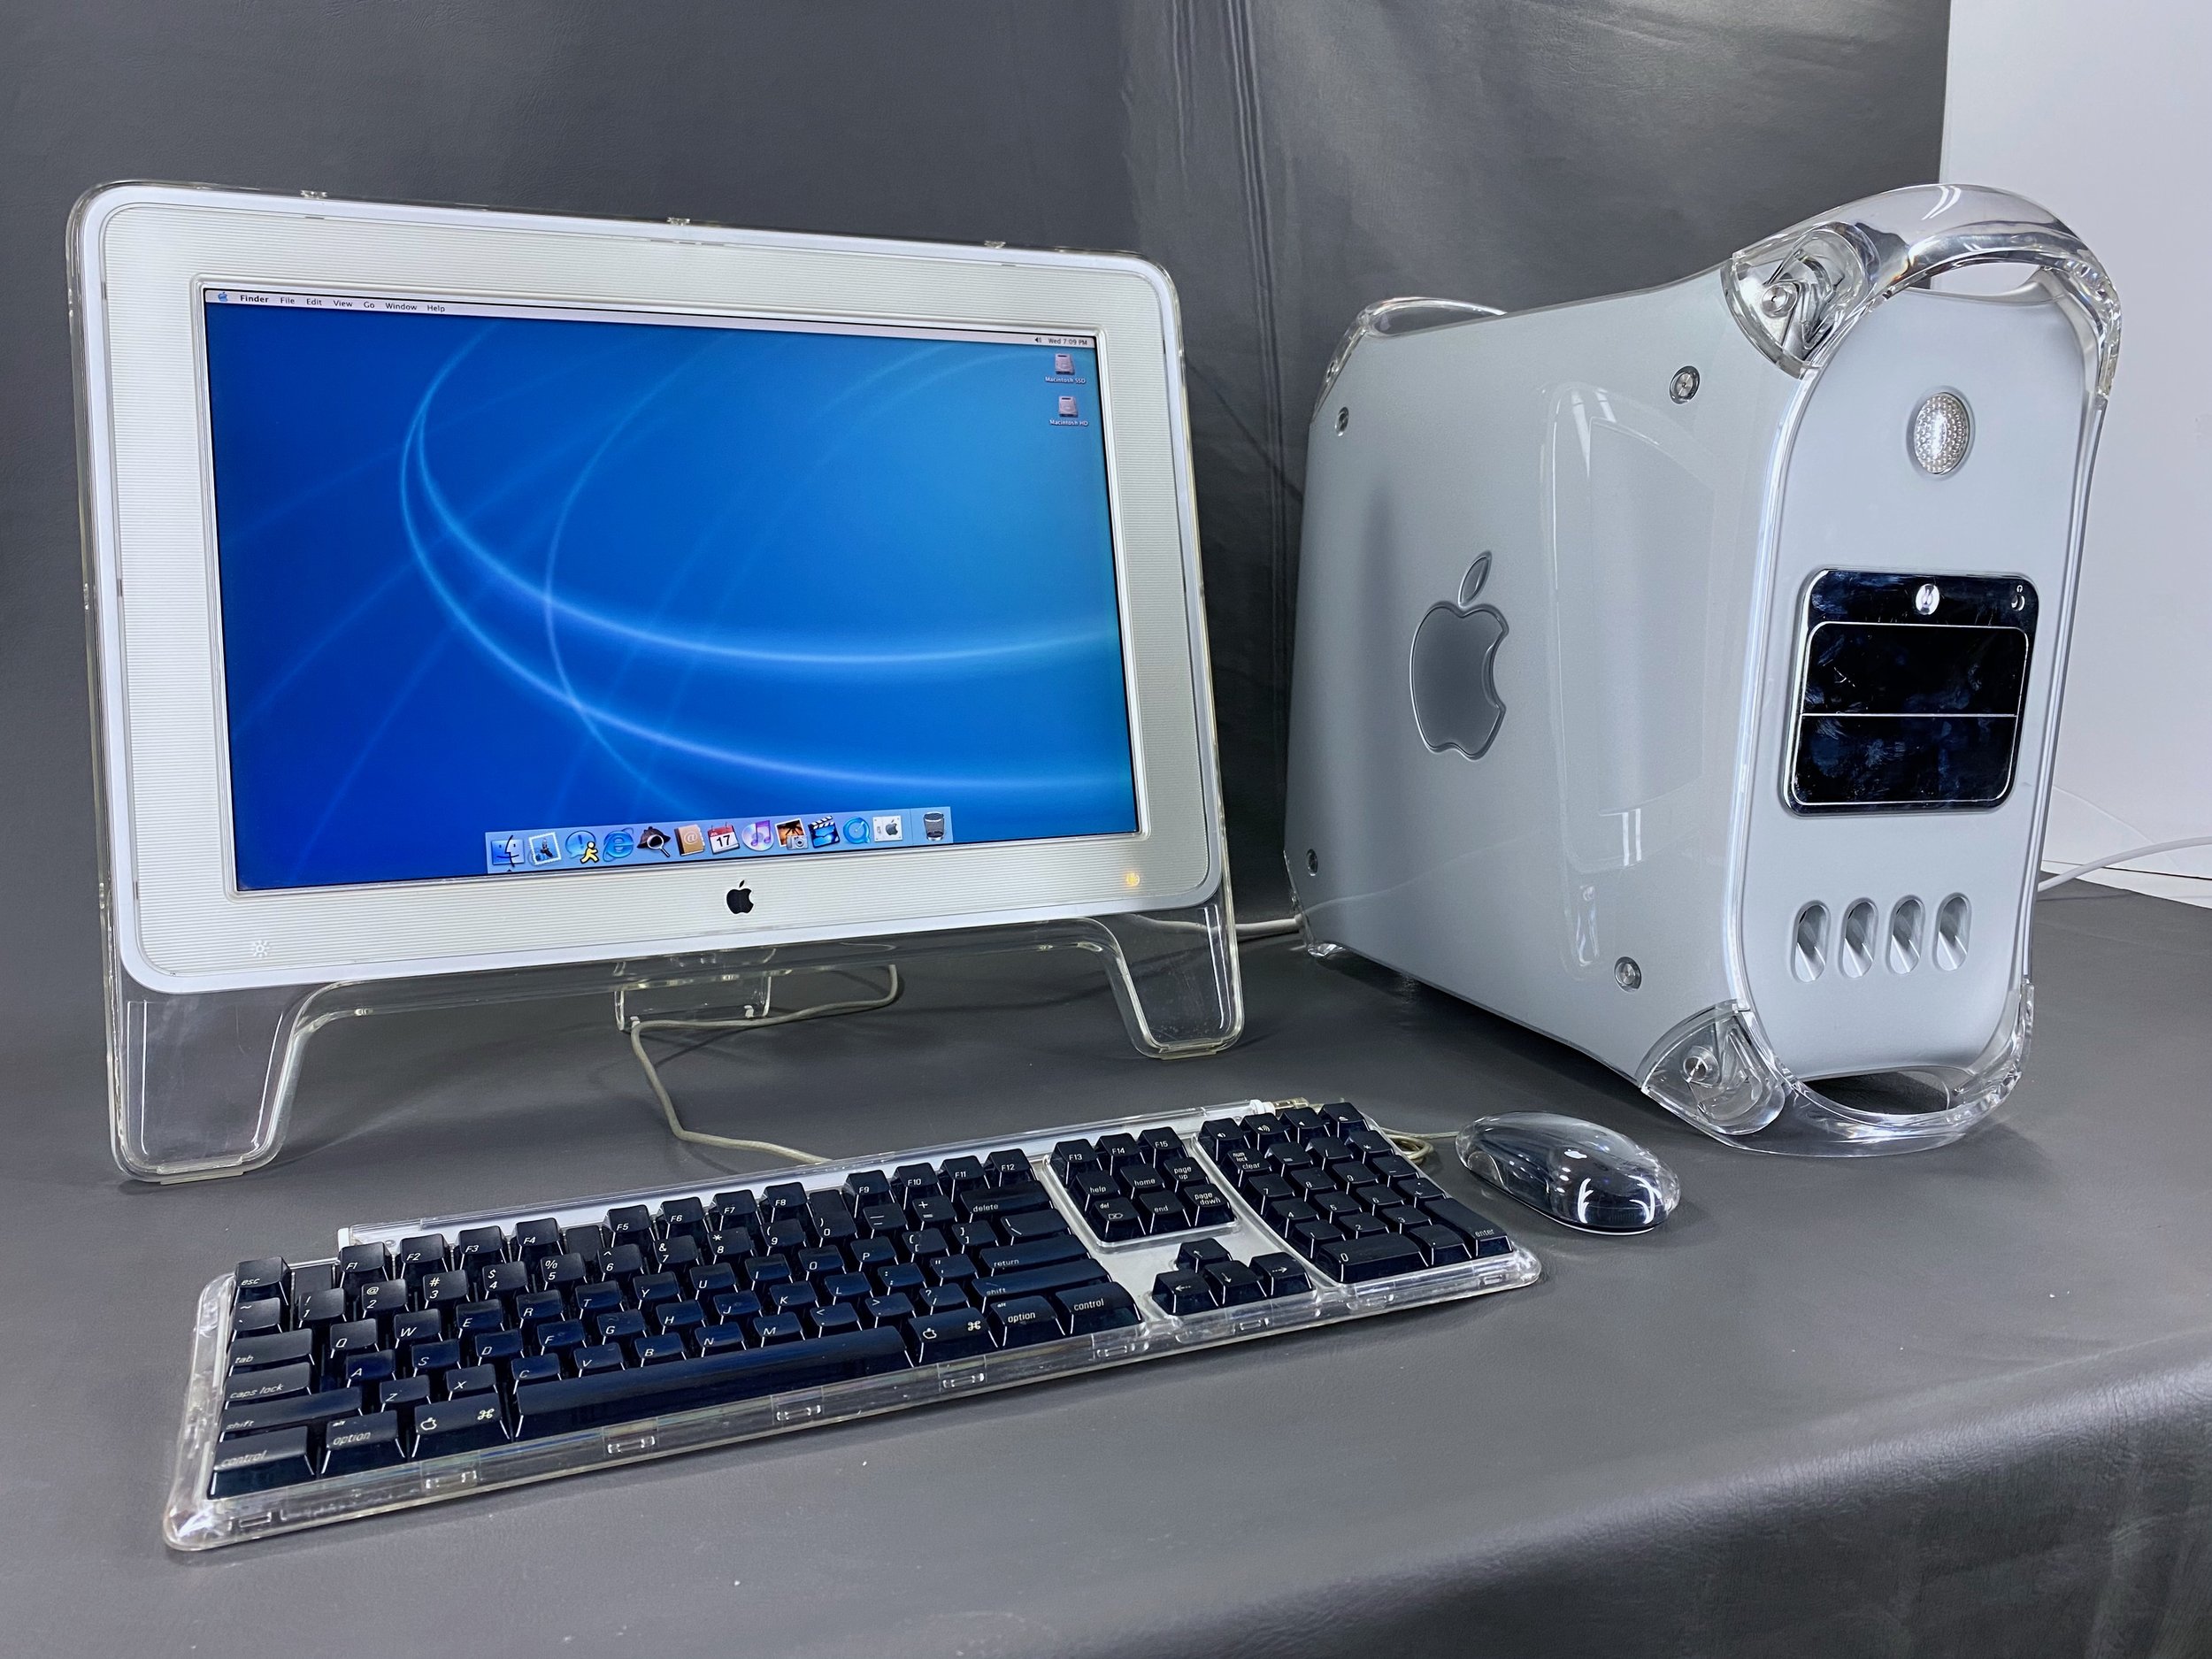
This unit is in excellent condition. It’s complete with the original packaging, foam bag, power cable, keyboard, mouse, modem cable, USB extender cable, VGA-to-DVI adapter, speaker grille, software CDs, and documentation.
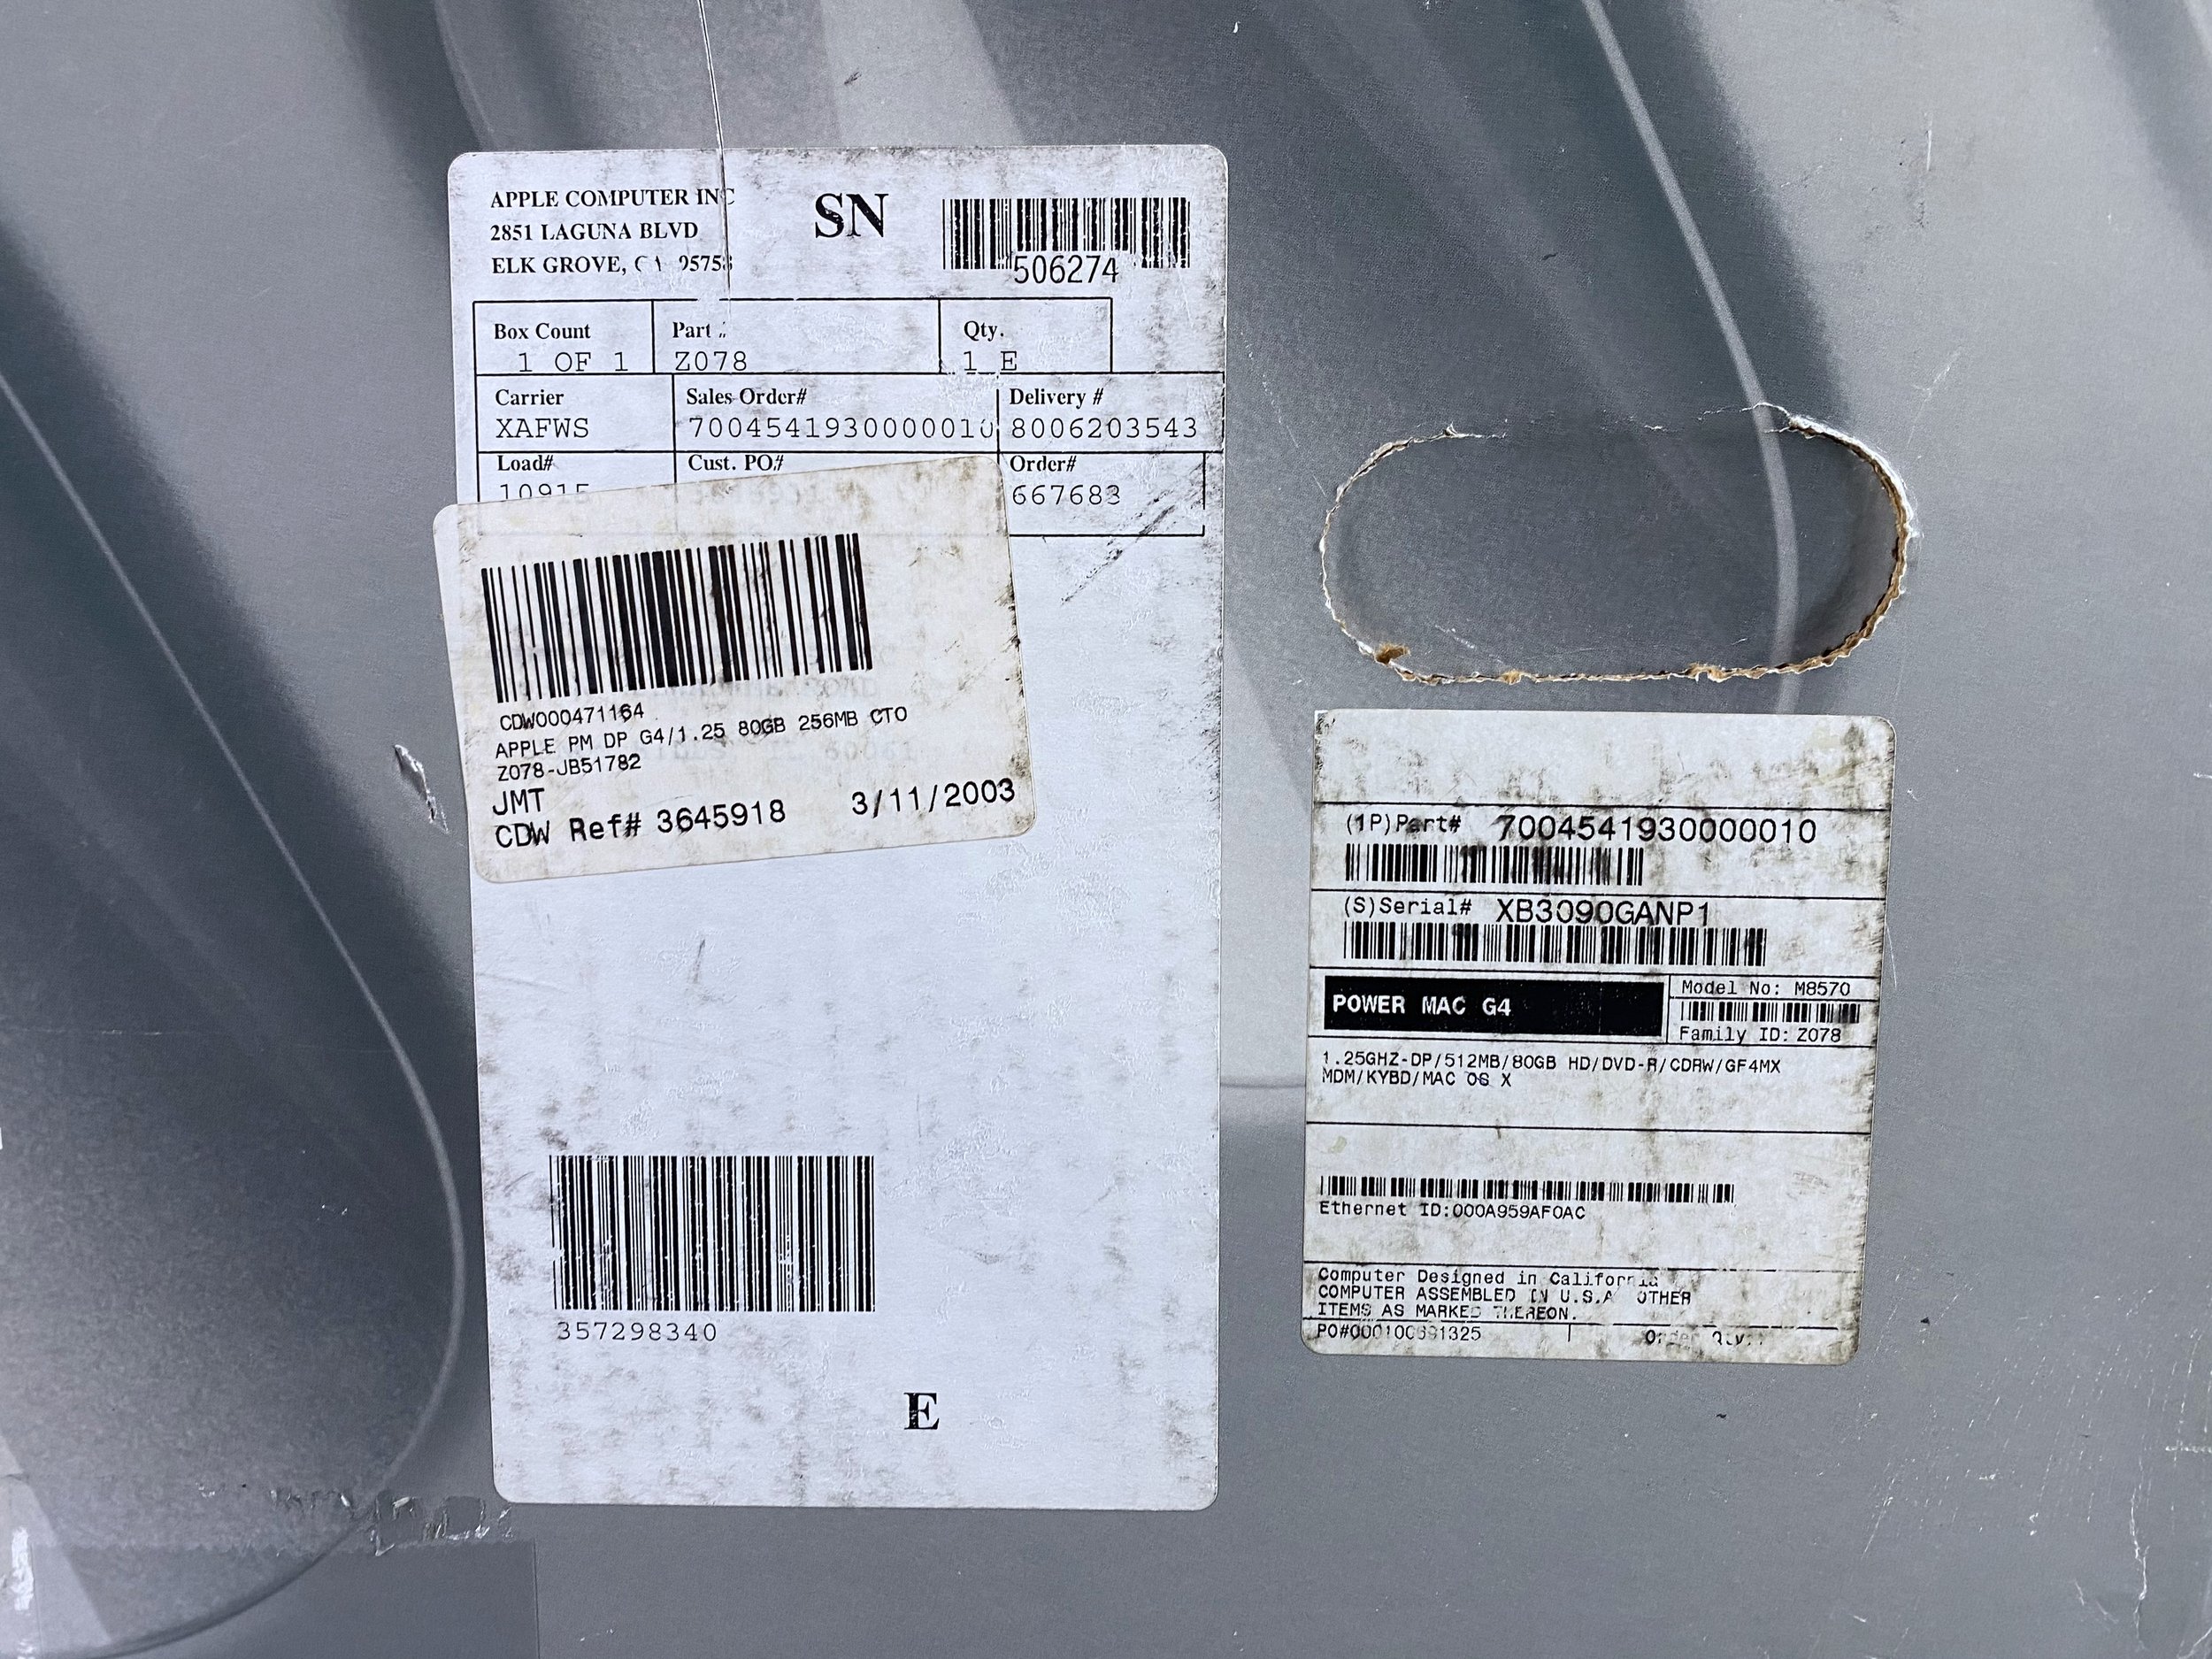
I purchased this machine from its original owner, who used two of them in his design office. The original ship date on the box is 03/11/2003.
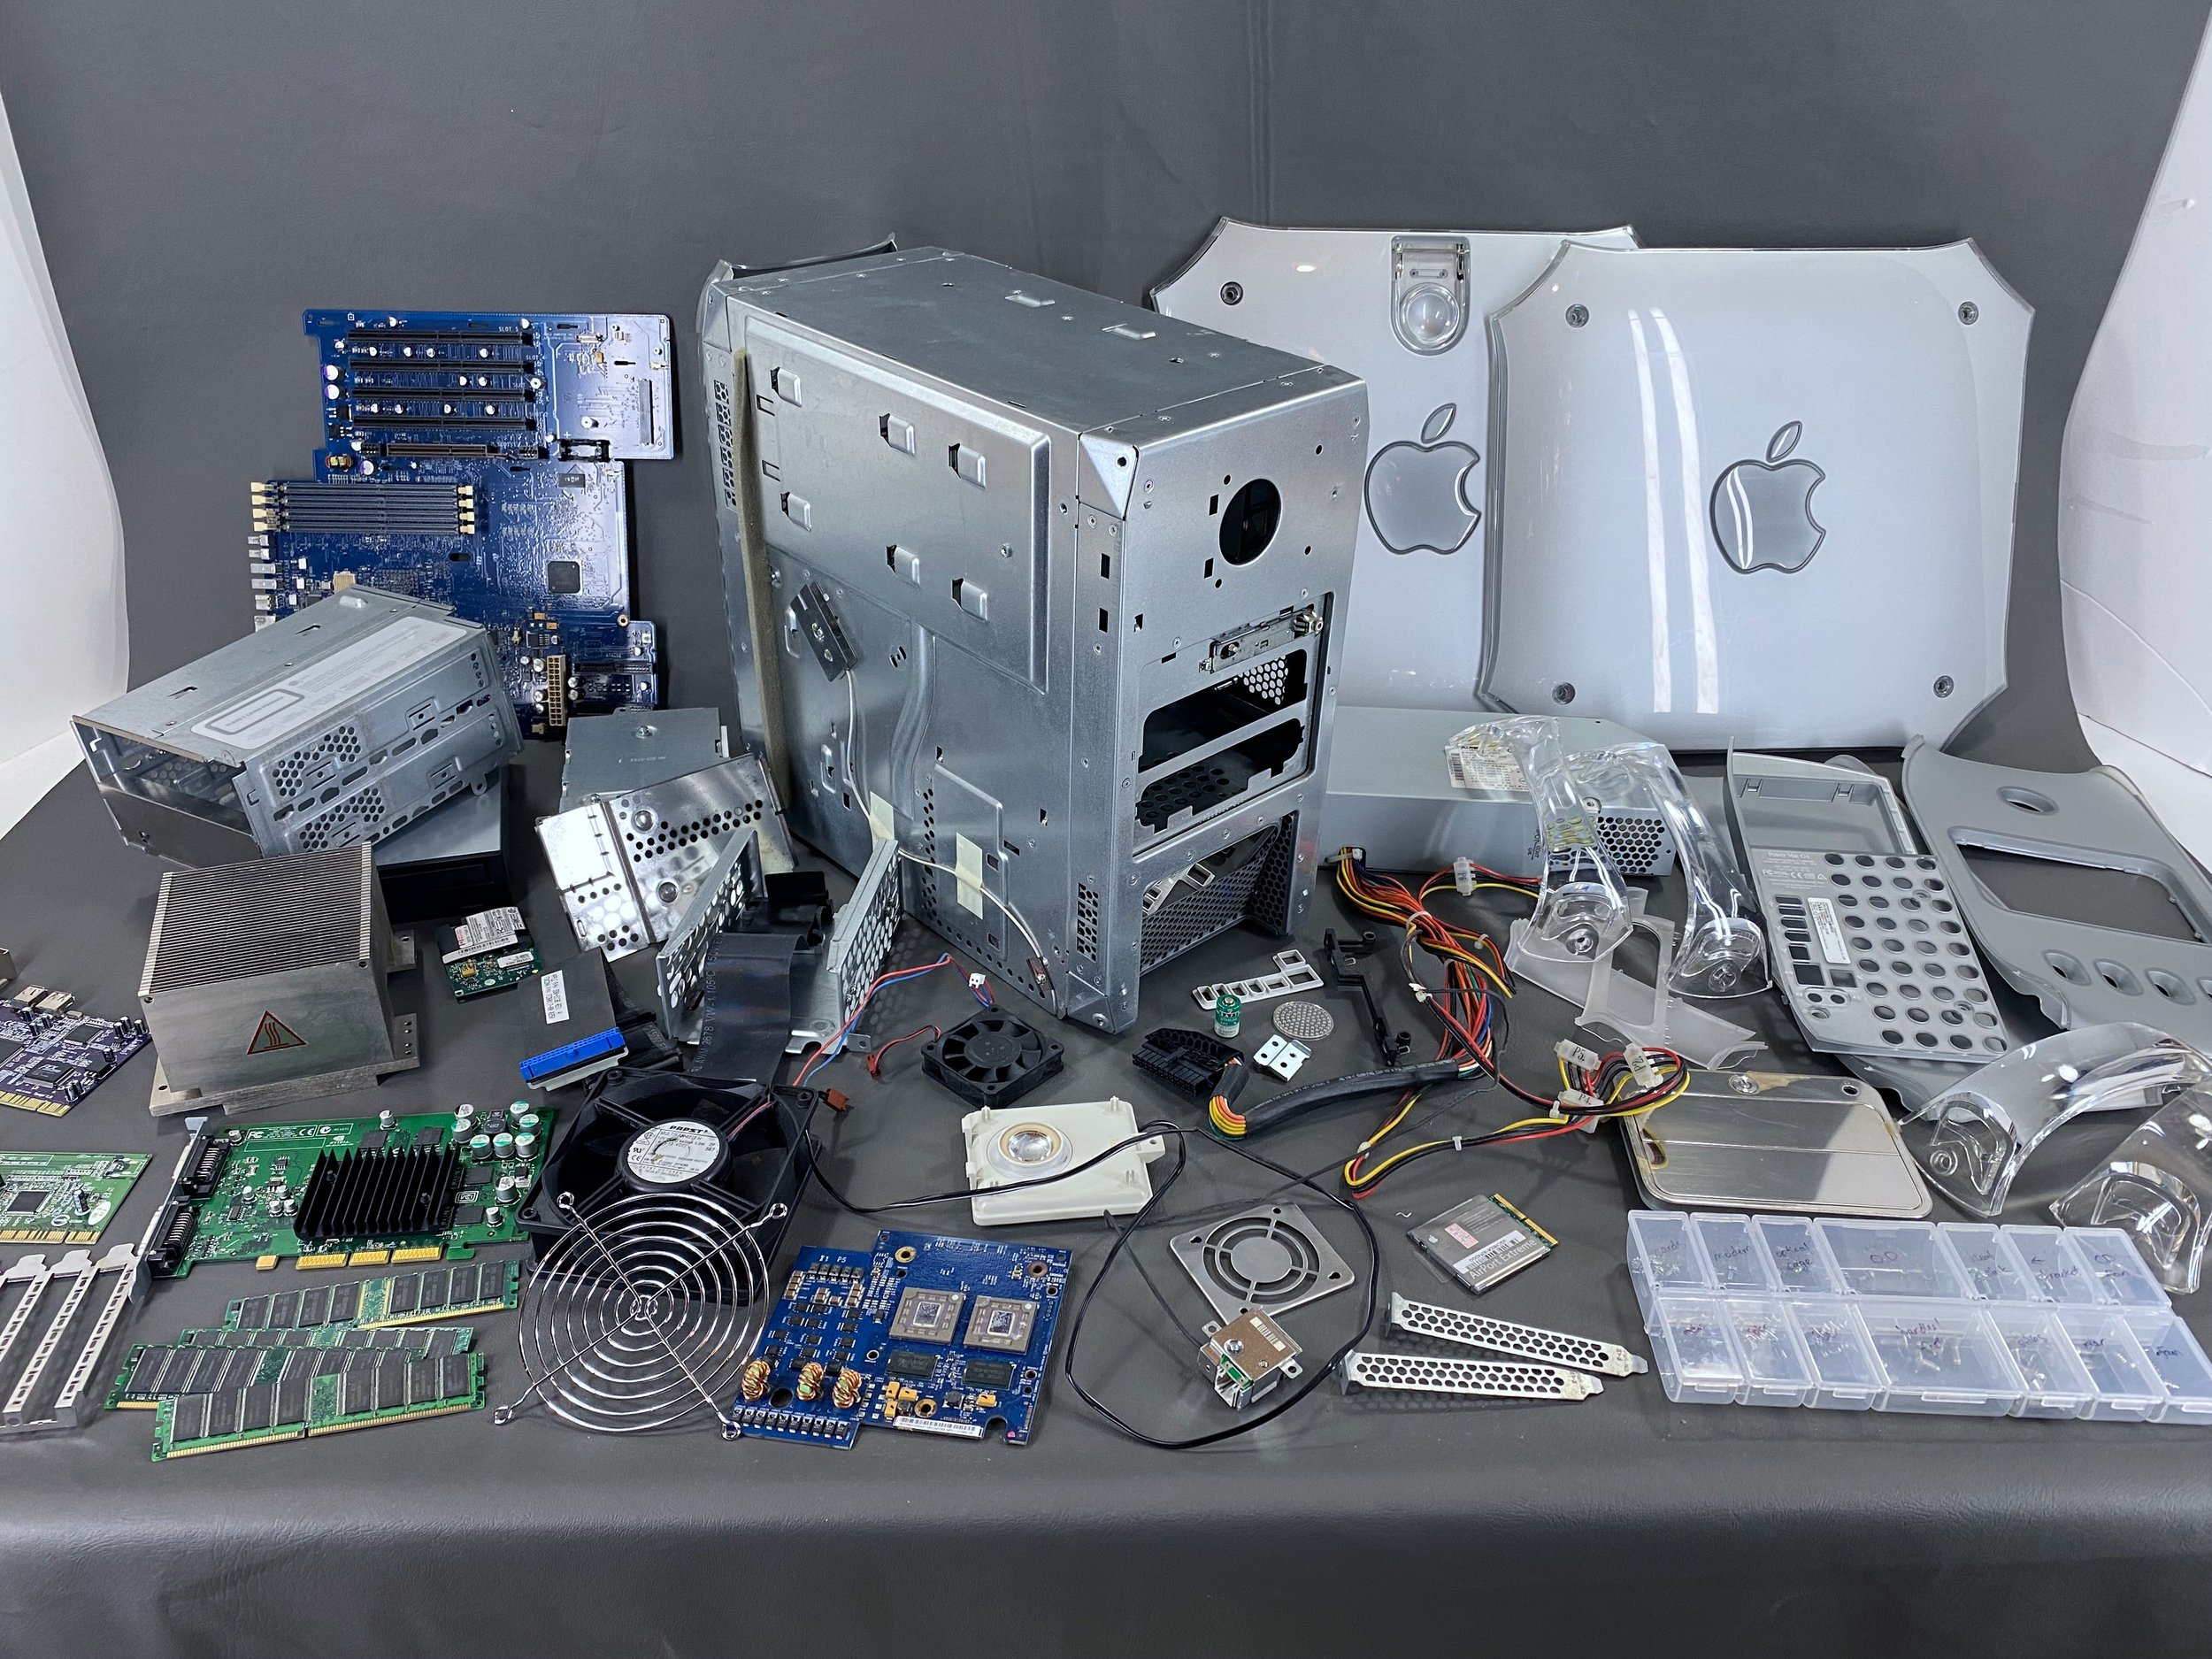
I completely disassembled both the tower and the keyboard for cleaning when I acquired the unit. See the photos at the bottom of this page for more on this.
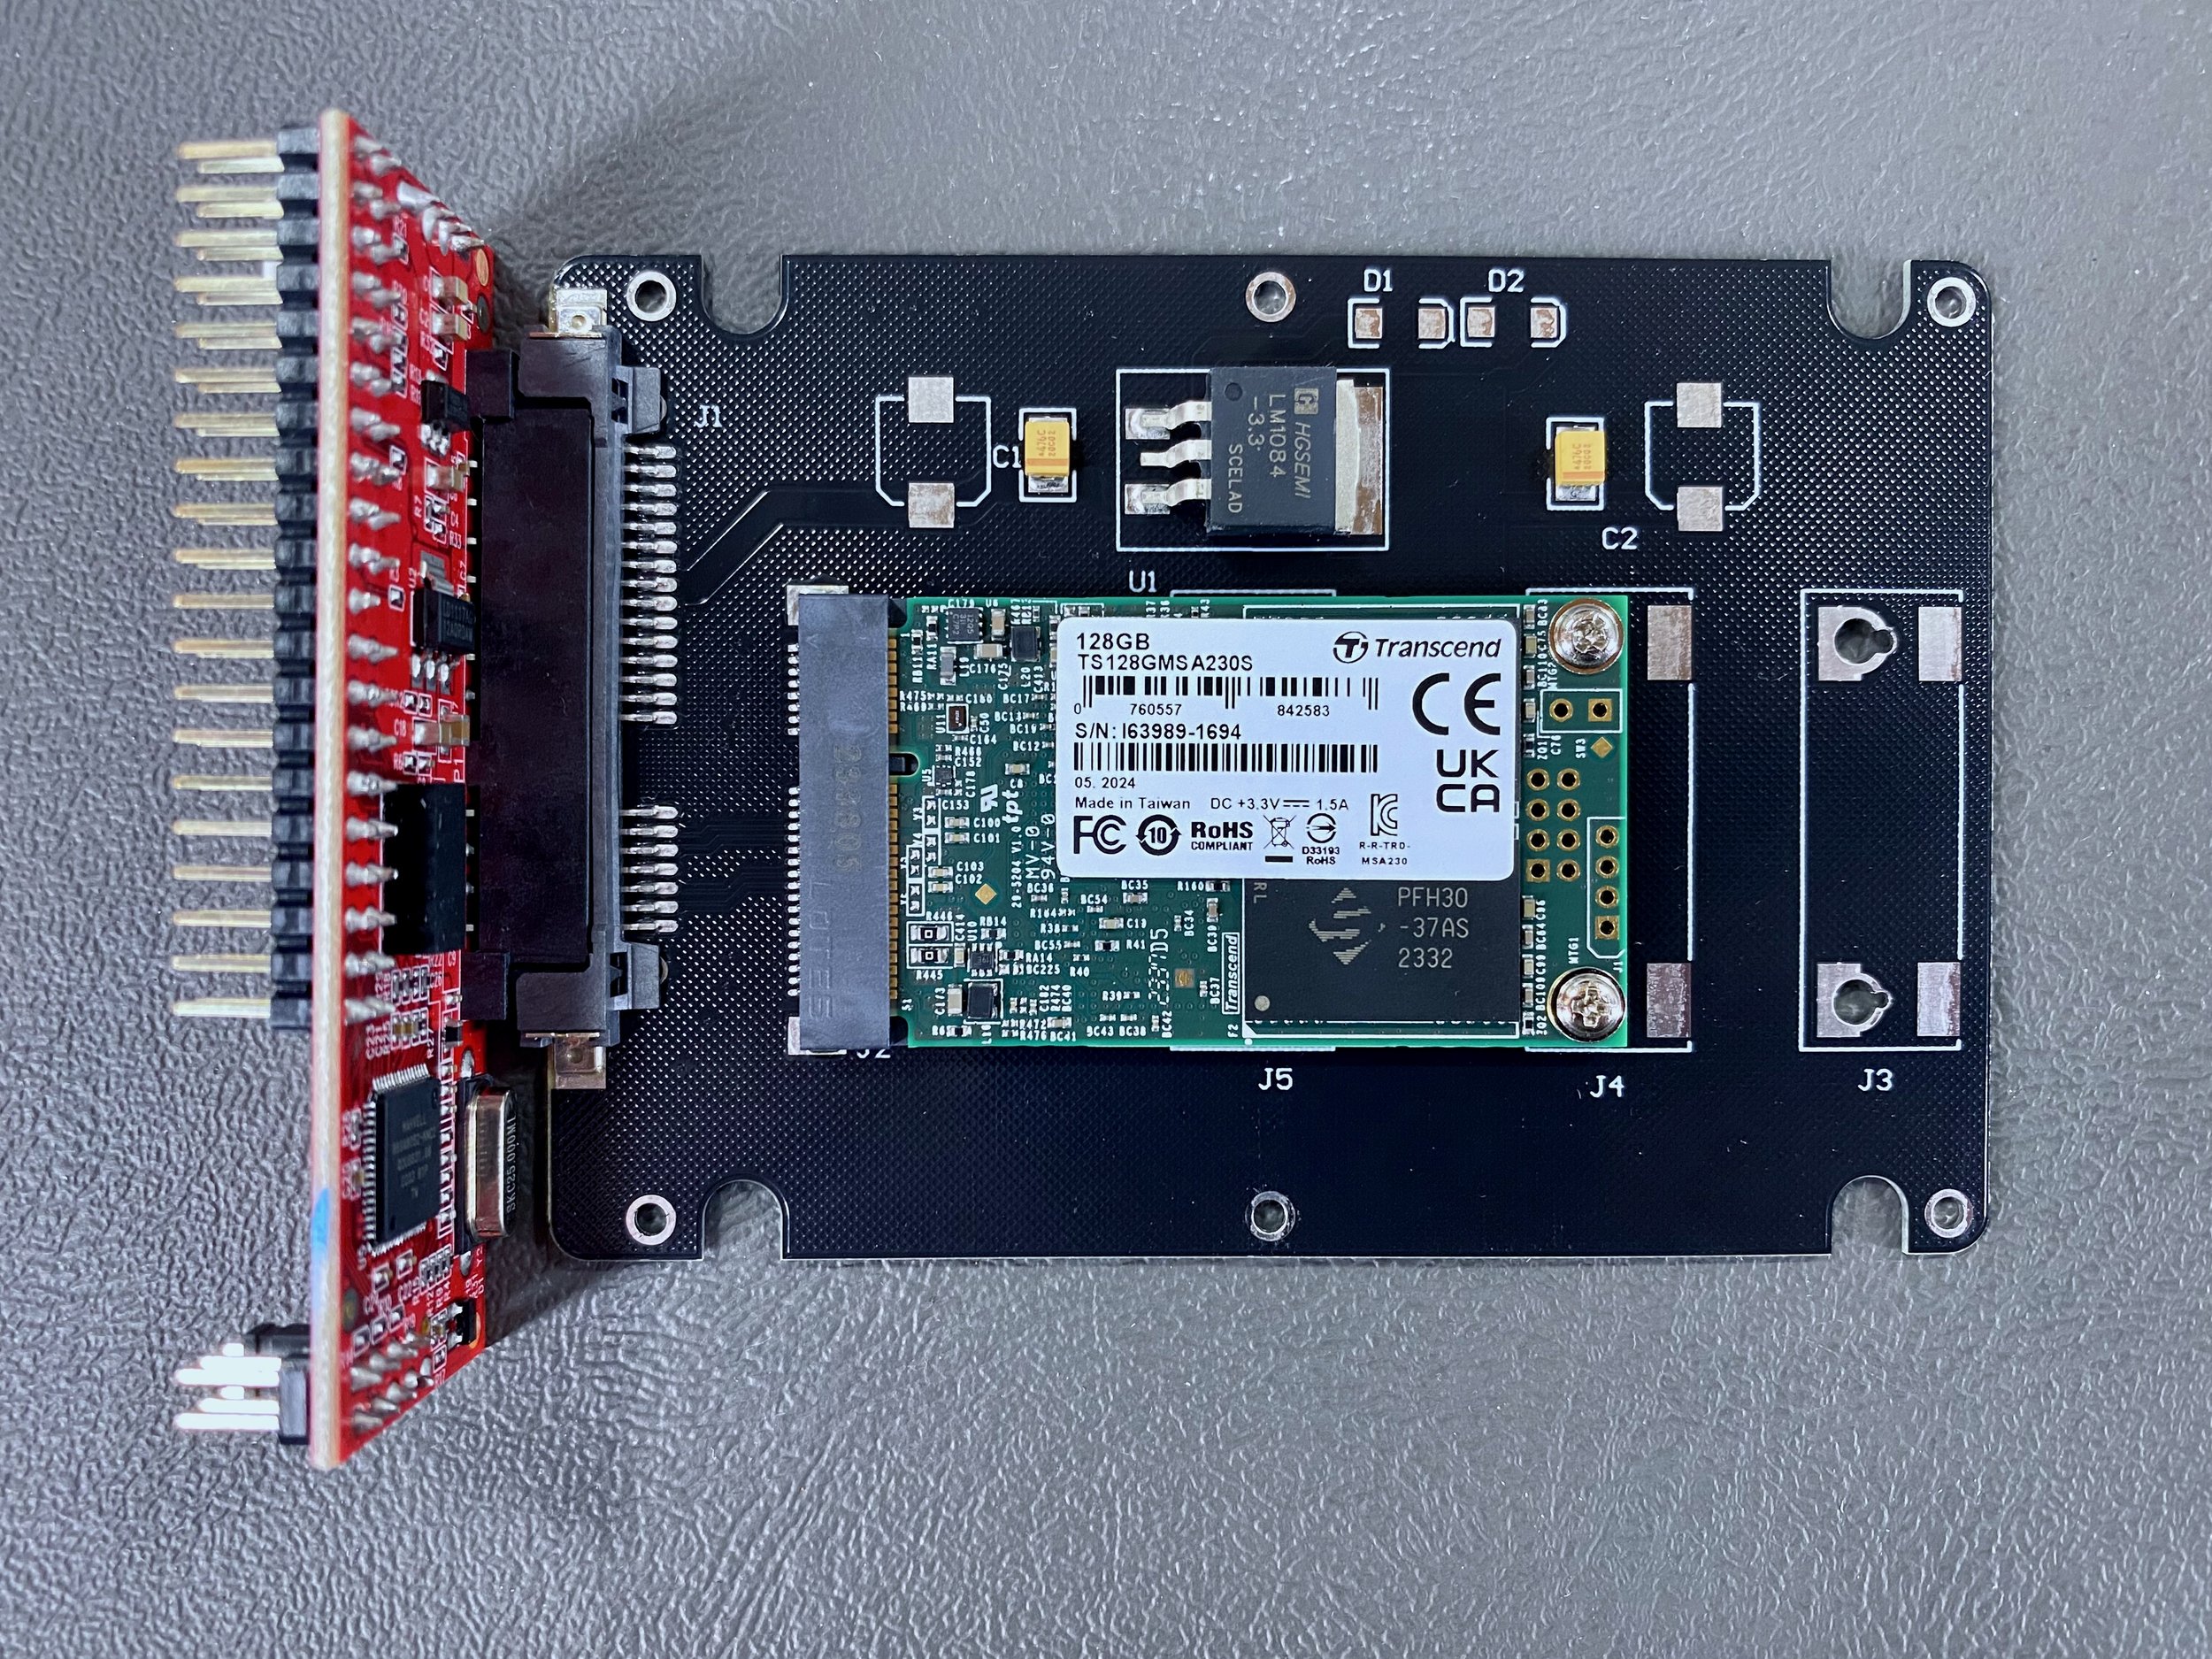
In 2025 I installed a 128 GB SSD alongside the existing dual 120GB HDDs. HDD to SSD conversion is a common technique used in vintage computer preservation, as the original hard drives are prone to failure due to age. This upgrade also makes the computer quieter, faster, and more reliable. In this case I chose to leave the existing HDDs in place since they are working and already configured in a RAID striping array. Scroll to the bottom of the page for more on this as well.
It is in fully working order and is currently running Mac OS X 10.2.3.
Model Identifier
This particular machine is the midrange dual-processor 1.25 GHz model from early 2003. This generation of G4 towers, officially dubbed the “FireWire 800” models by Apple, is notable for being the first that could not run Mac OS 9.
Packaging
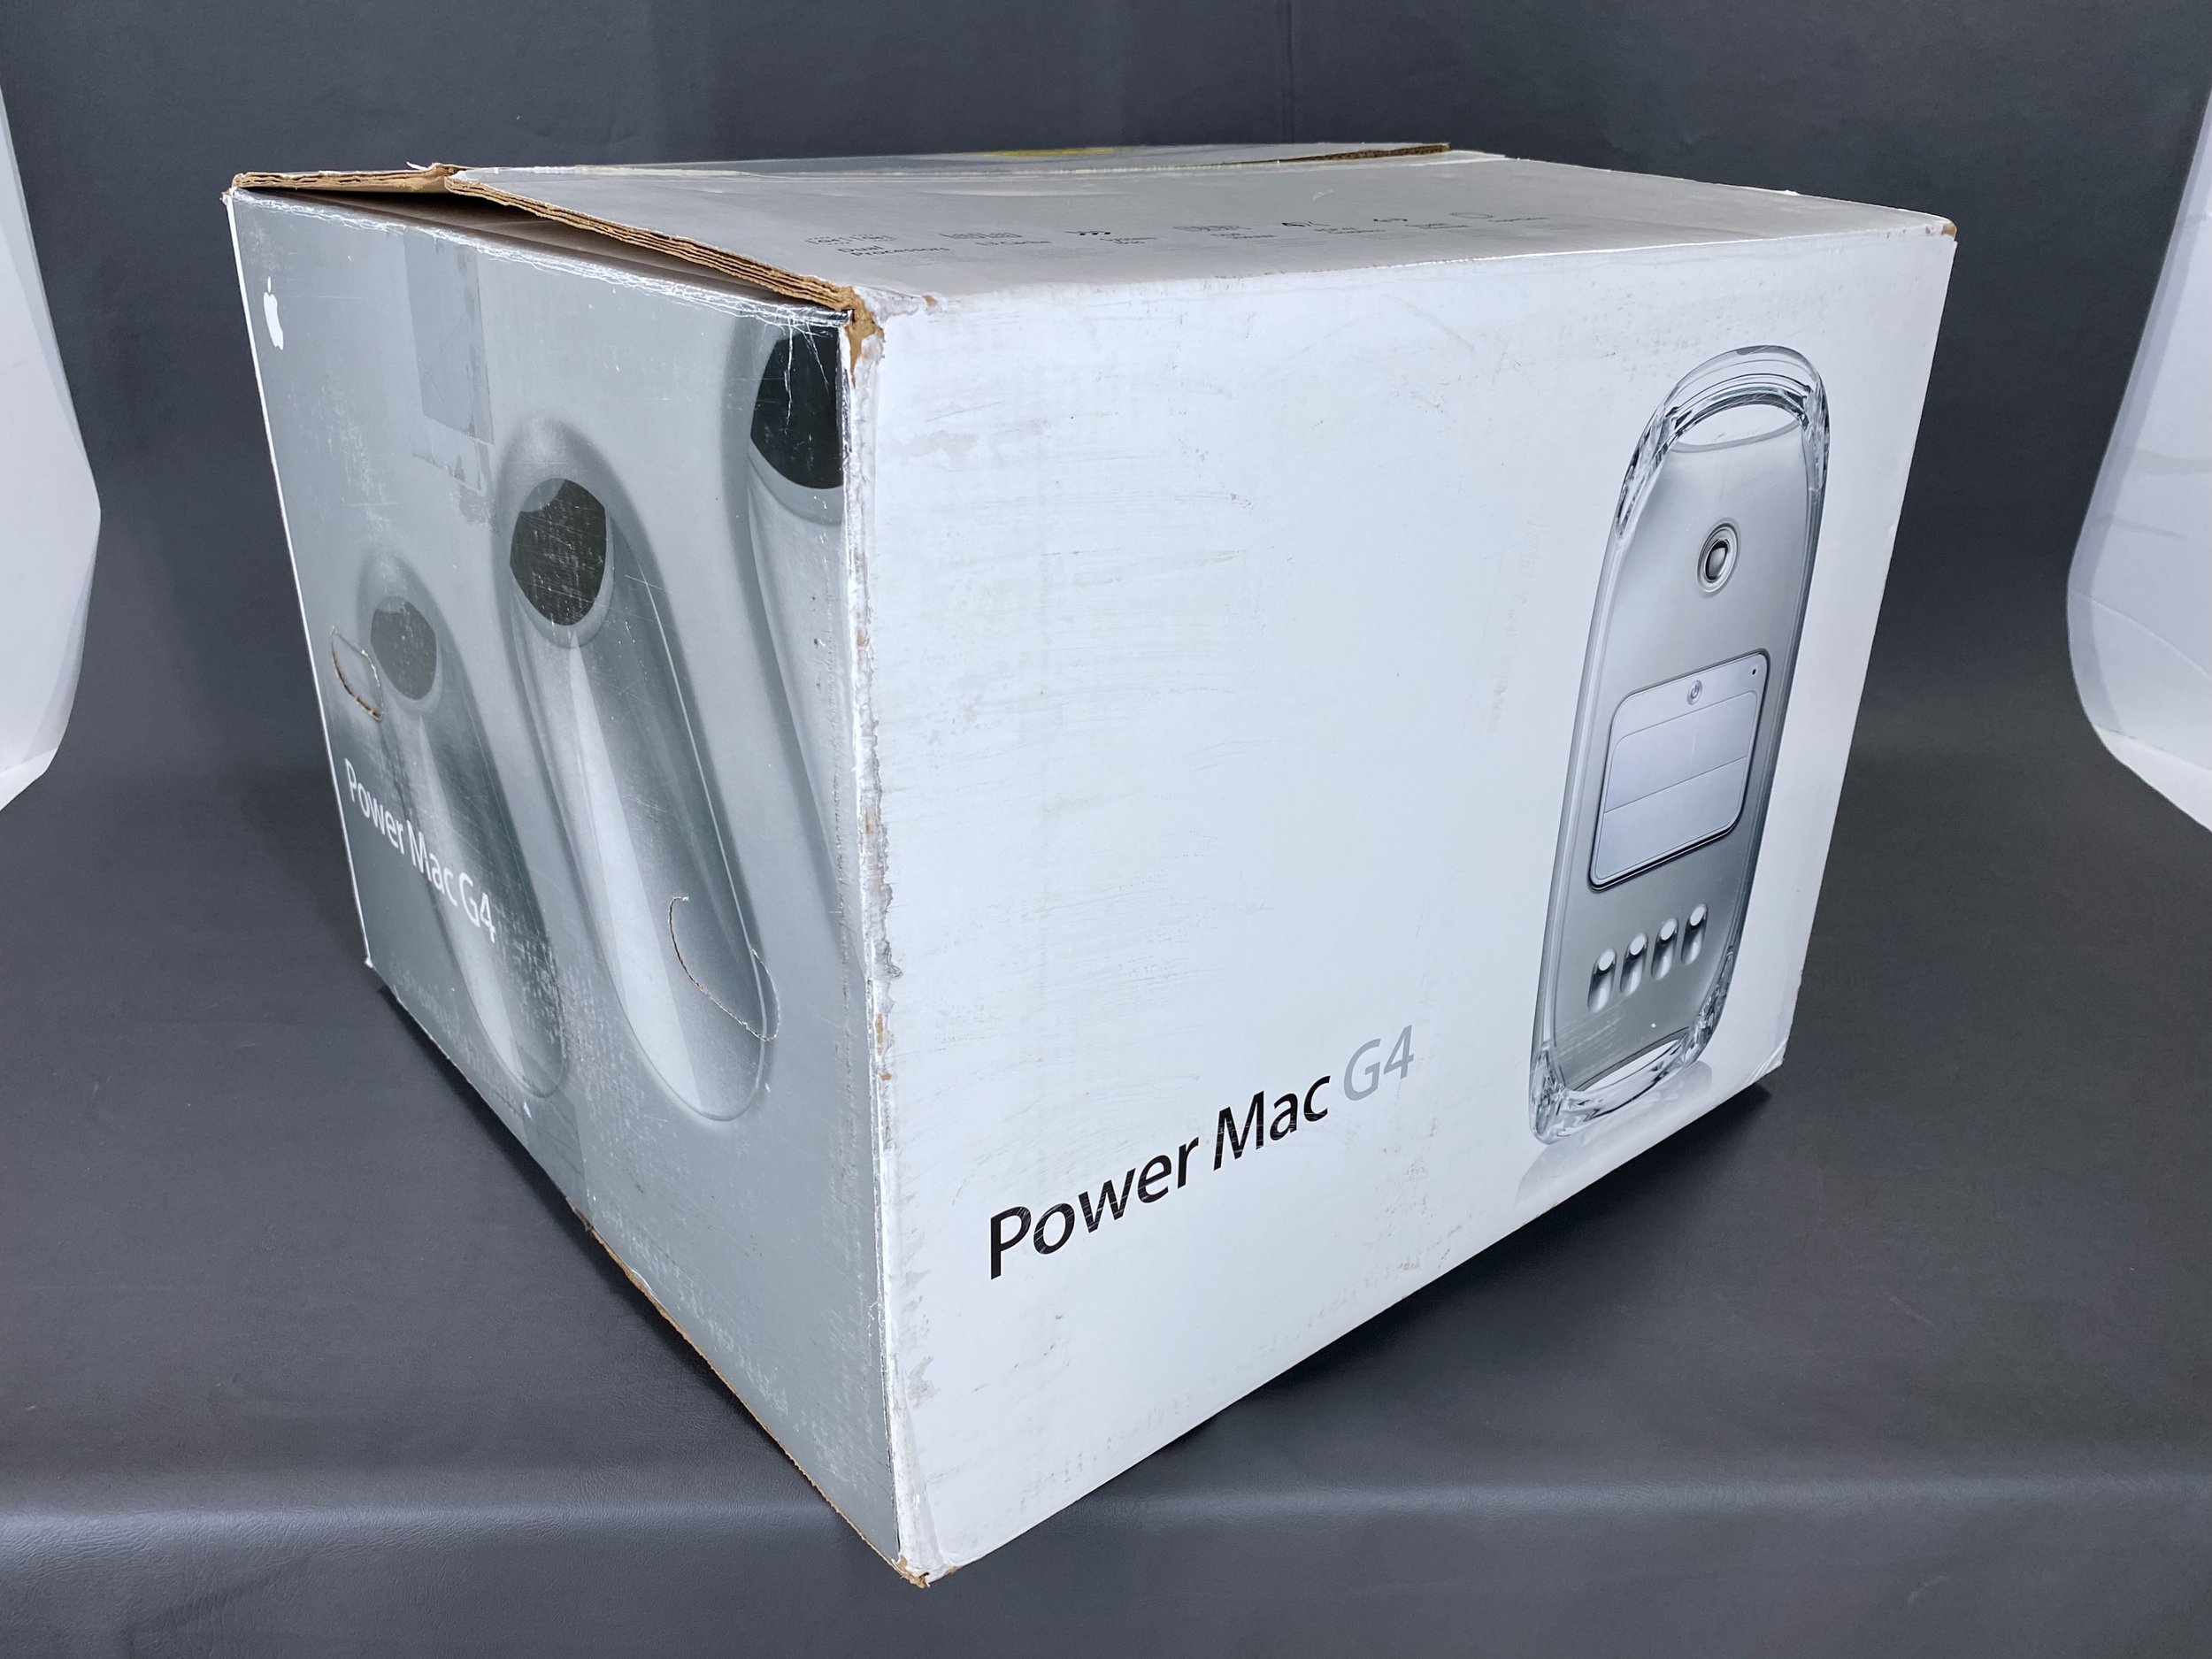
The box does not have the usual large sticker on top with the model specifications.
Labels on the side of the box showing this system’s original ship date of 03/11/2003.
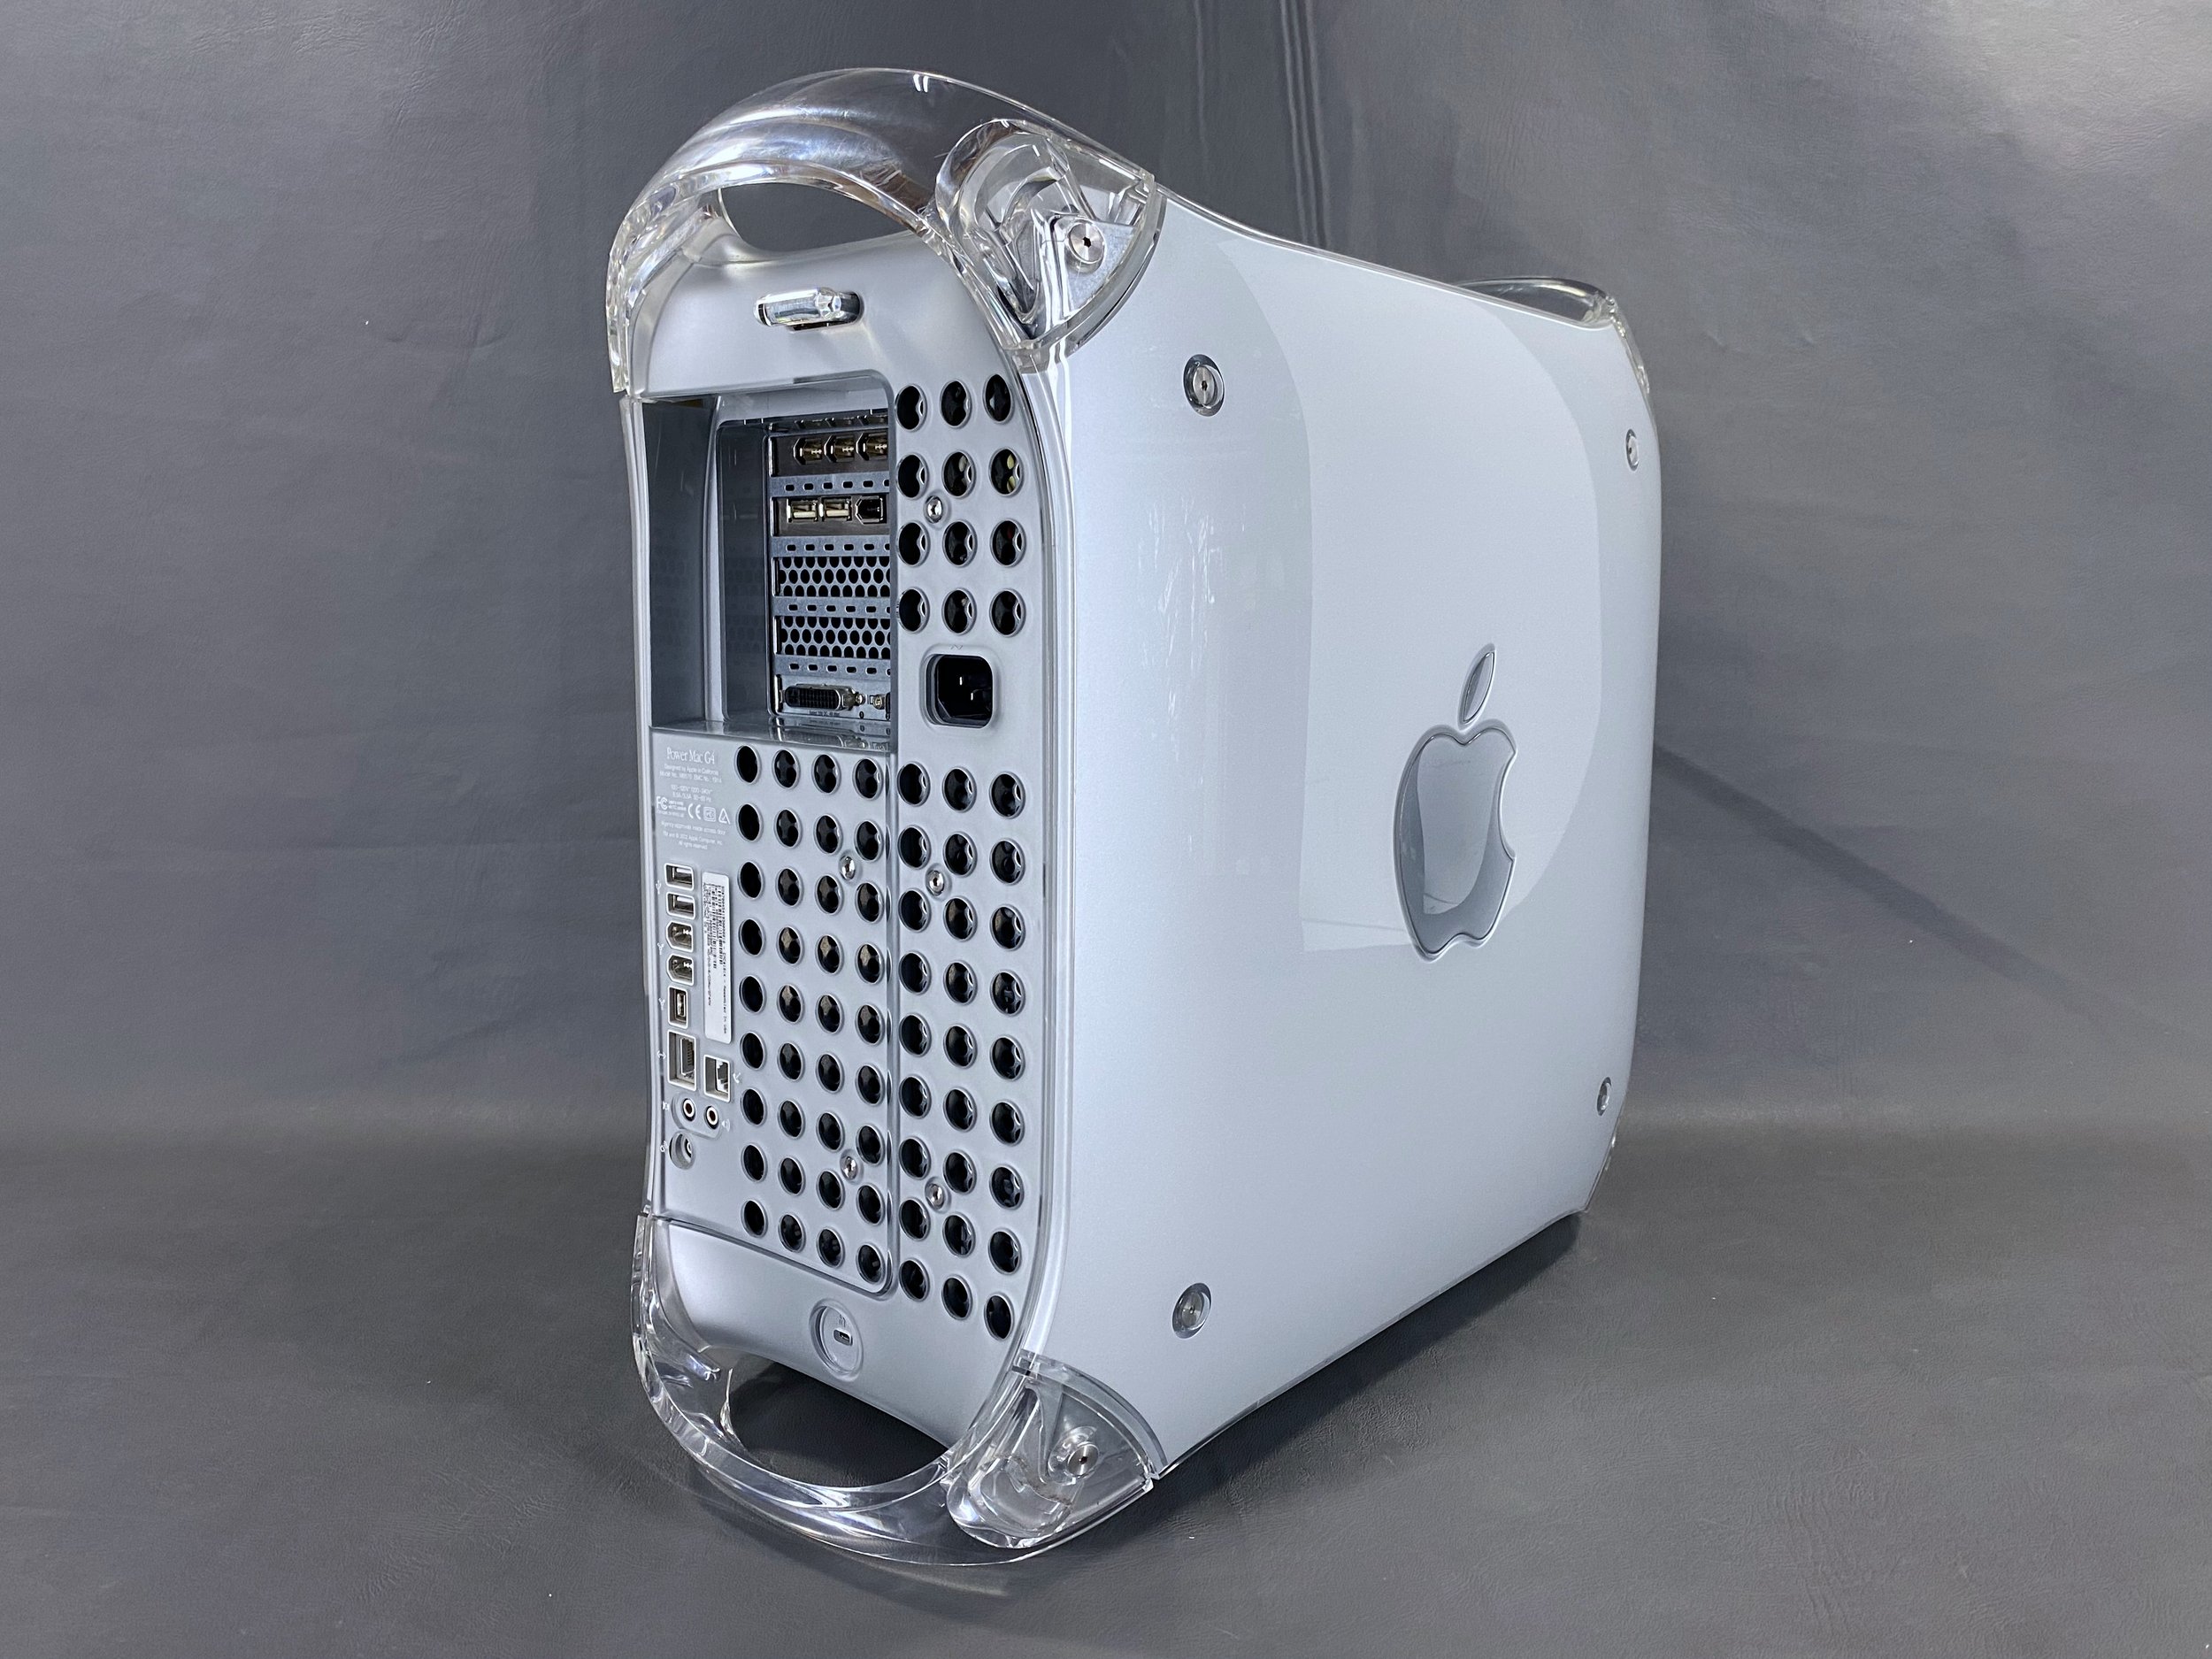
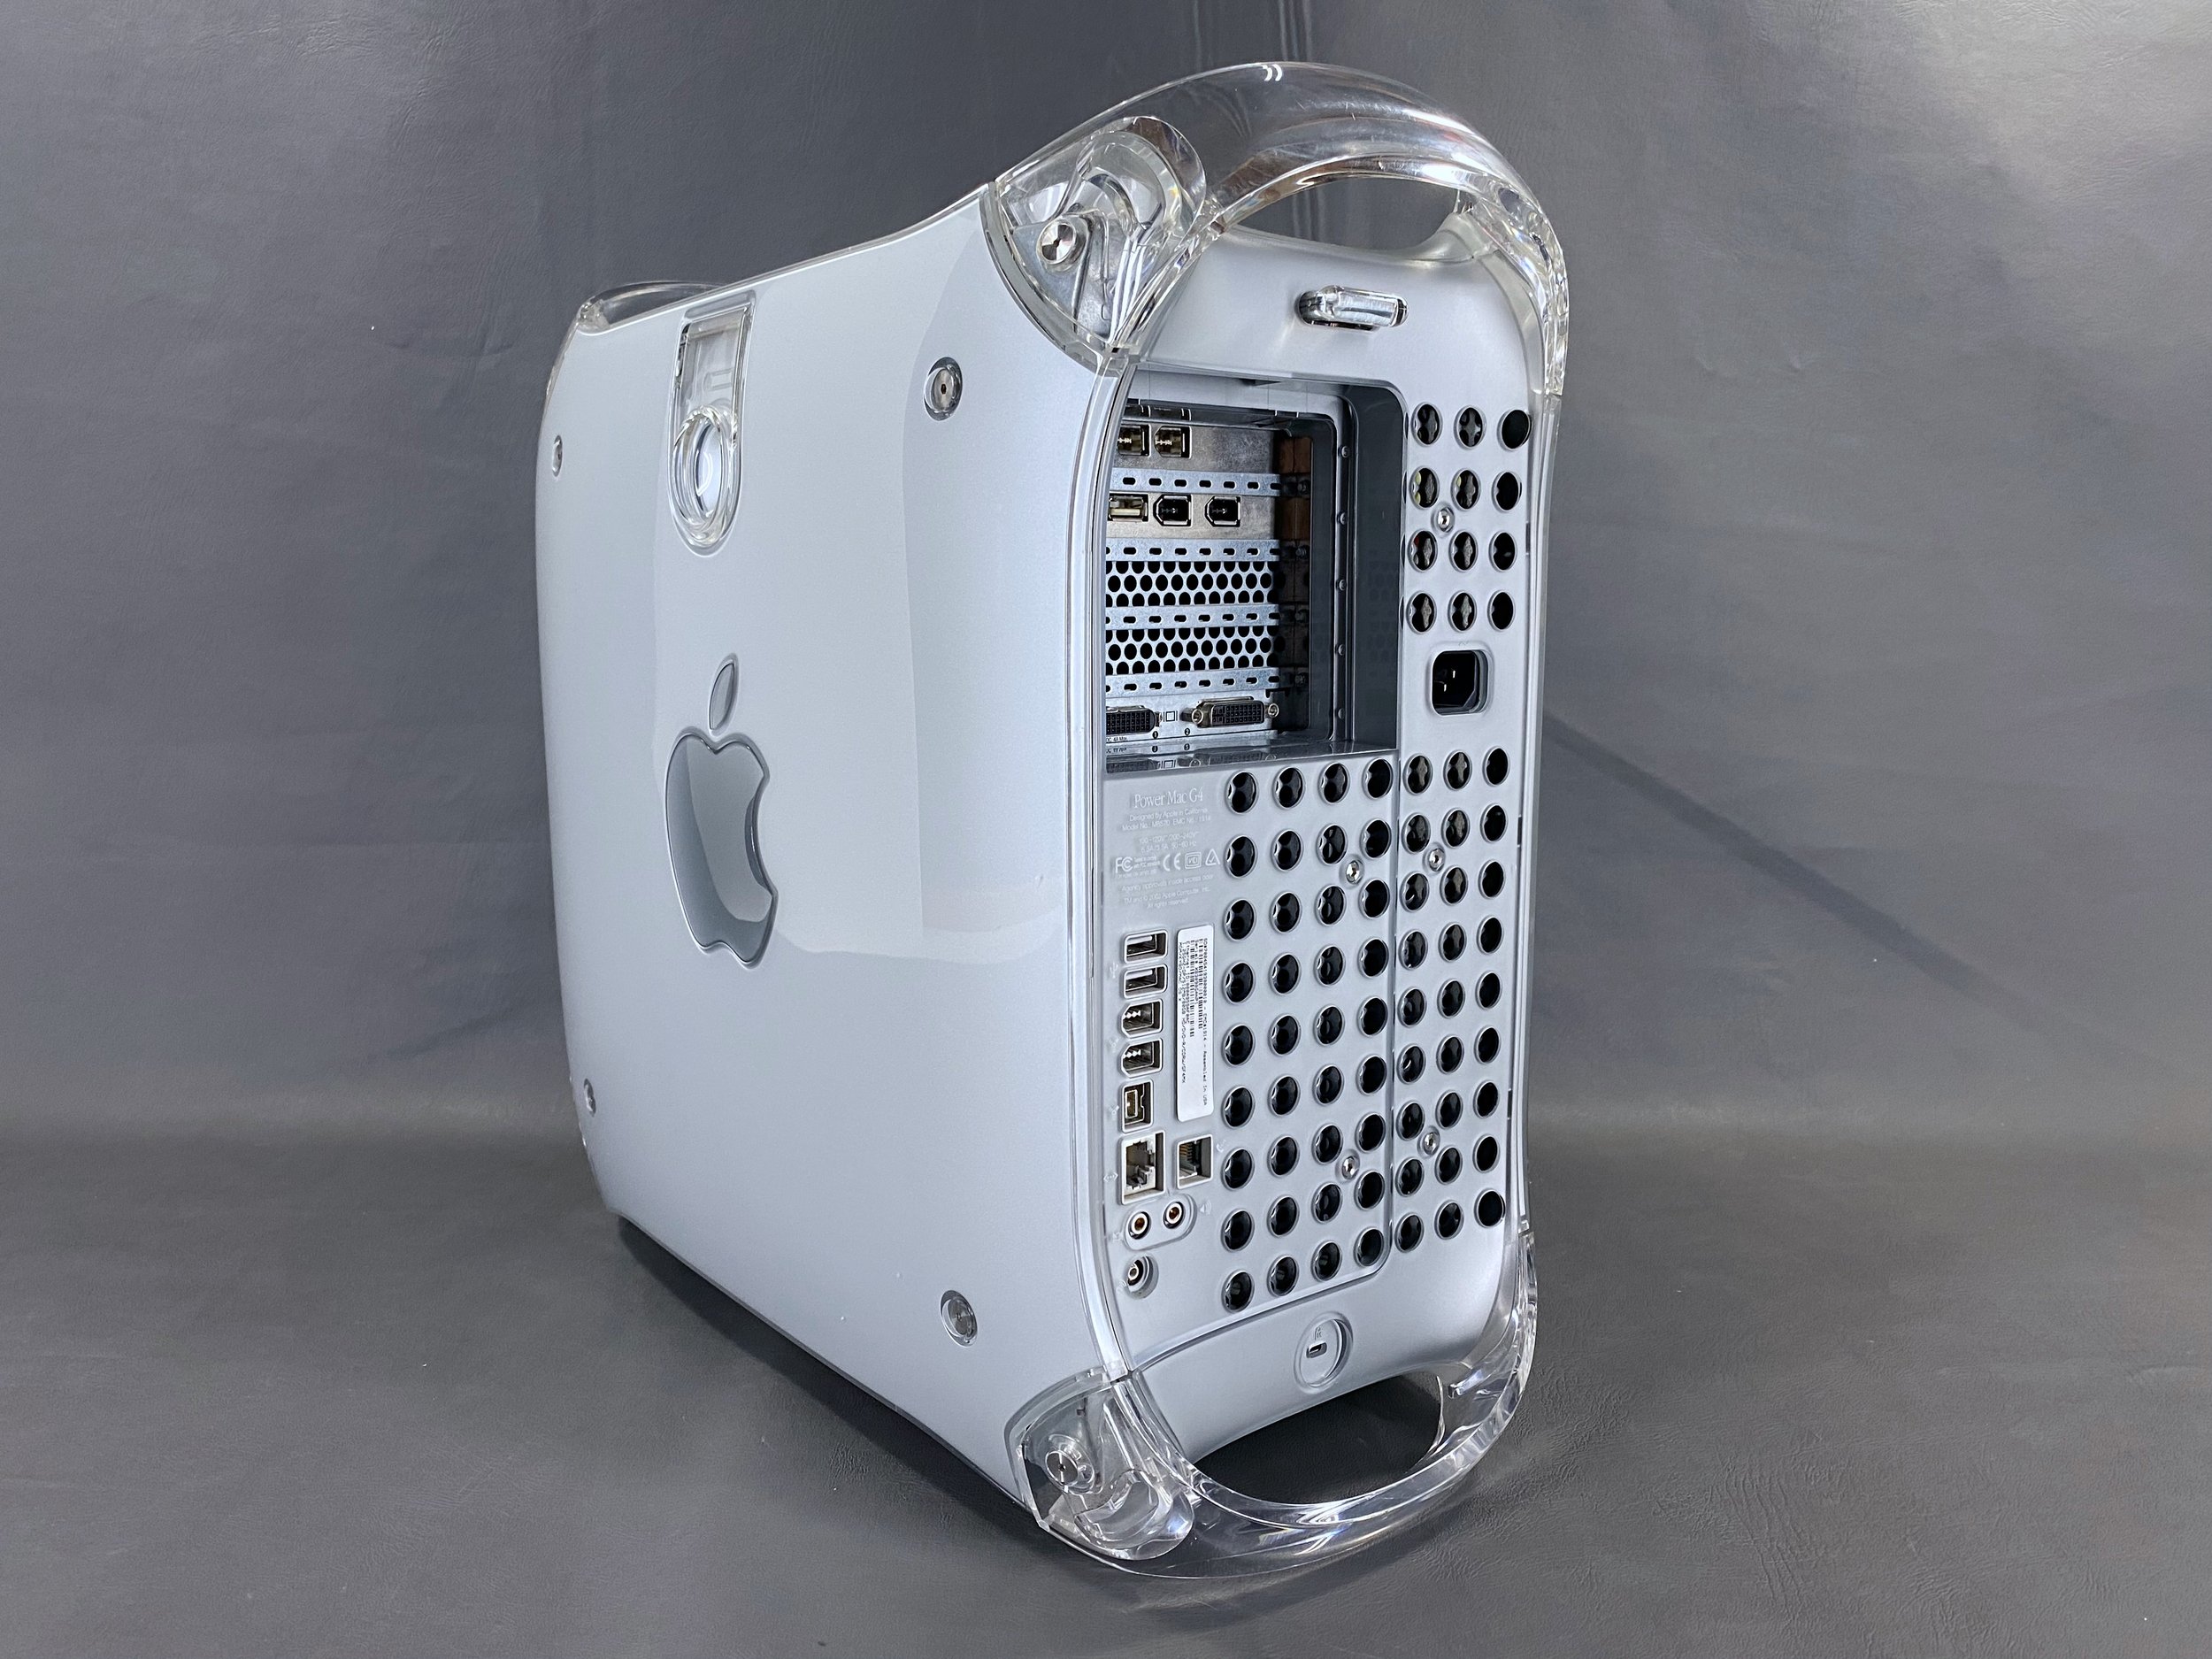
Main Tower
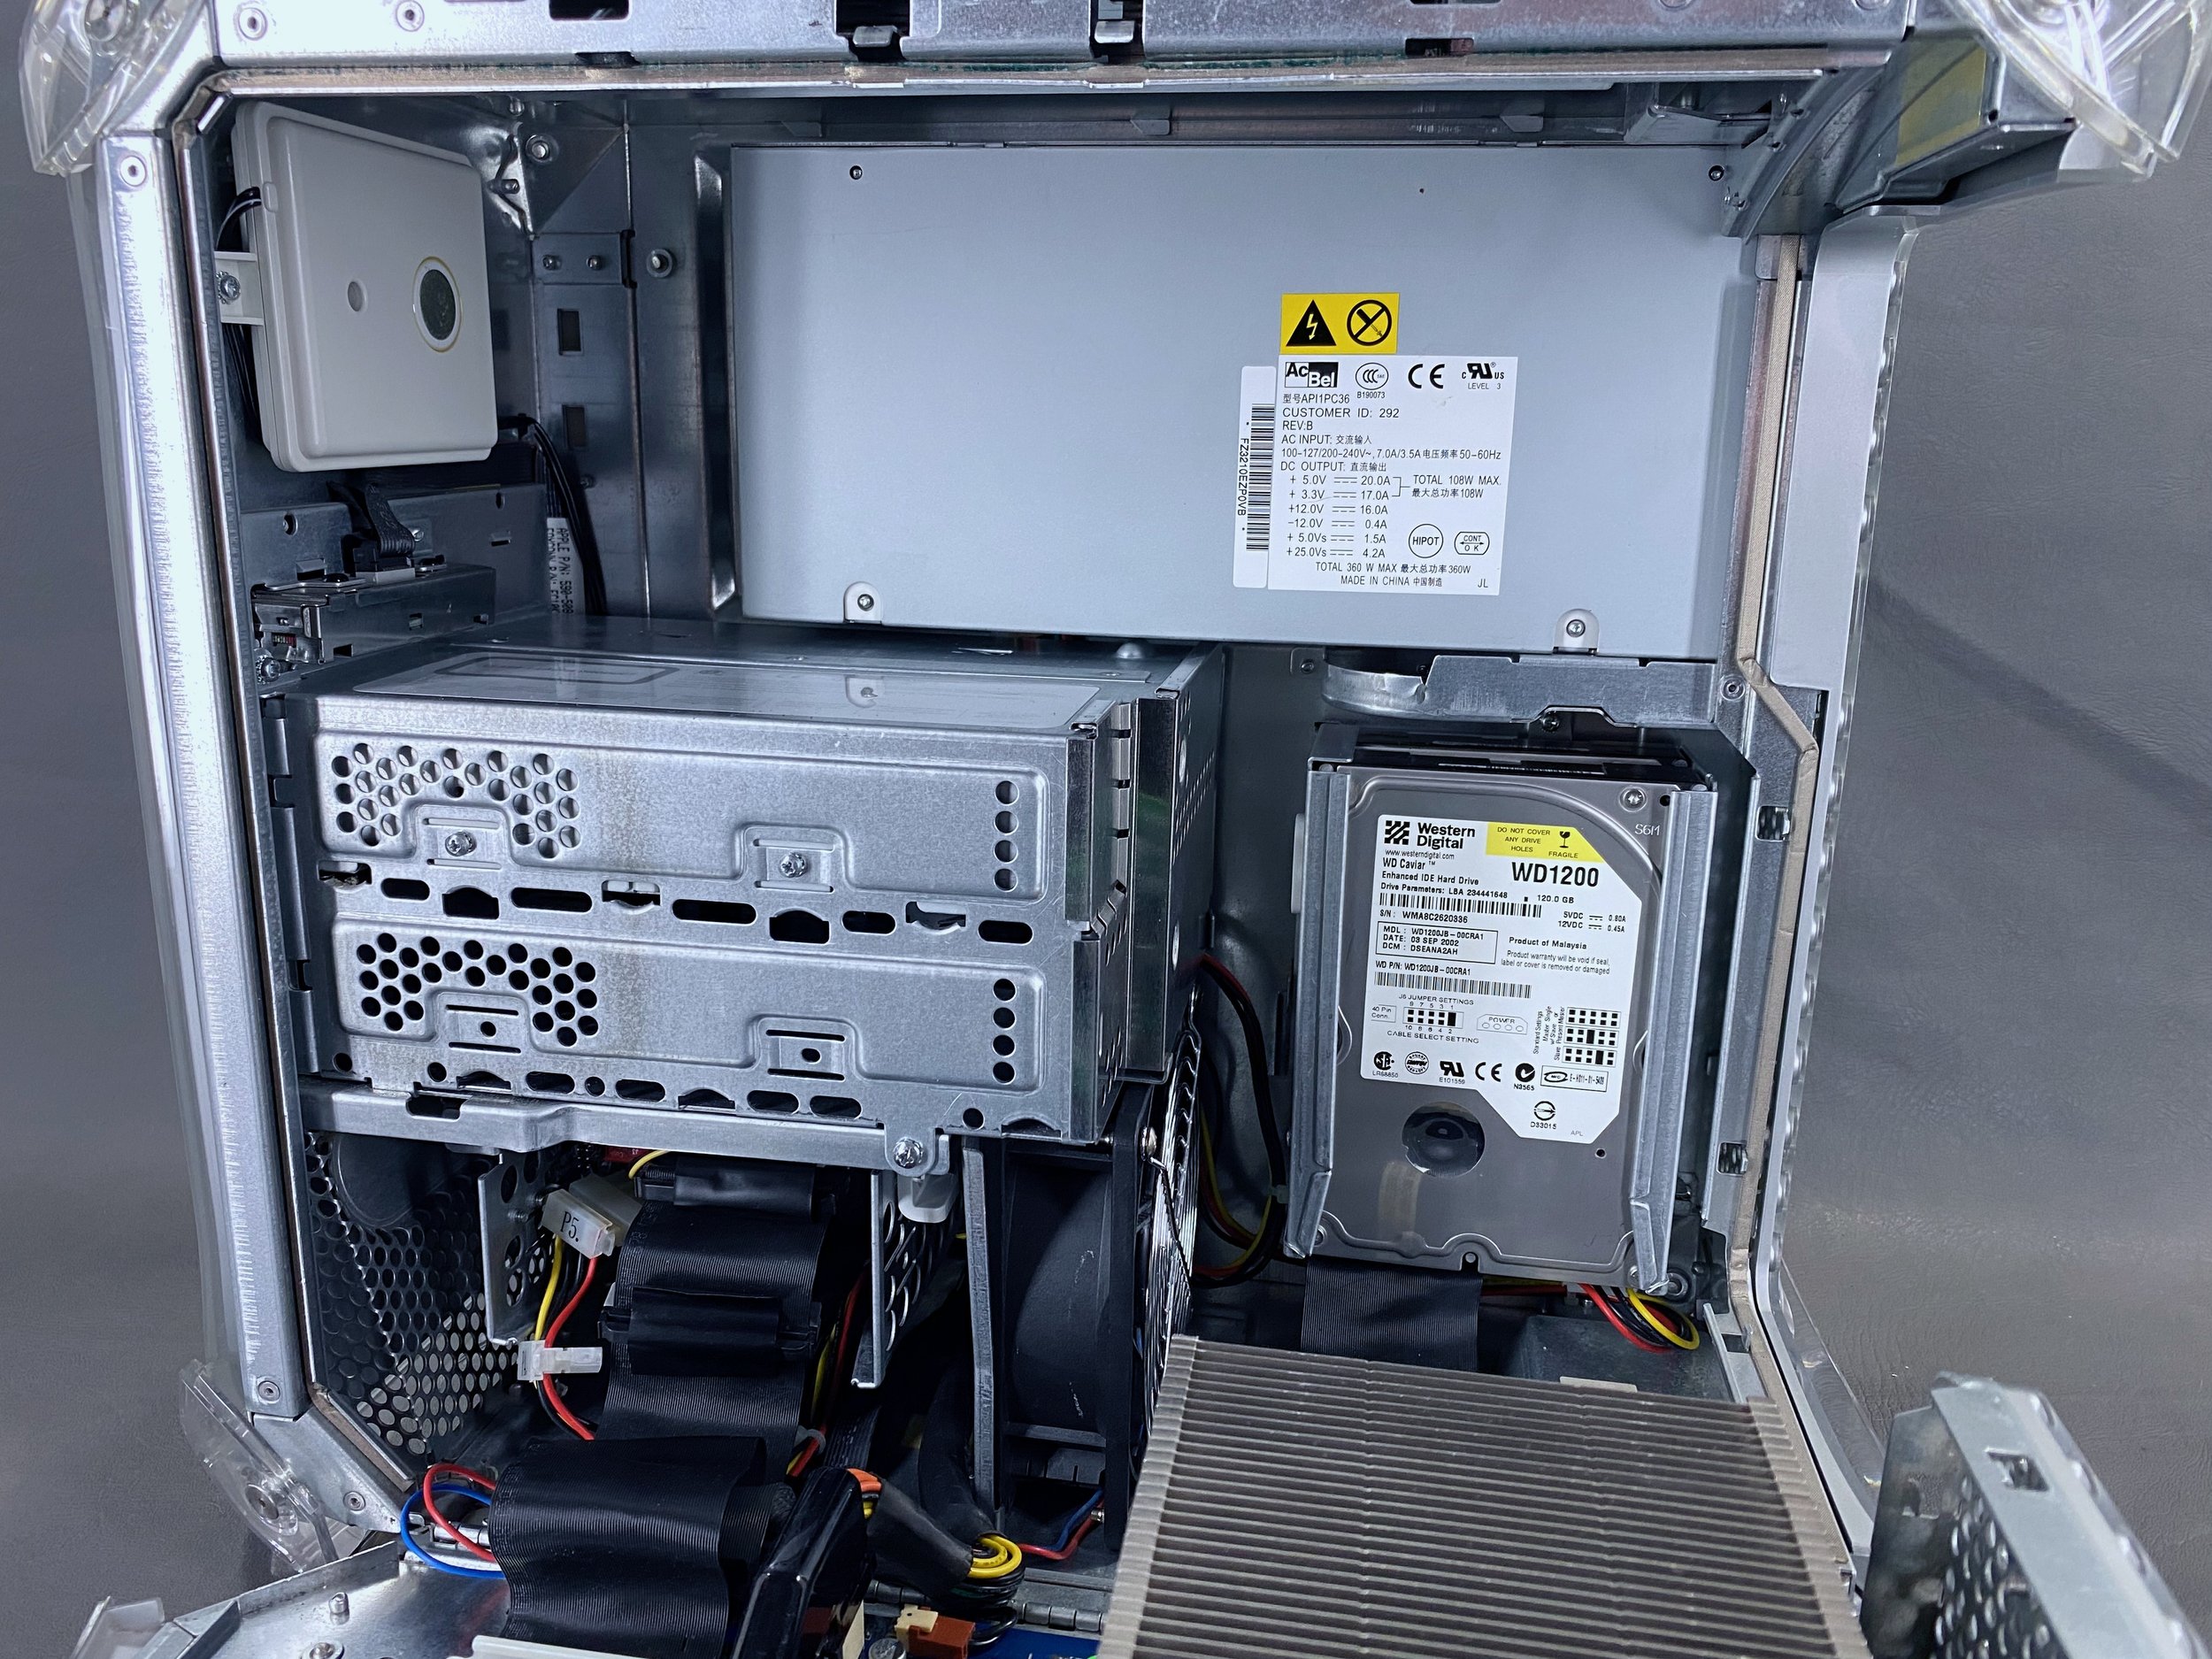
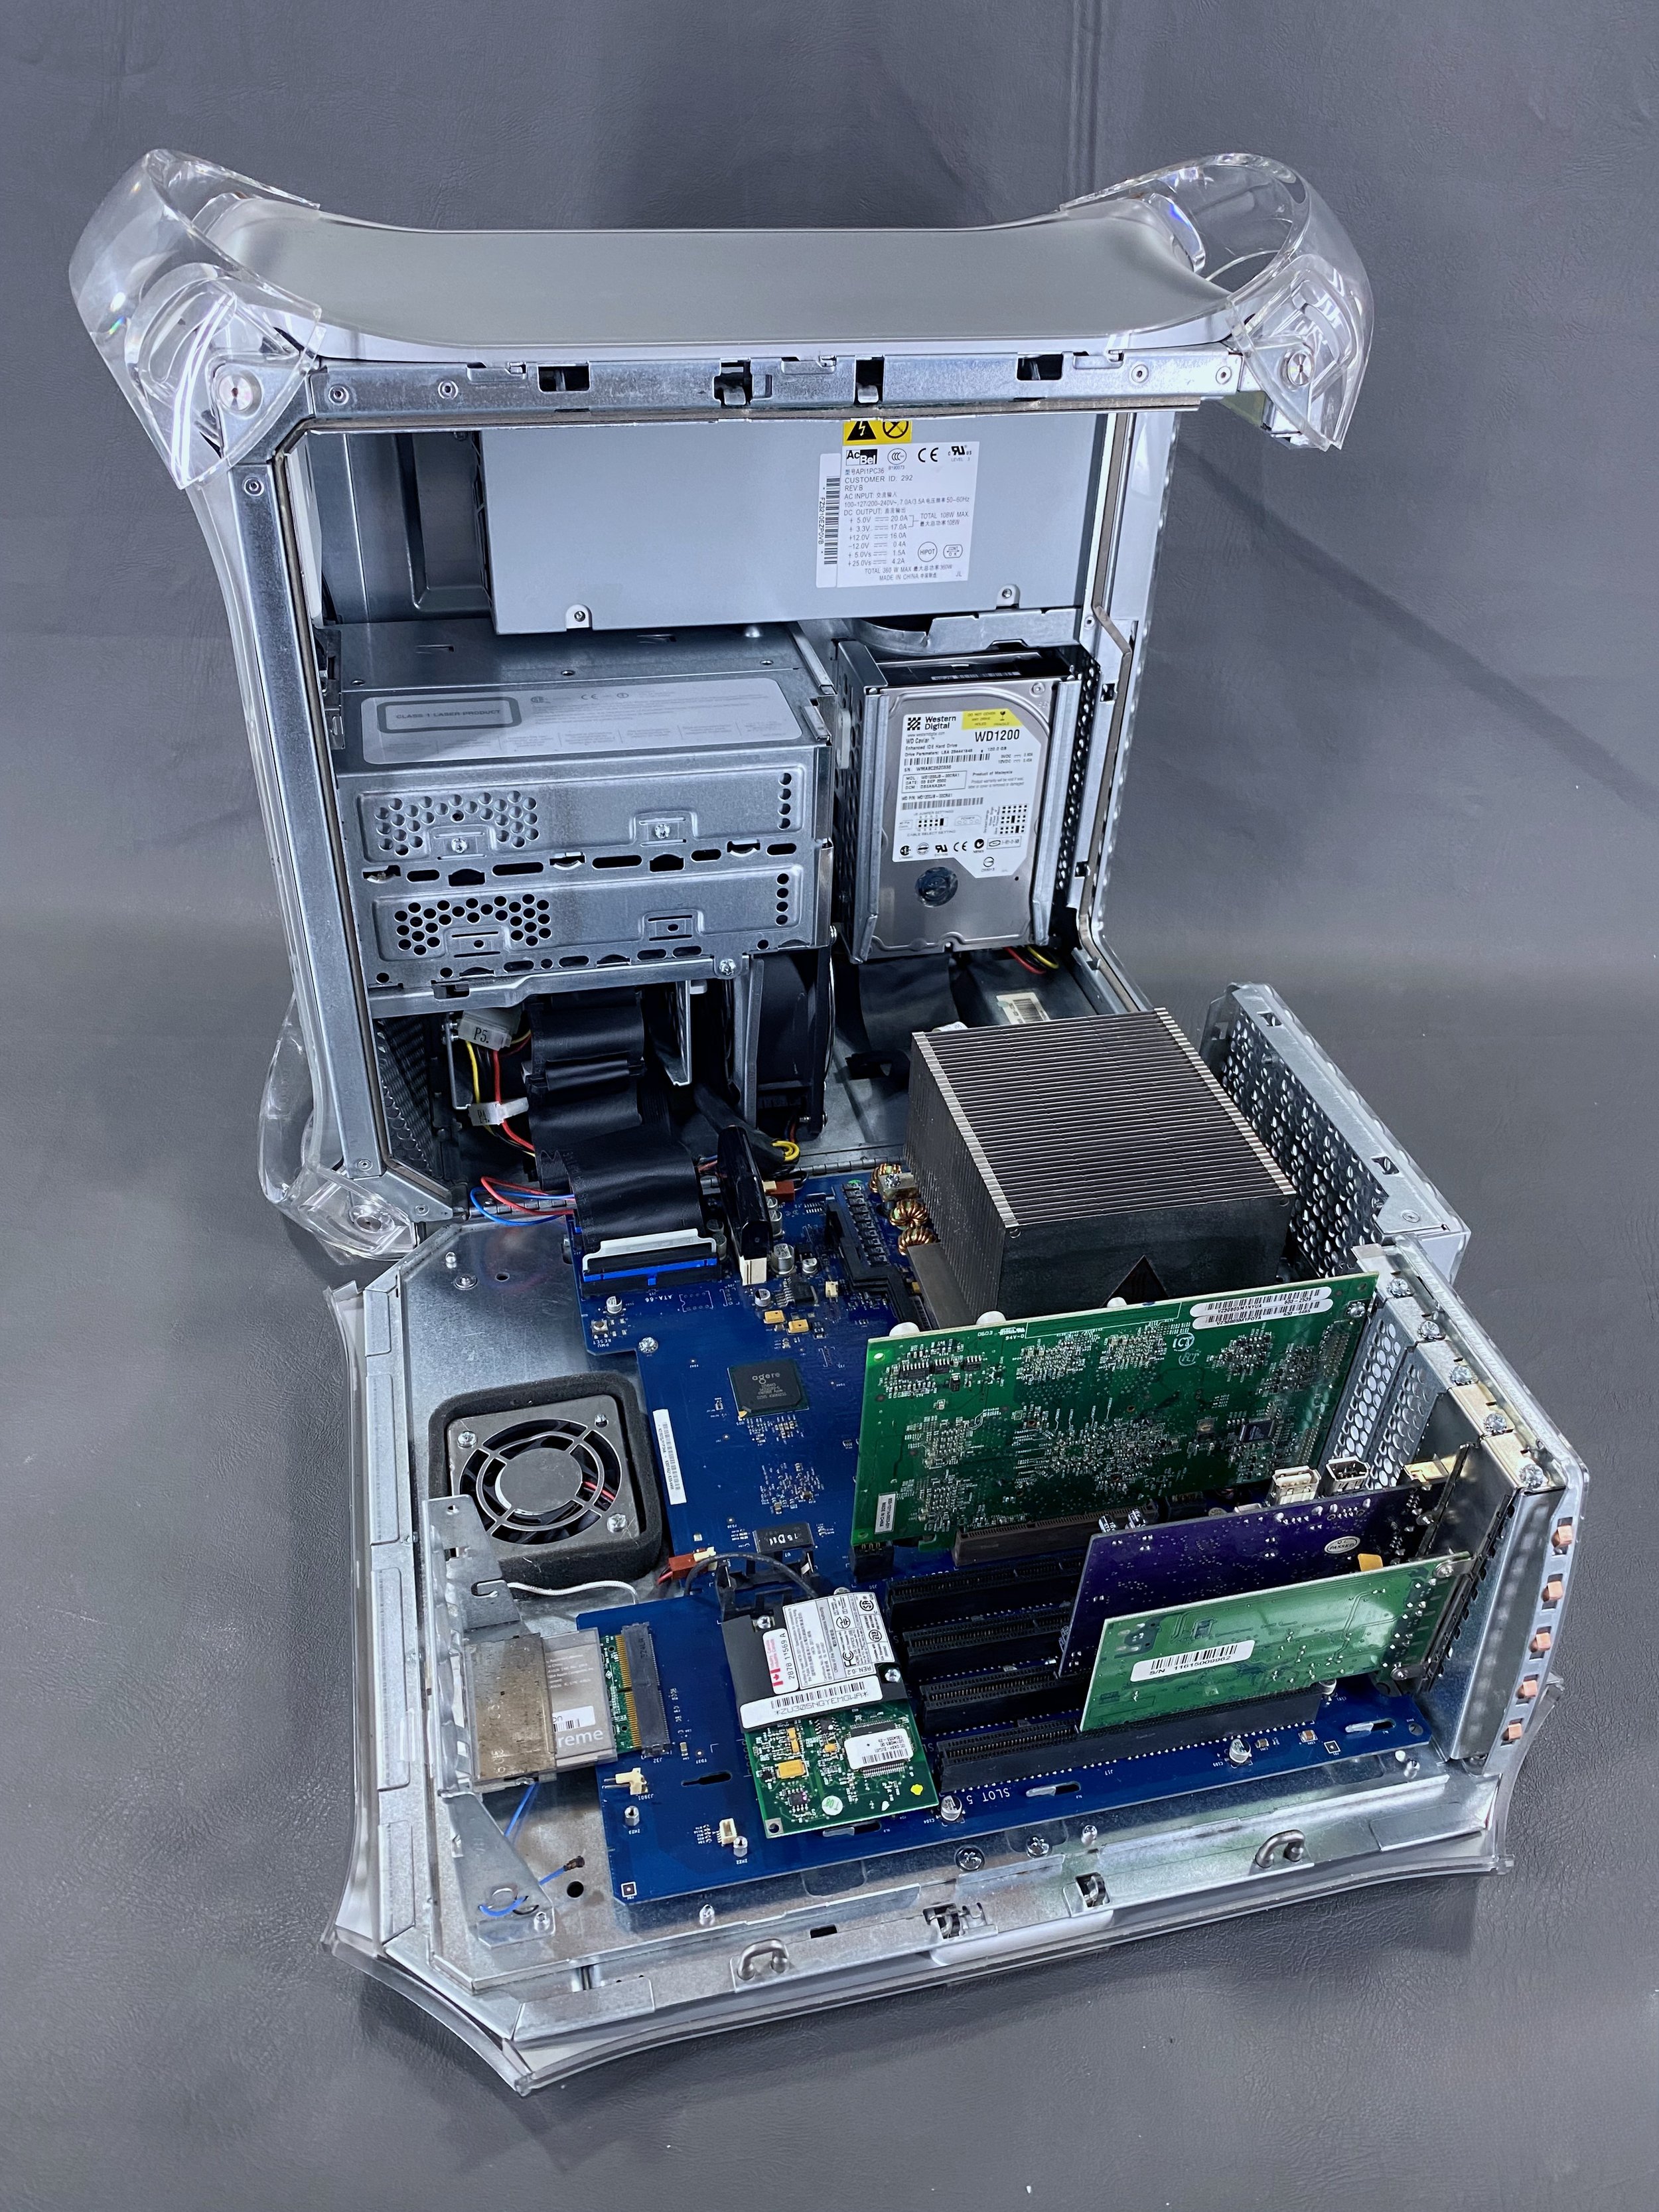
The machine currently has a 128 GB mSATA SSD and a dual-HDD RAID array installed.
The machine currently has two third-party PCI cards installed: one FireWire card and one FireWire + USB card.
Accessories
Pro Keyboard, Pro Mouse, power cable, modem cable, USB extender cable, DVI-to-VGA adapter, speaker grille, blank DVD-R disc, software CDs, and documentation packet.
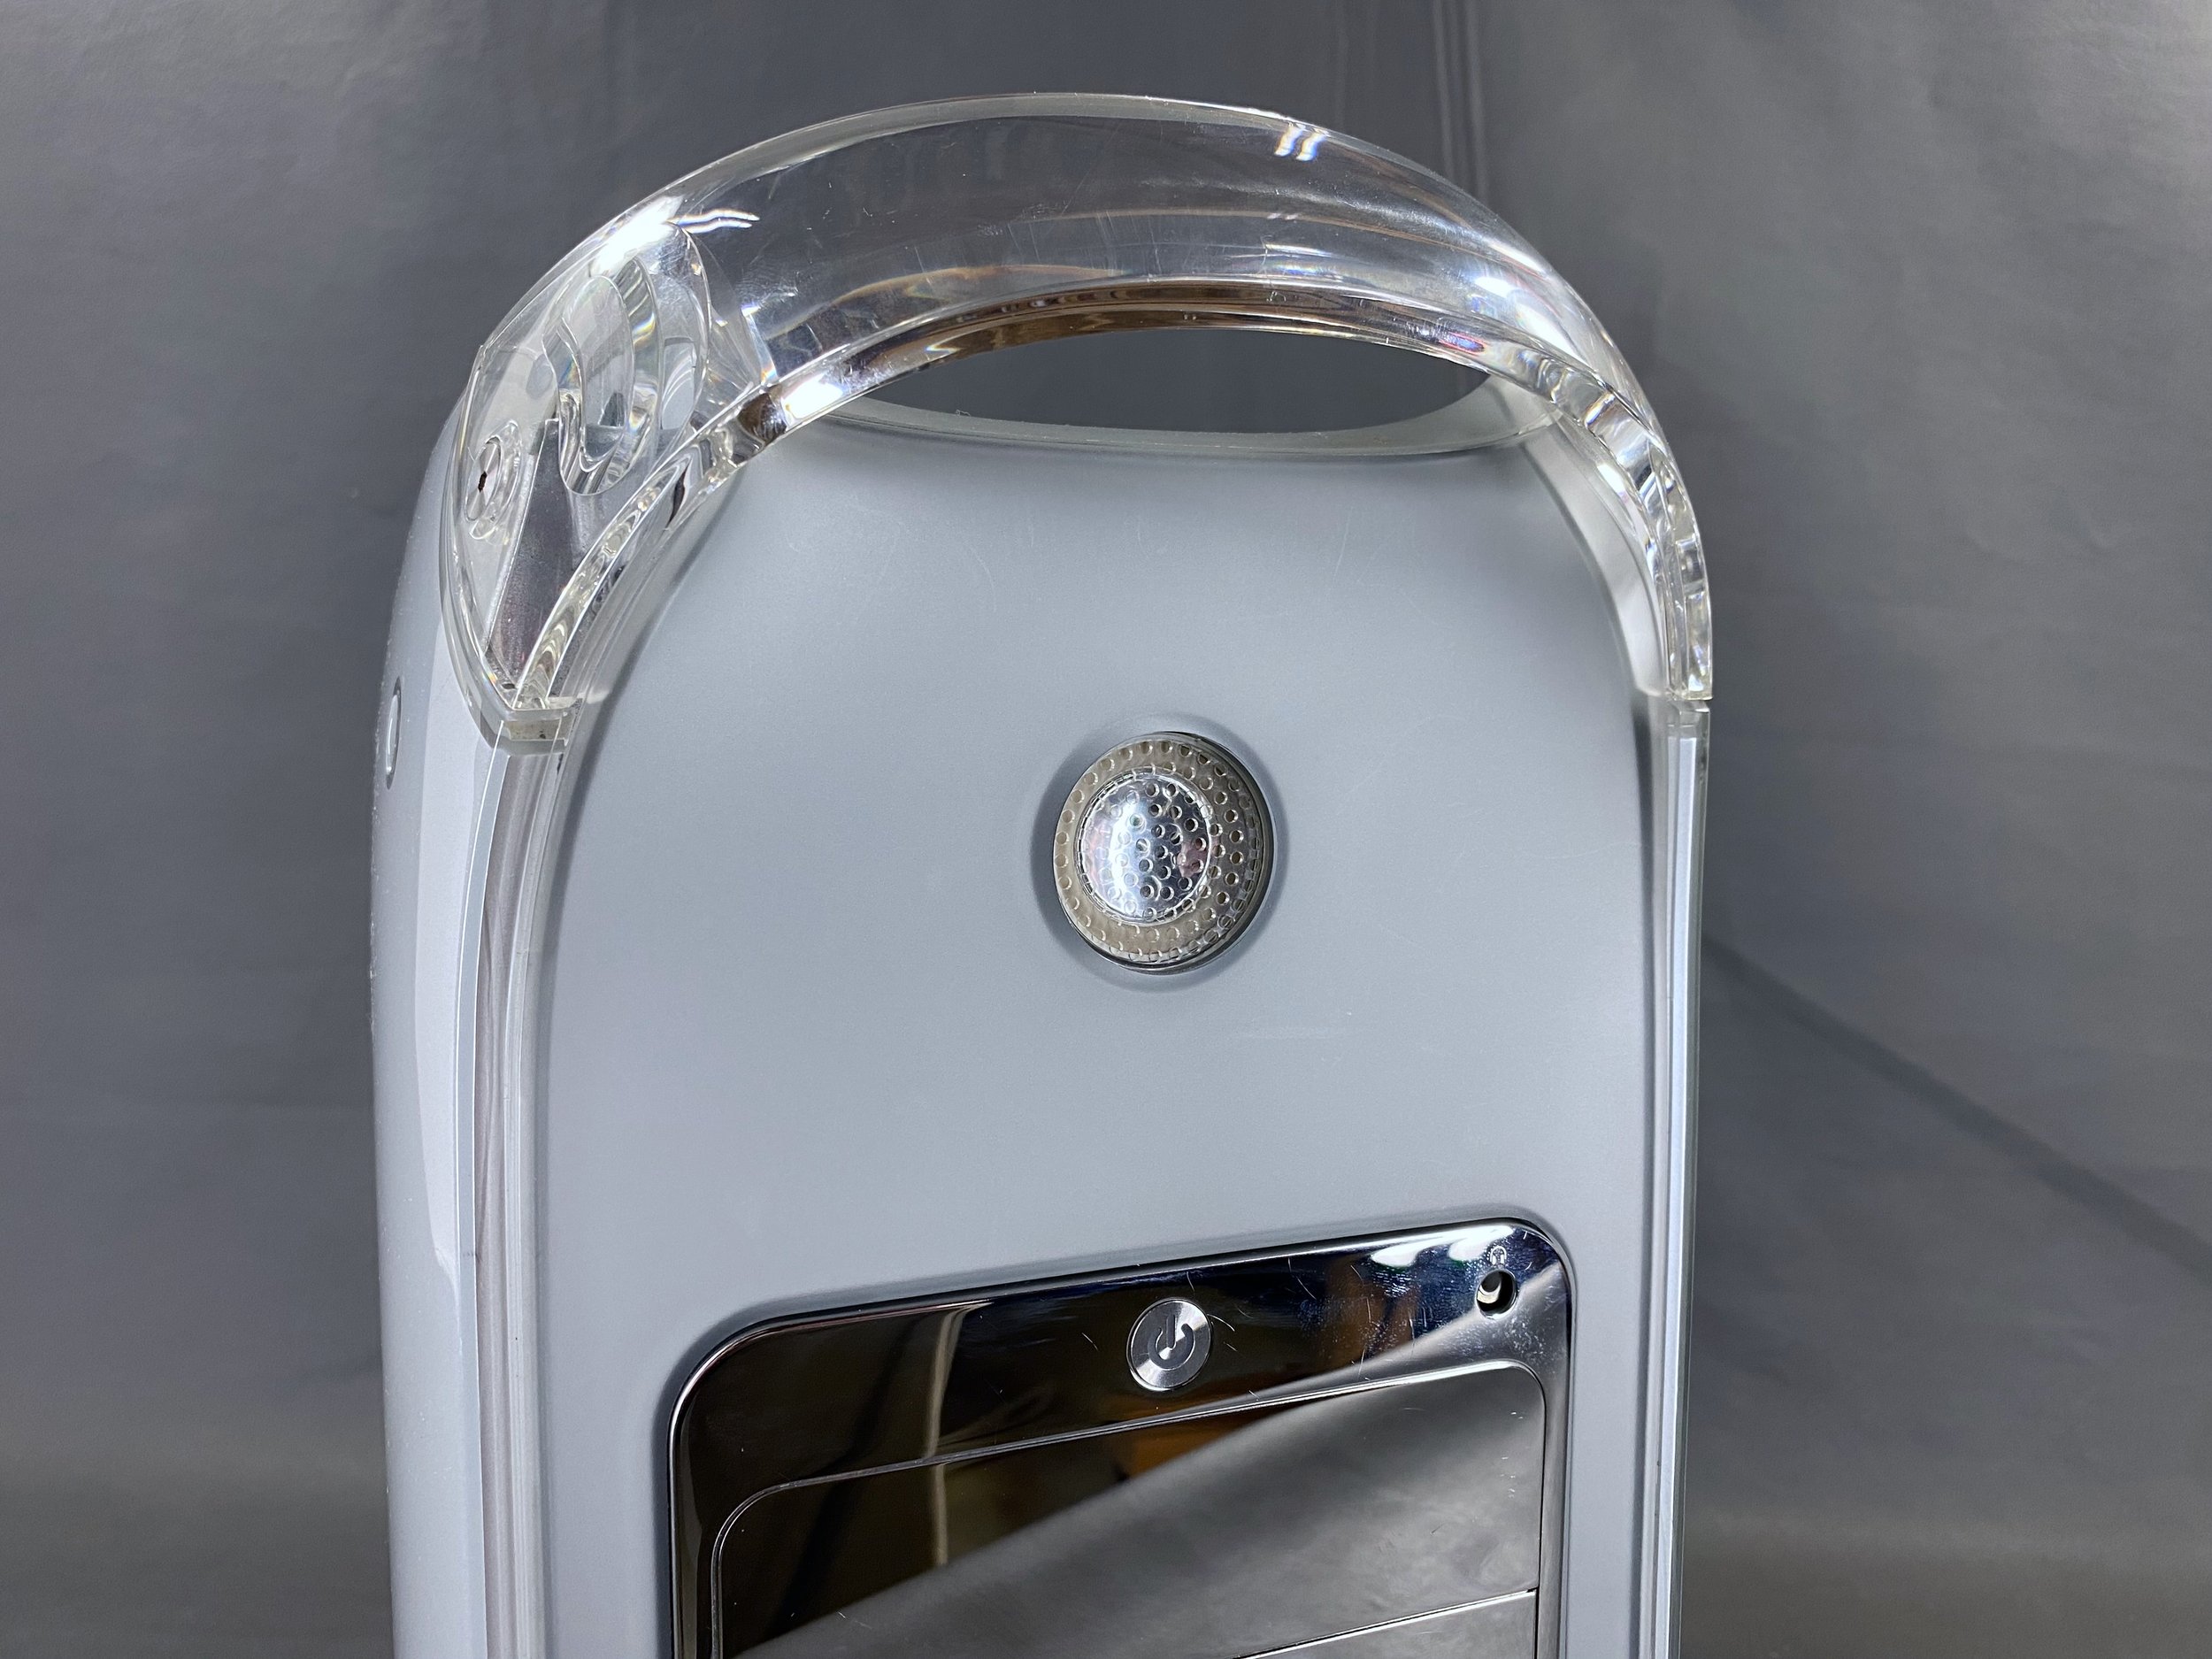
The MDD G4s shipped with this small speaker grille, which could be optionally installed by the user as the speaker was very prone to damage given its prominent position on the front of the case.
Setup guide, warranty/license/AppleCare info, software coupons, Apple stickers, and CDs: OS X Software Install and Restore (1), Software Restore (4), and Apple Hardware Test (2).
Tower with speaker grille installed.
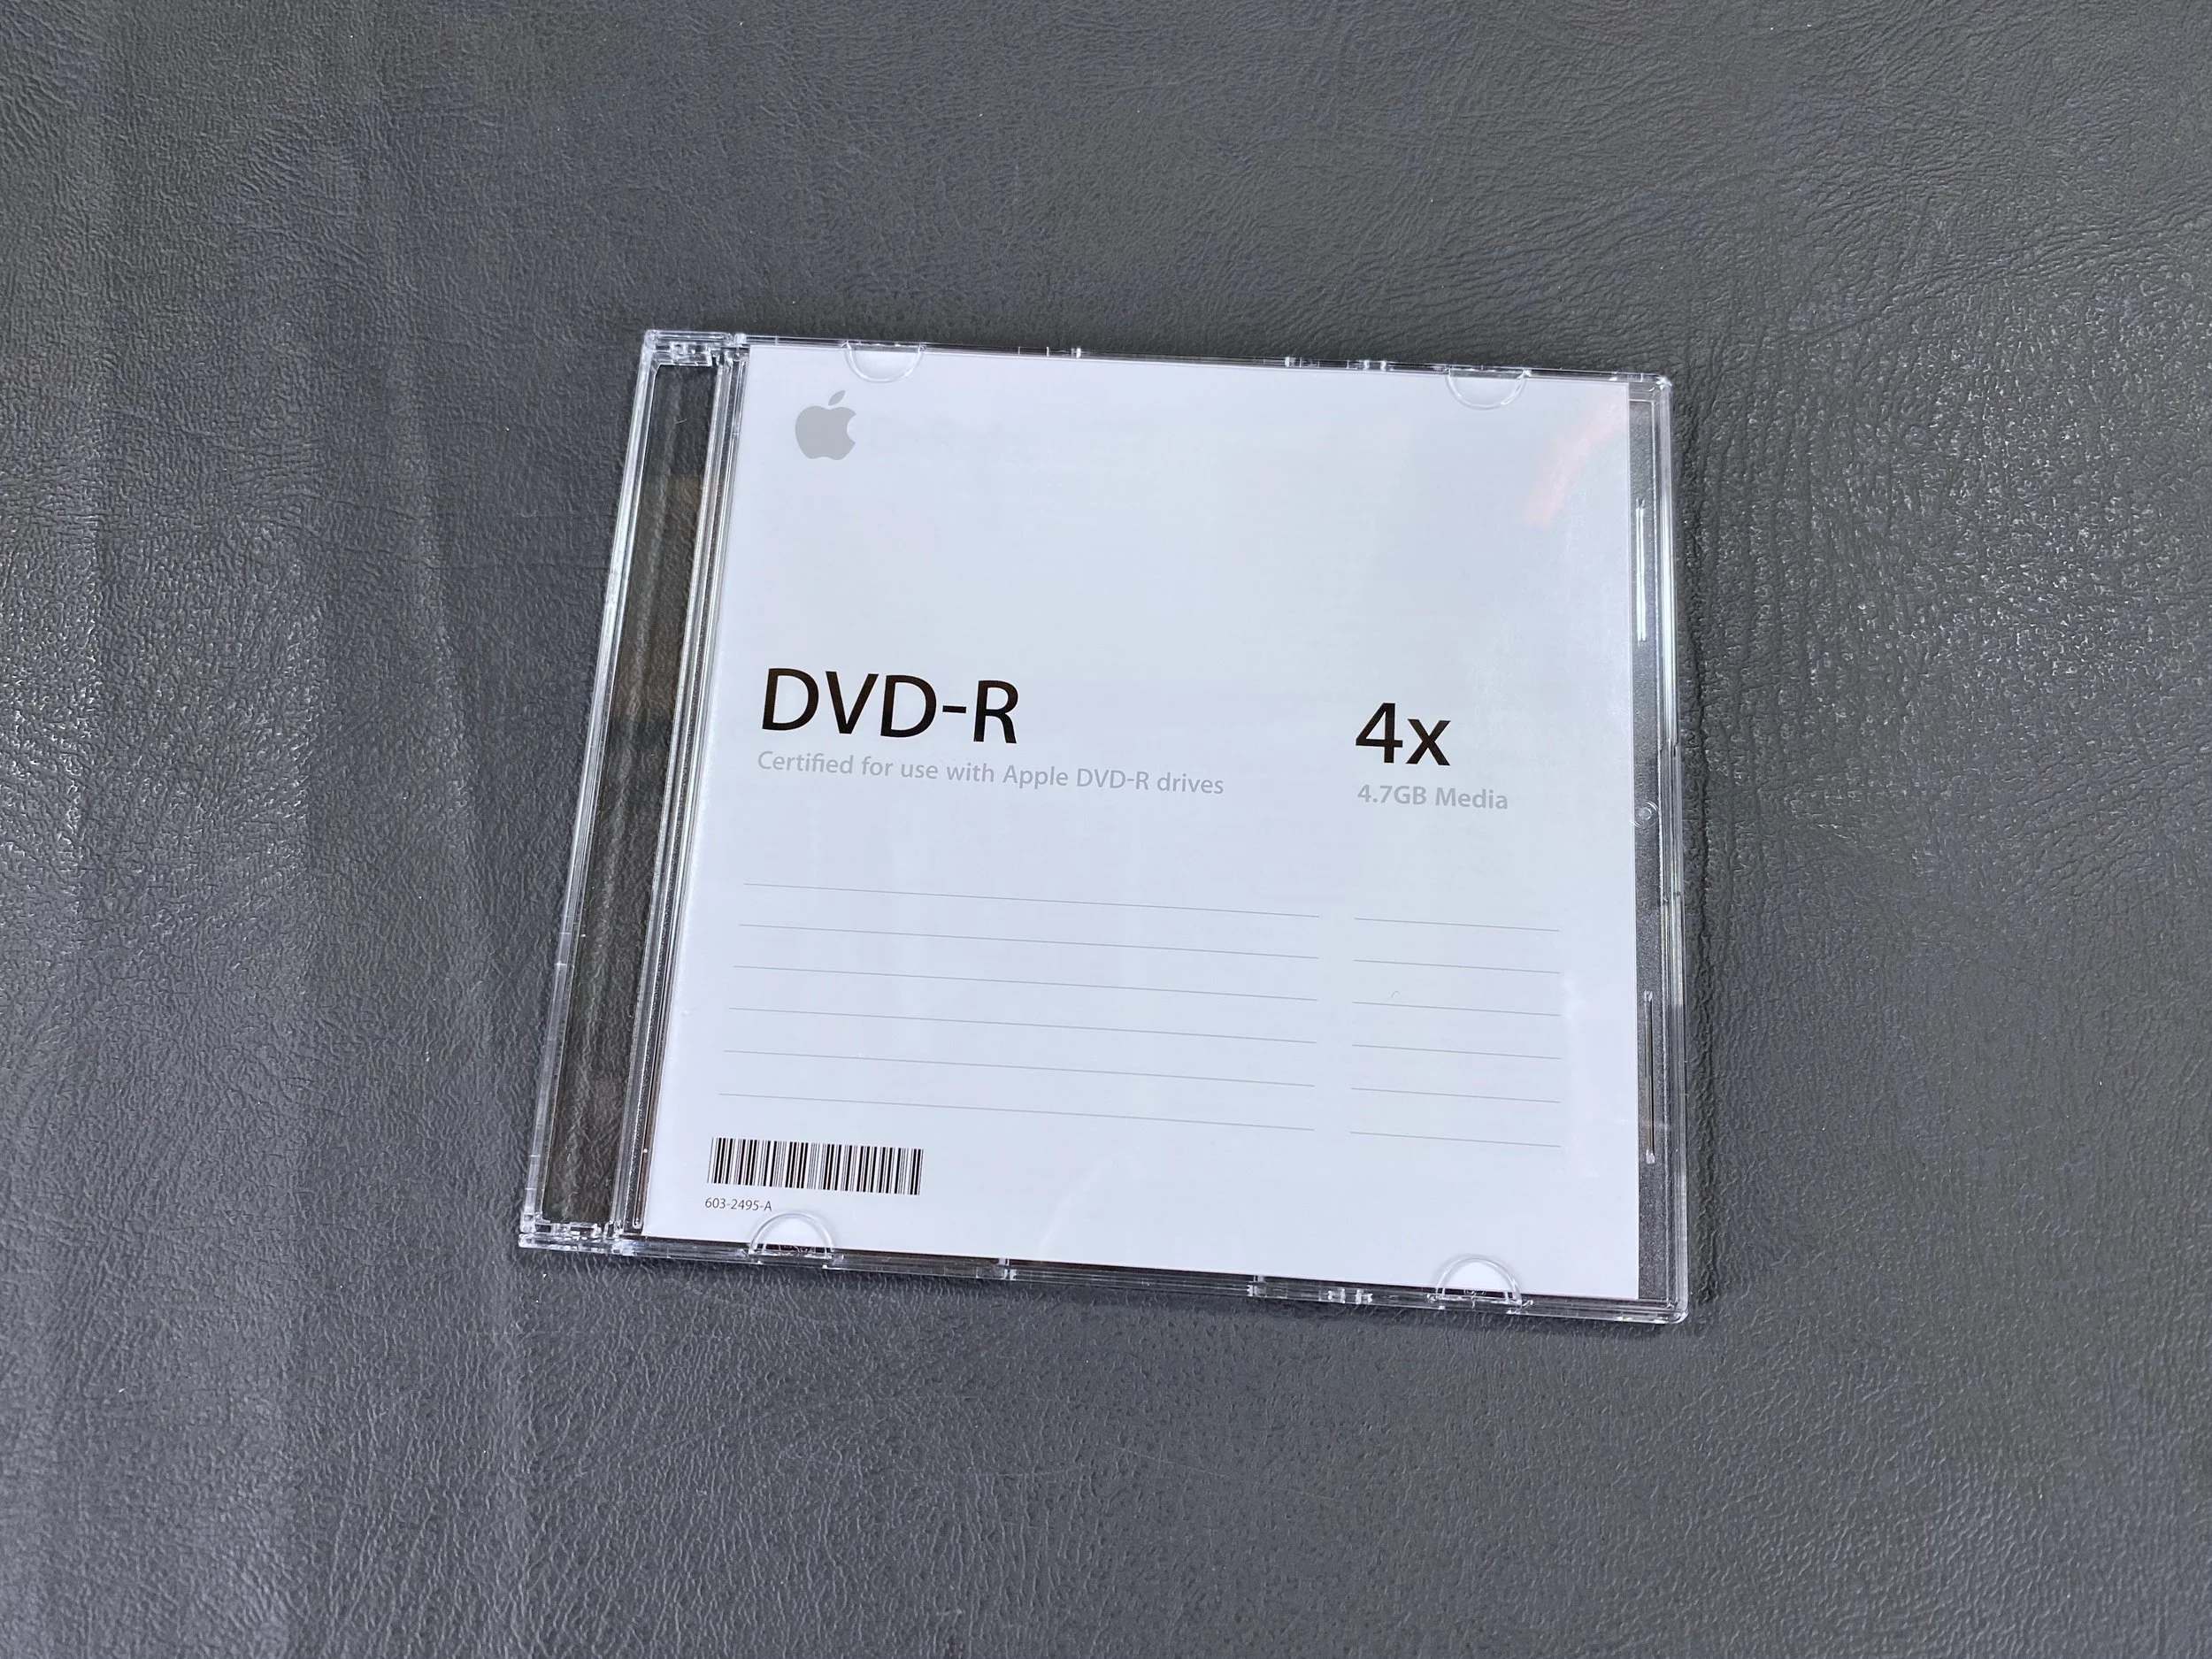
This machine hails from an era when DVD burners were hot new technology, something Apple was pushing heavily with its “SuperDrive” CD-RW/DVD-R drives, so they actually provided a blank DVD-R disc with Power Mac models like this one that were equipped with the SuperDrive. This disc shipped with this machine from the factory.
With Displays
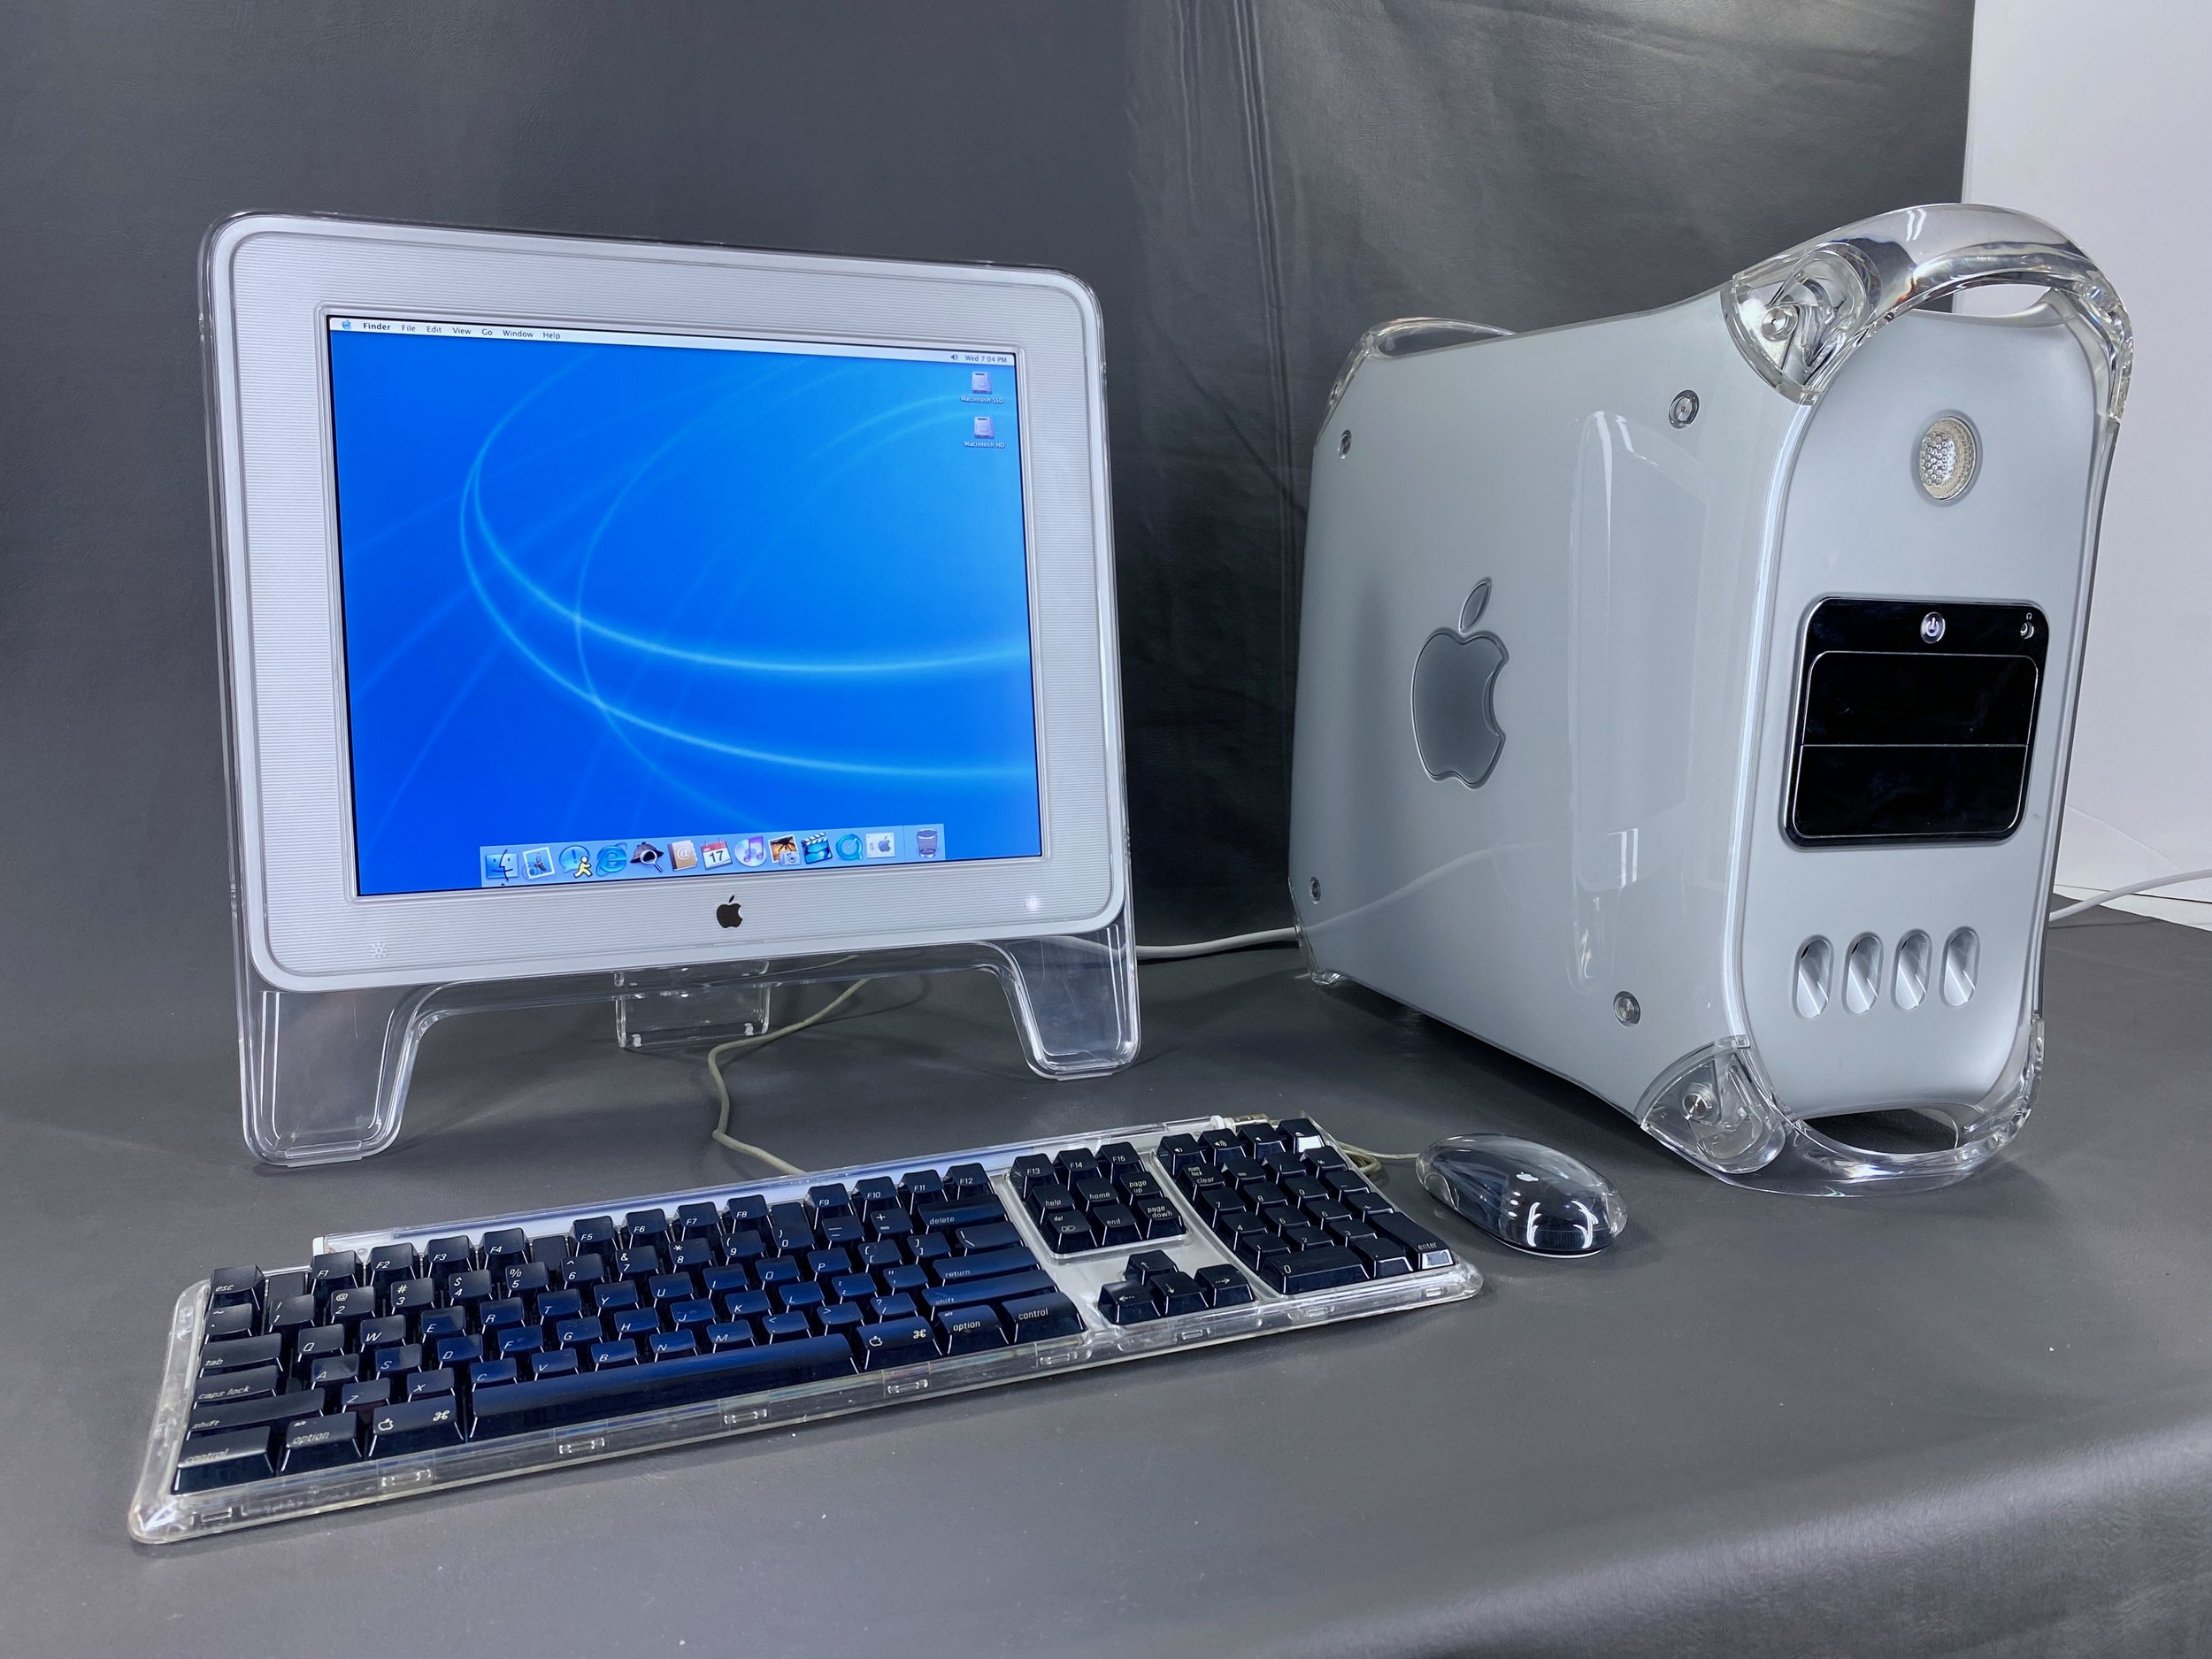
With 17” Studio Display
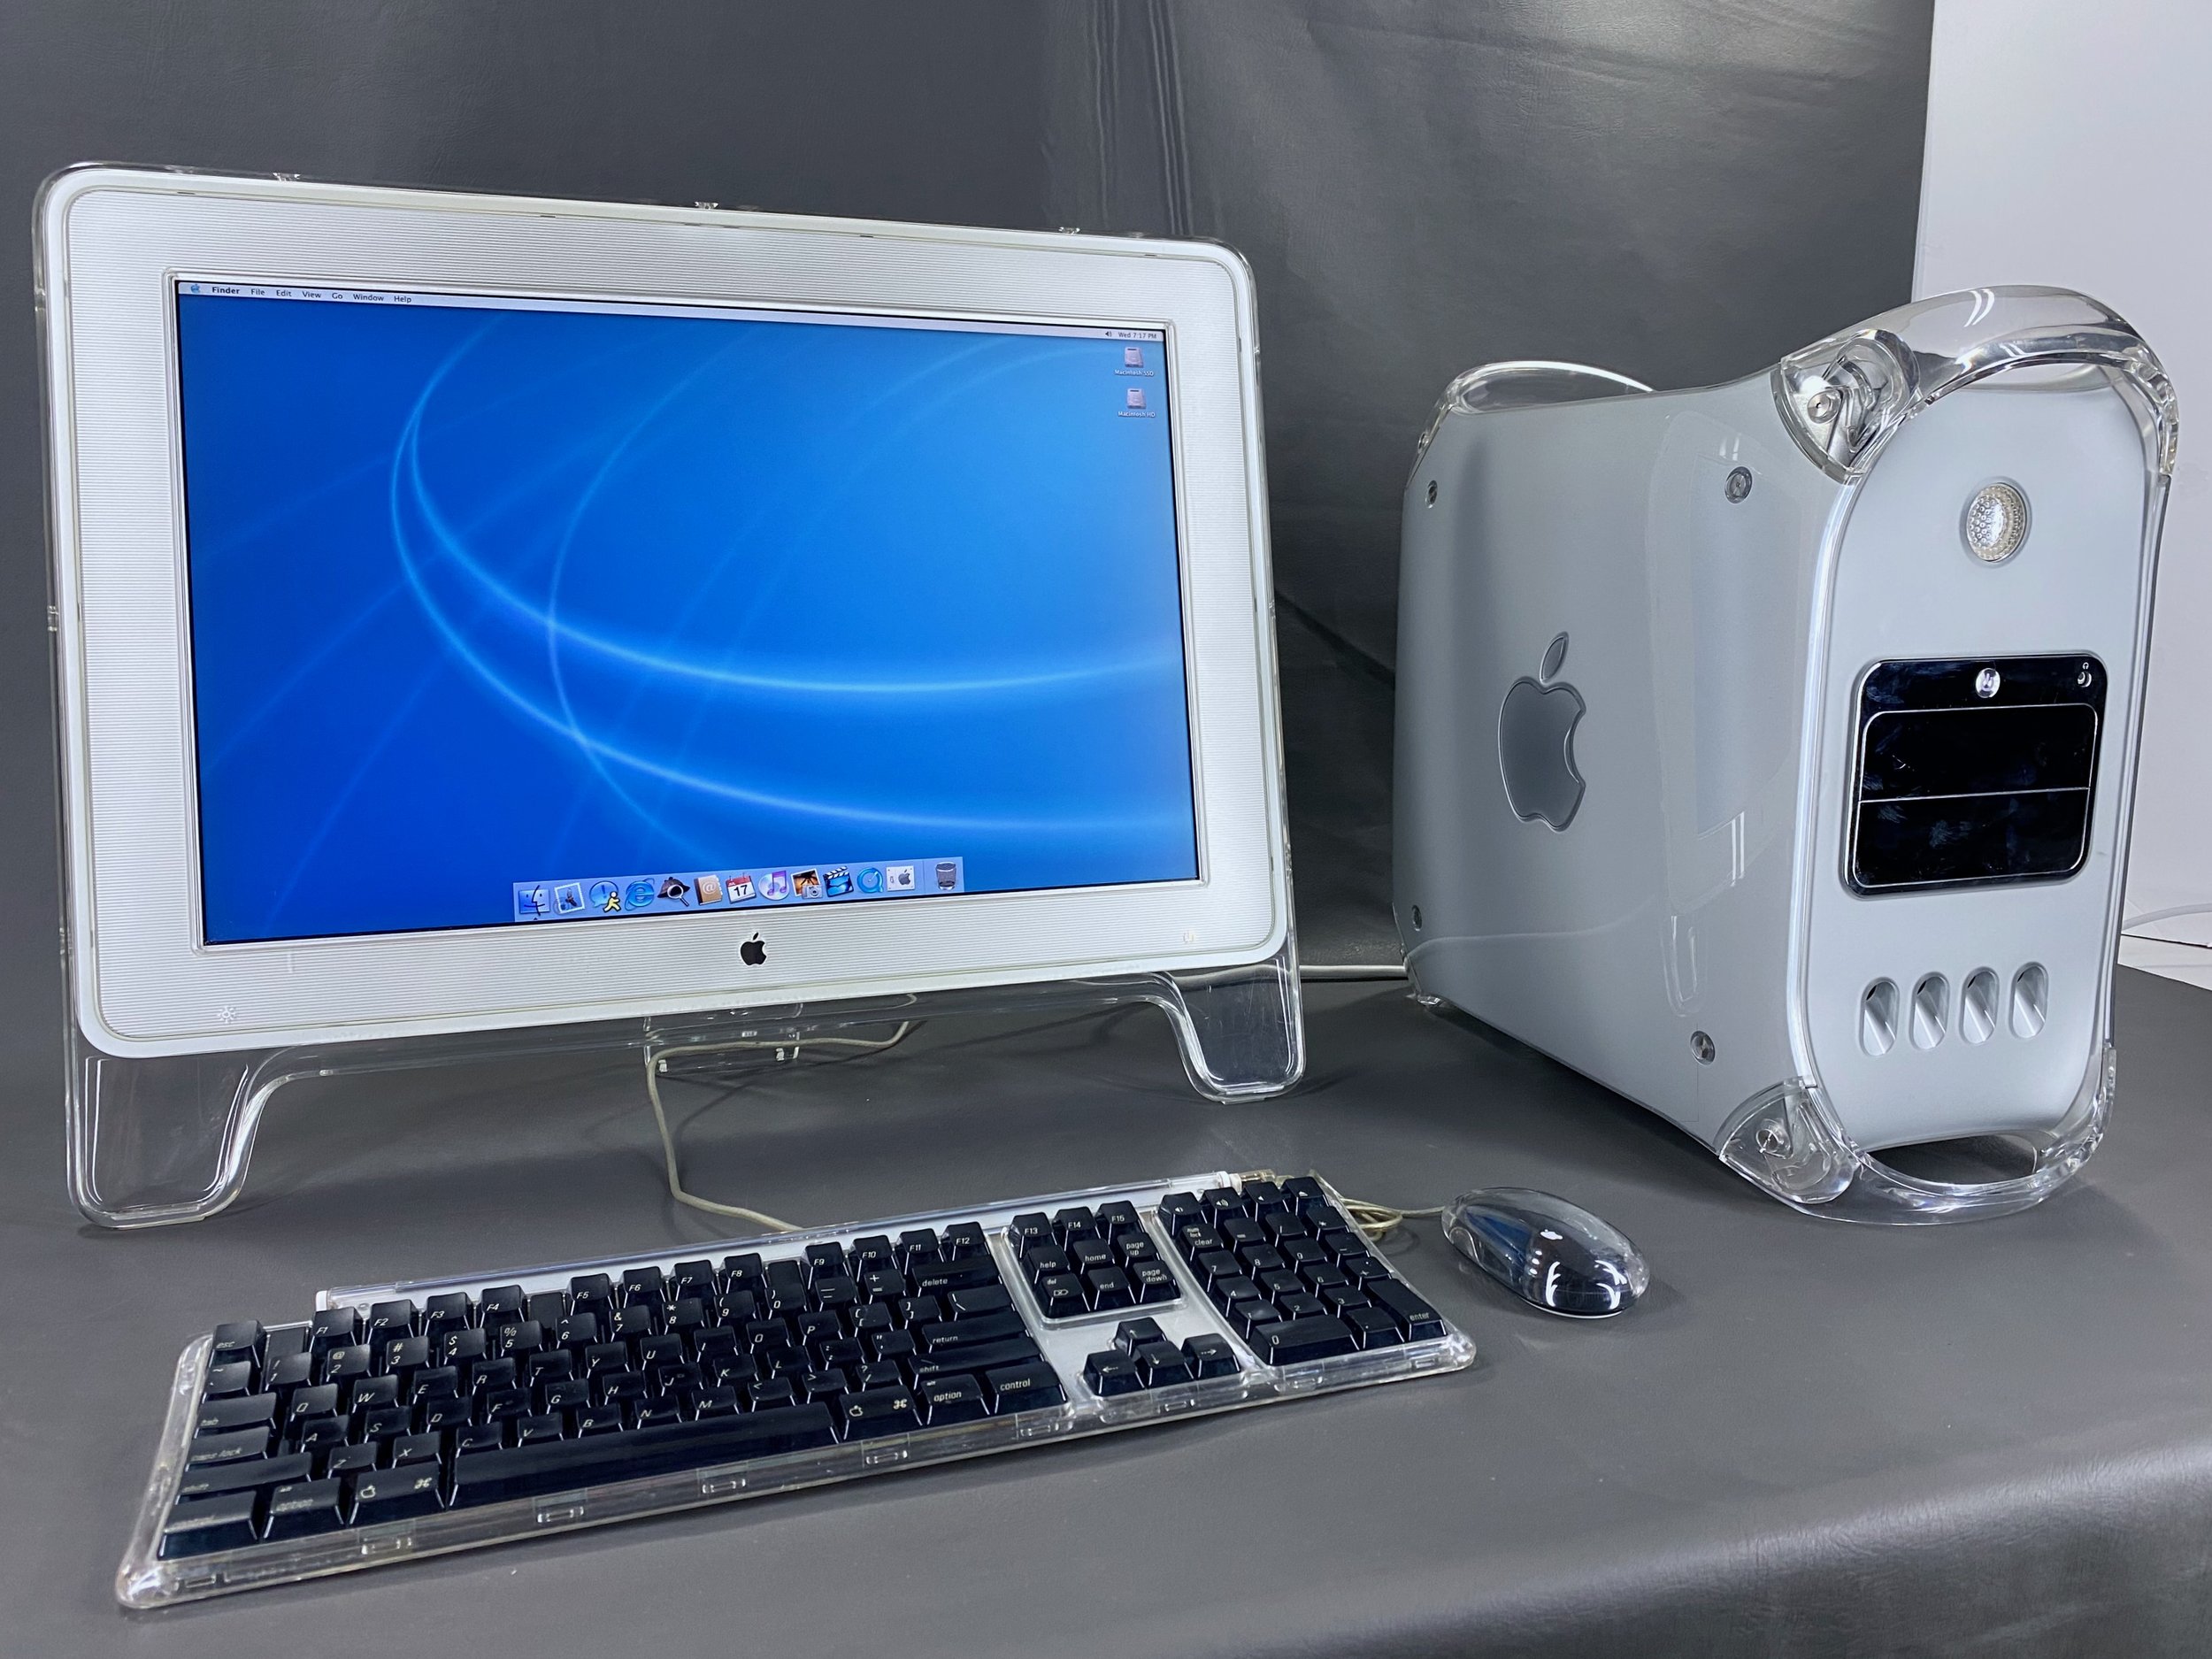
With 20” Cinema Display
With 23” Cinema HD Display
System Specs
mSATA SSD Installation
This upgrade makes the computer quieter, faster, and more reliable. I chose to install a 128 GB mSATA SSD using a 2.5” mSATA-to-SATA adapter housing and a 40-pin IDE-to-SATA adapter.
Note that the MDD can be picky about IDE devices; myself and other enthusiasts have found that this particular IDE-to-SATA adapter (with the red PCB) may be the only adapter that works with this model. I tried several others, such as this one, this one, and this one, with no luck.
This SSD was a plug-and-play solution with the original IDE and power cables. I chose to leave the existing HDDs in place and install the SSD in the front drive bay. With this configuration, the machine can be booted up from either option.
Teardown & Cleaning Photos
“Exploded view” of the G4 MDD.
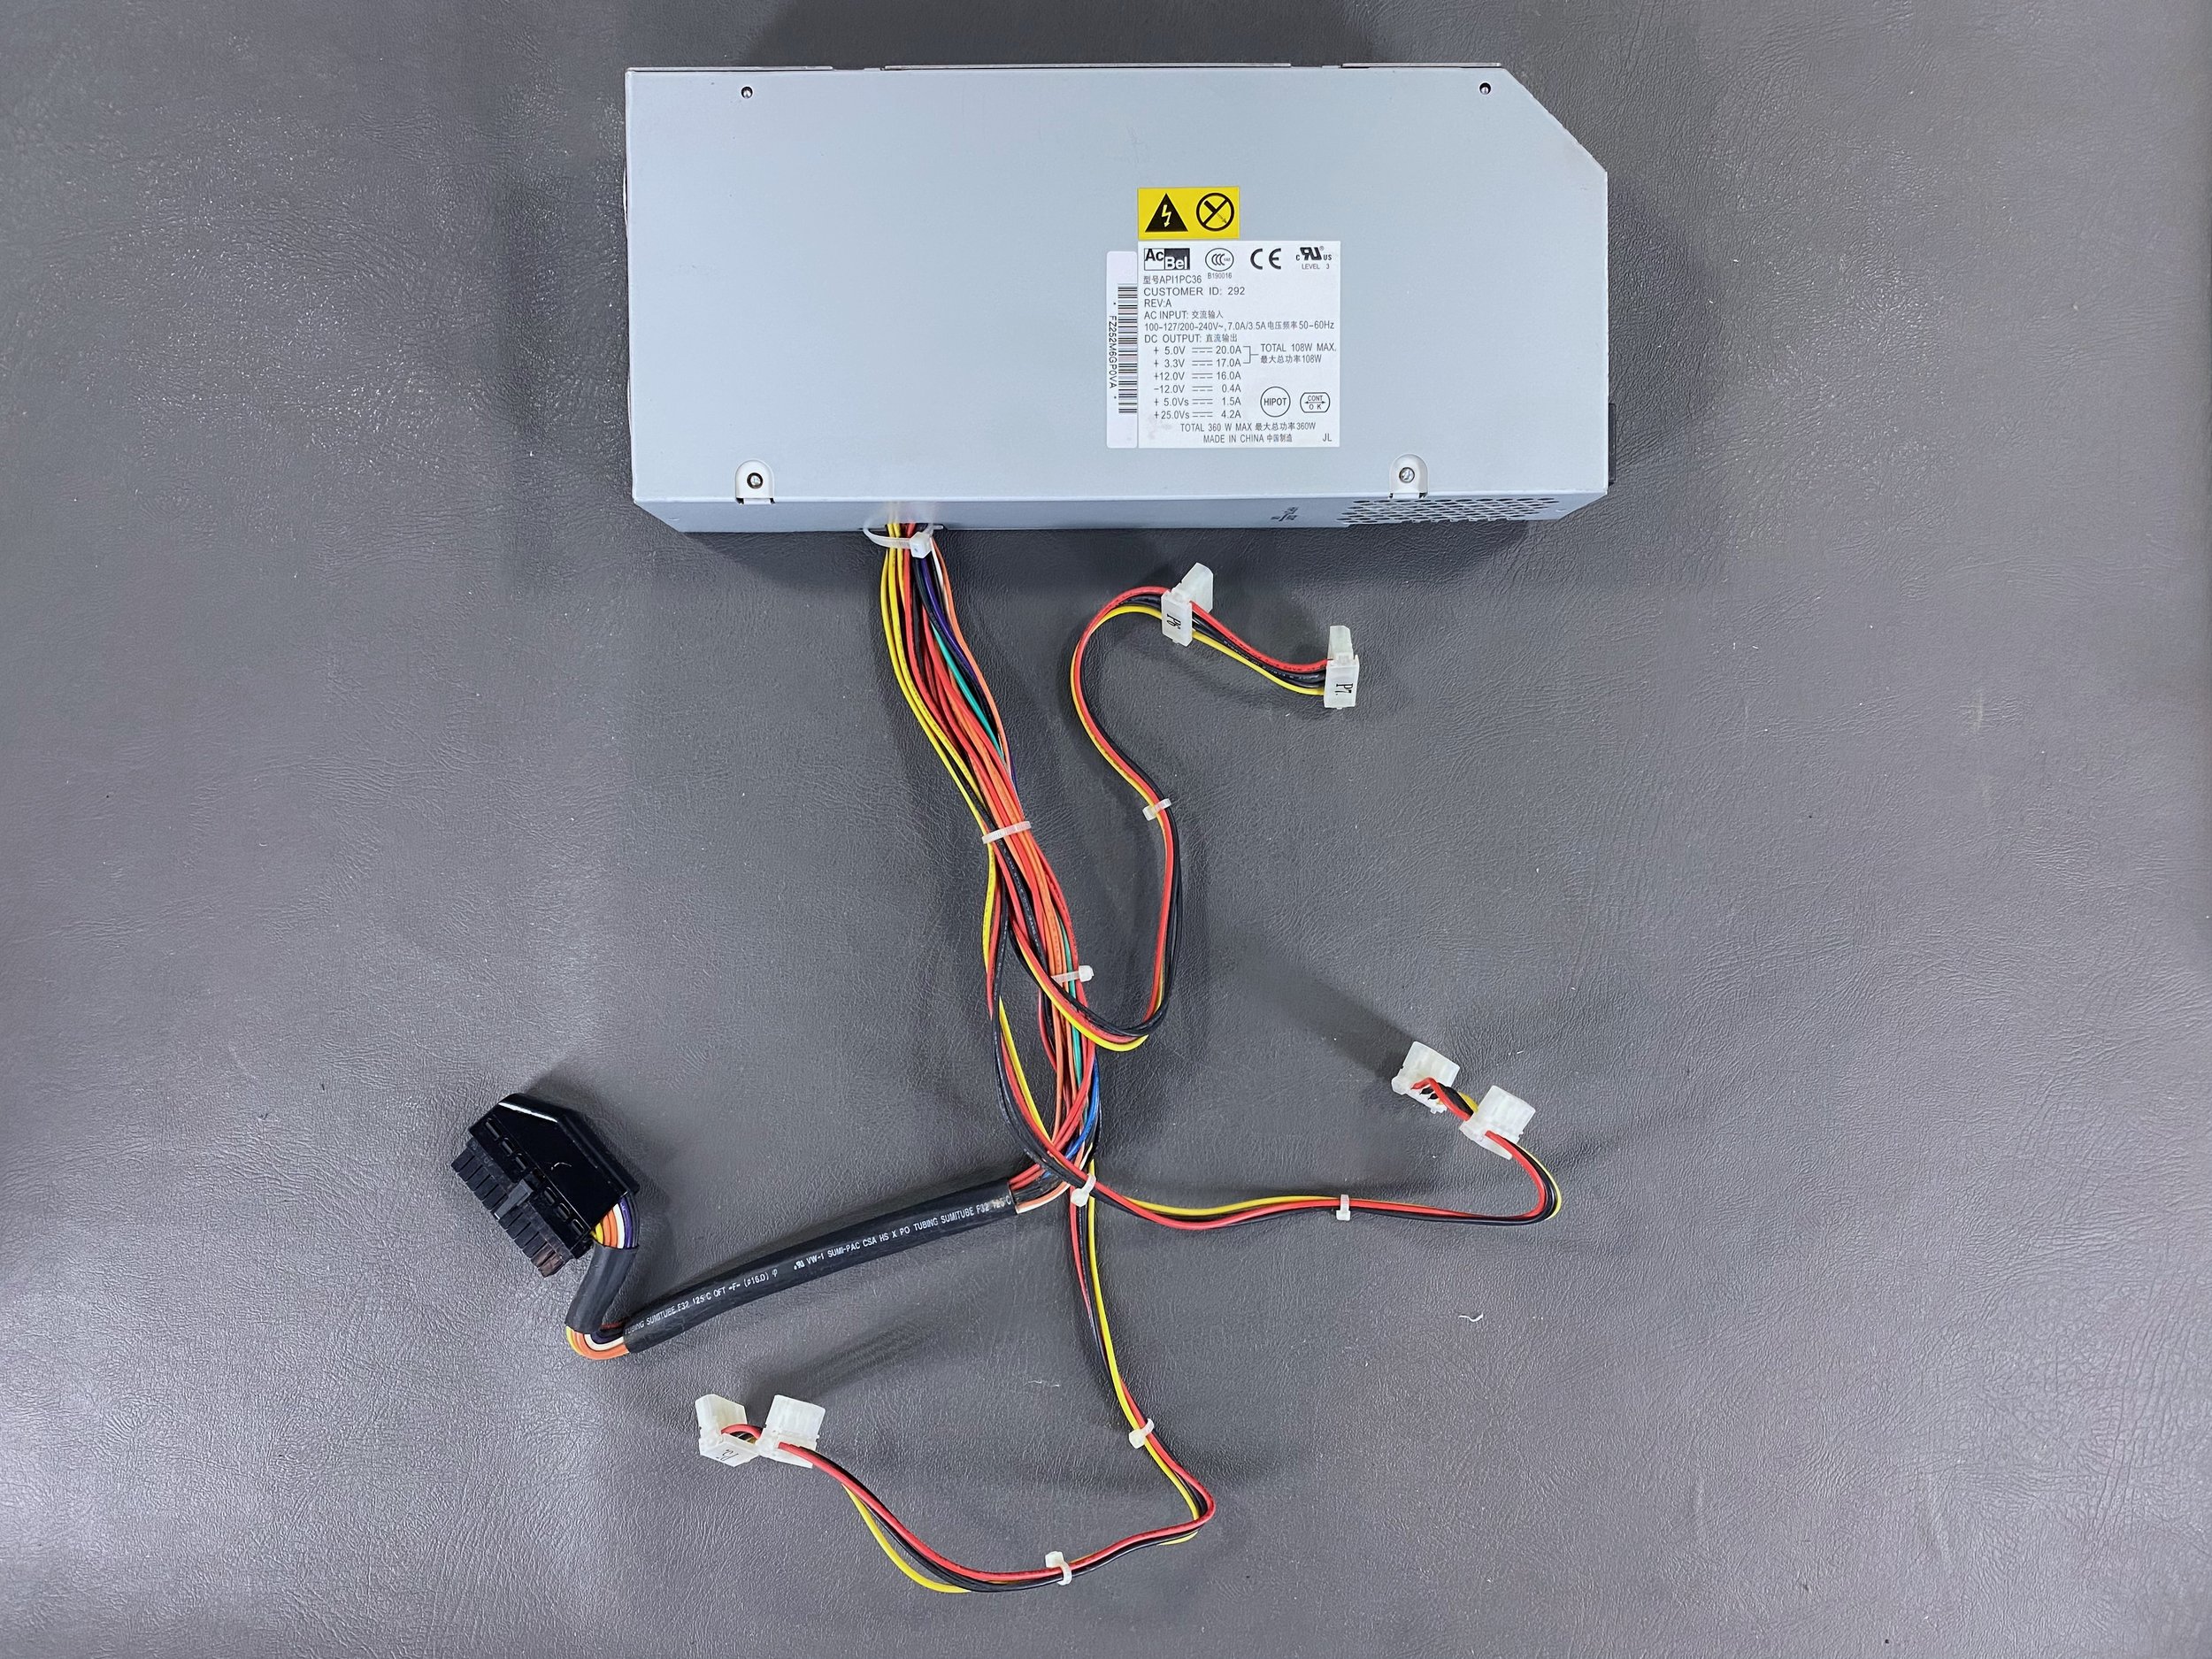
Power supply disassembly & cleaning.
Motherboard
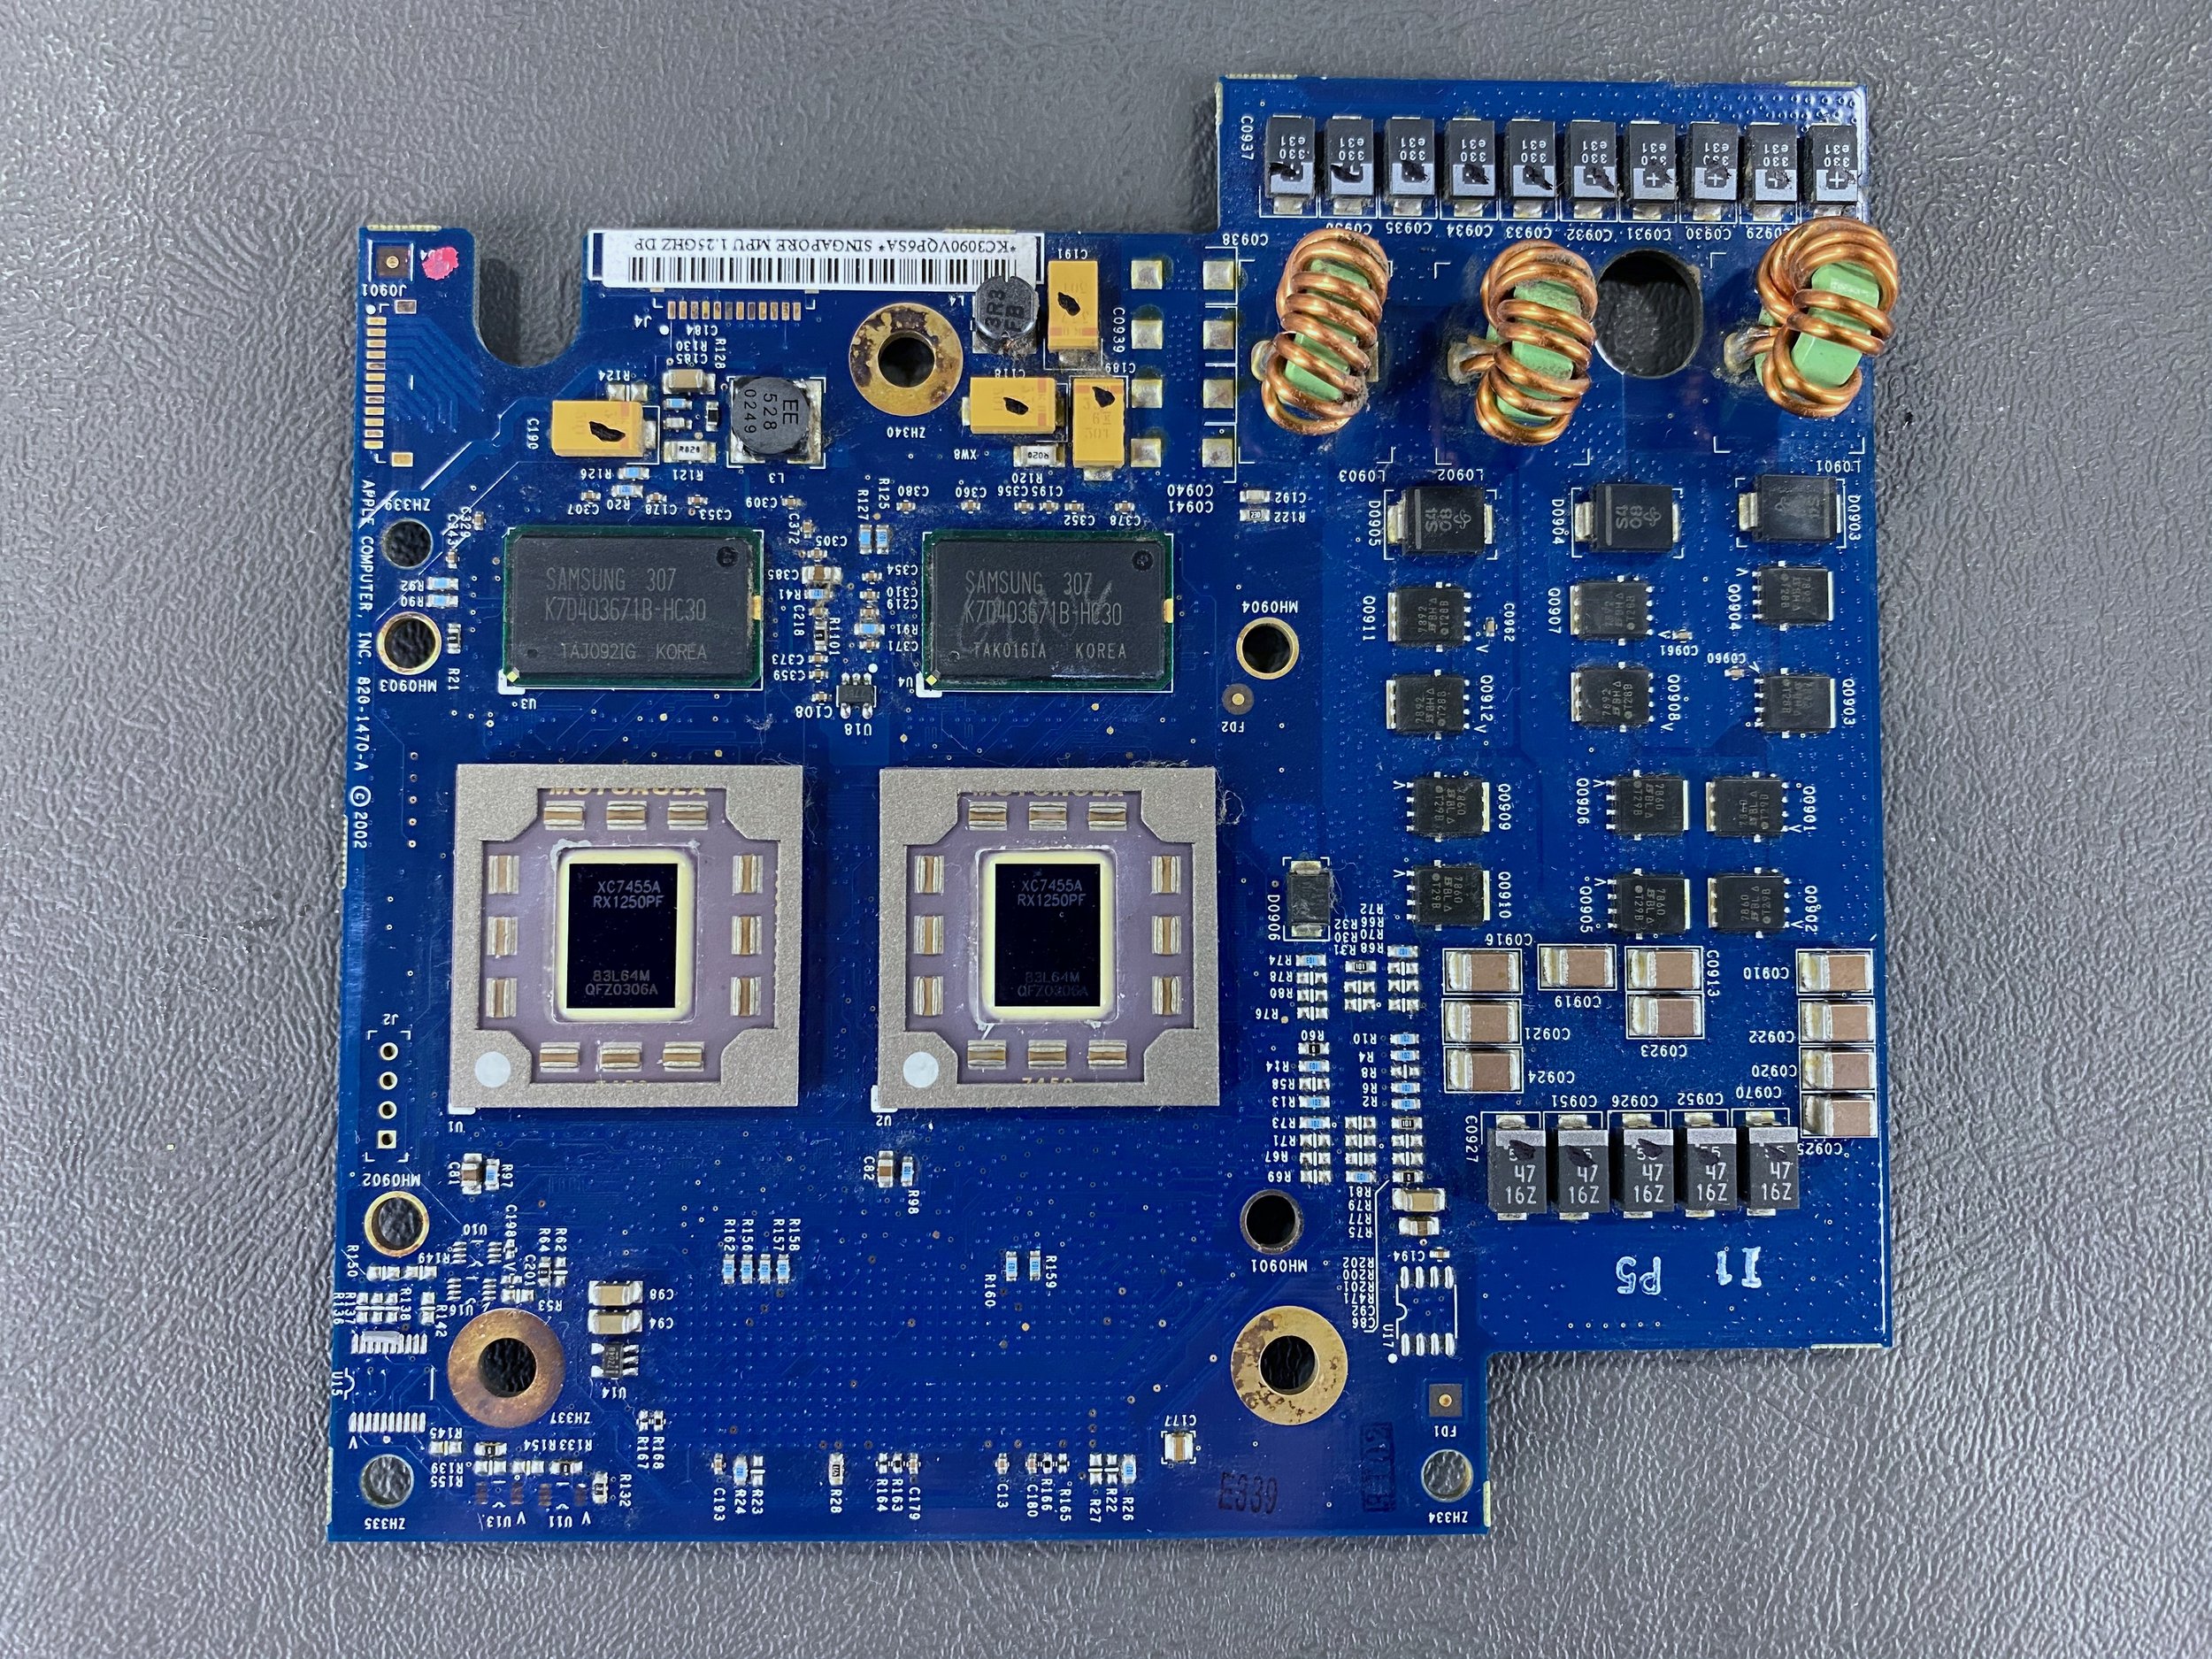
Processor daughterboard
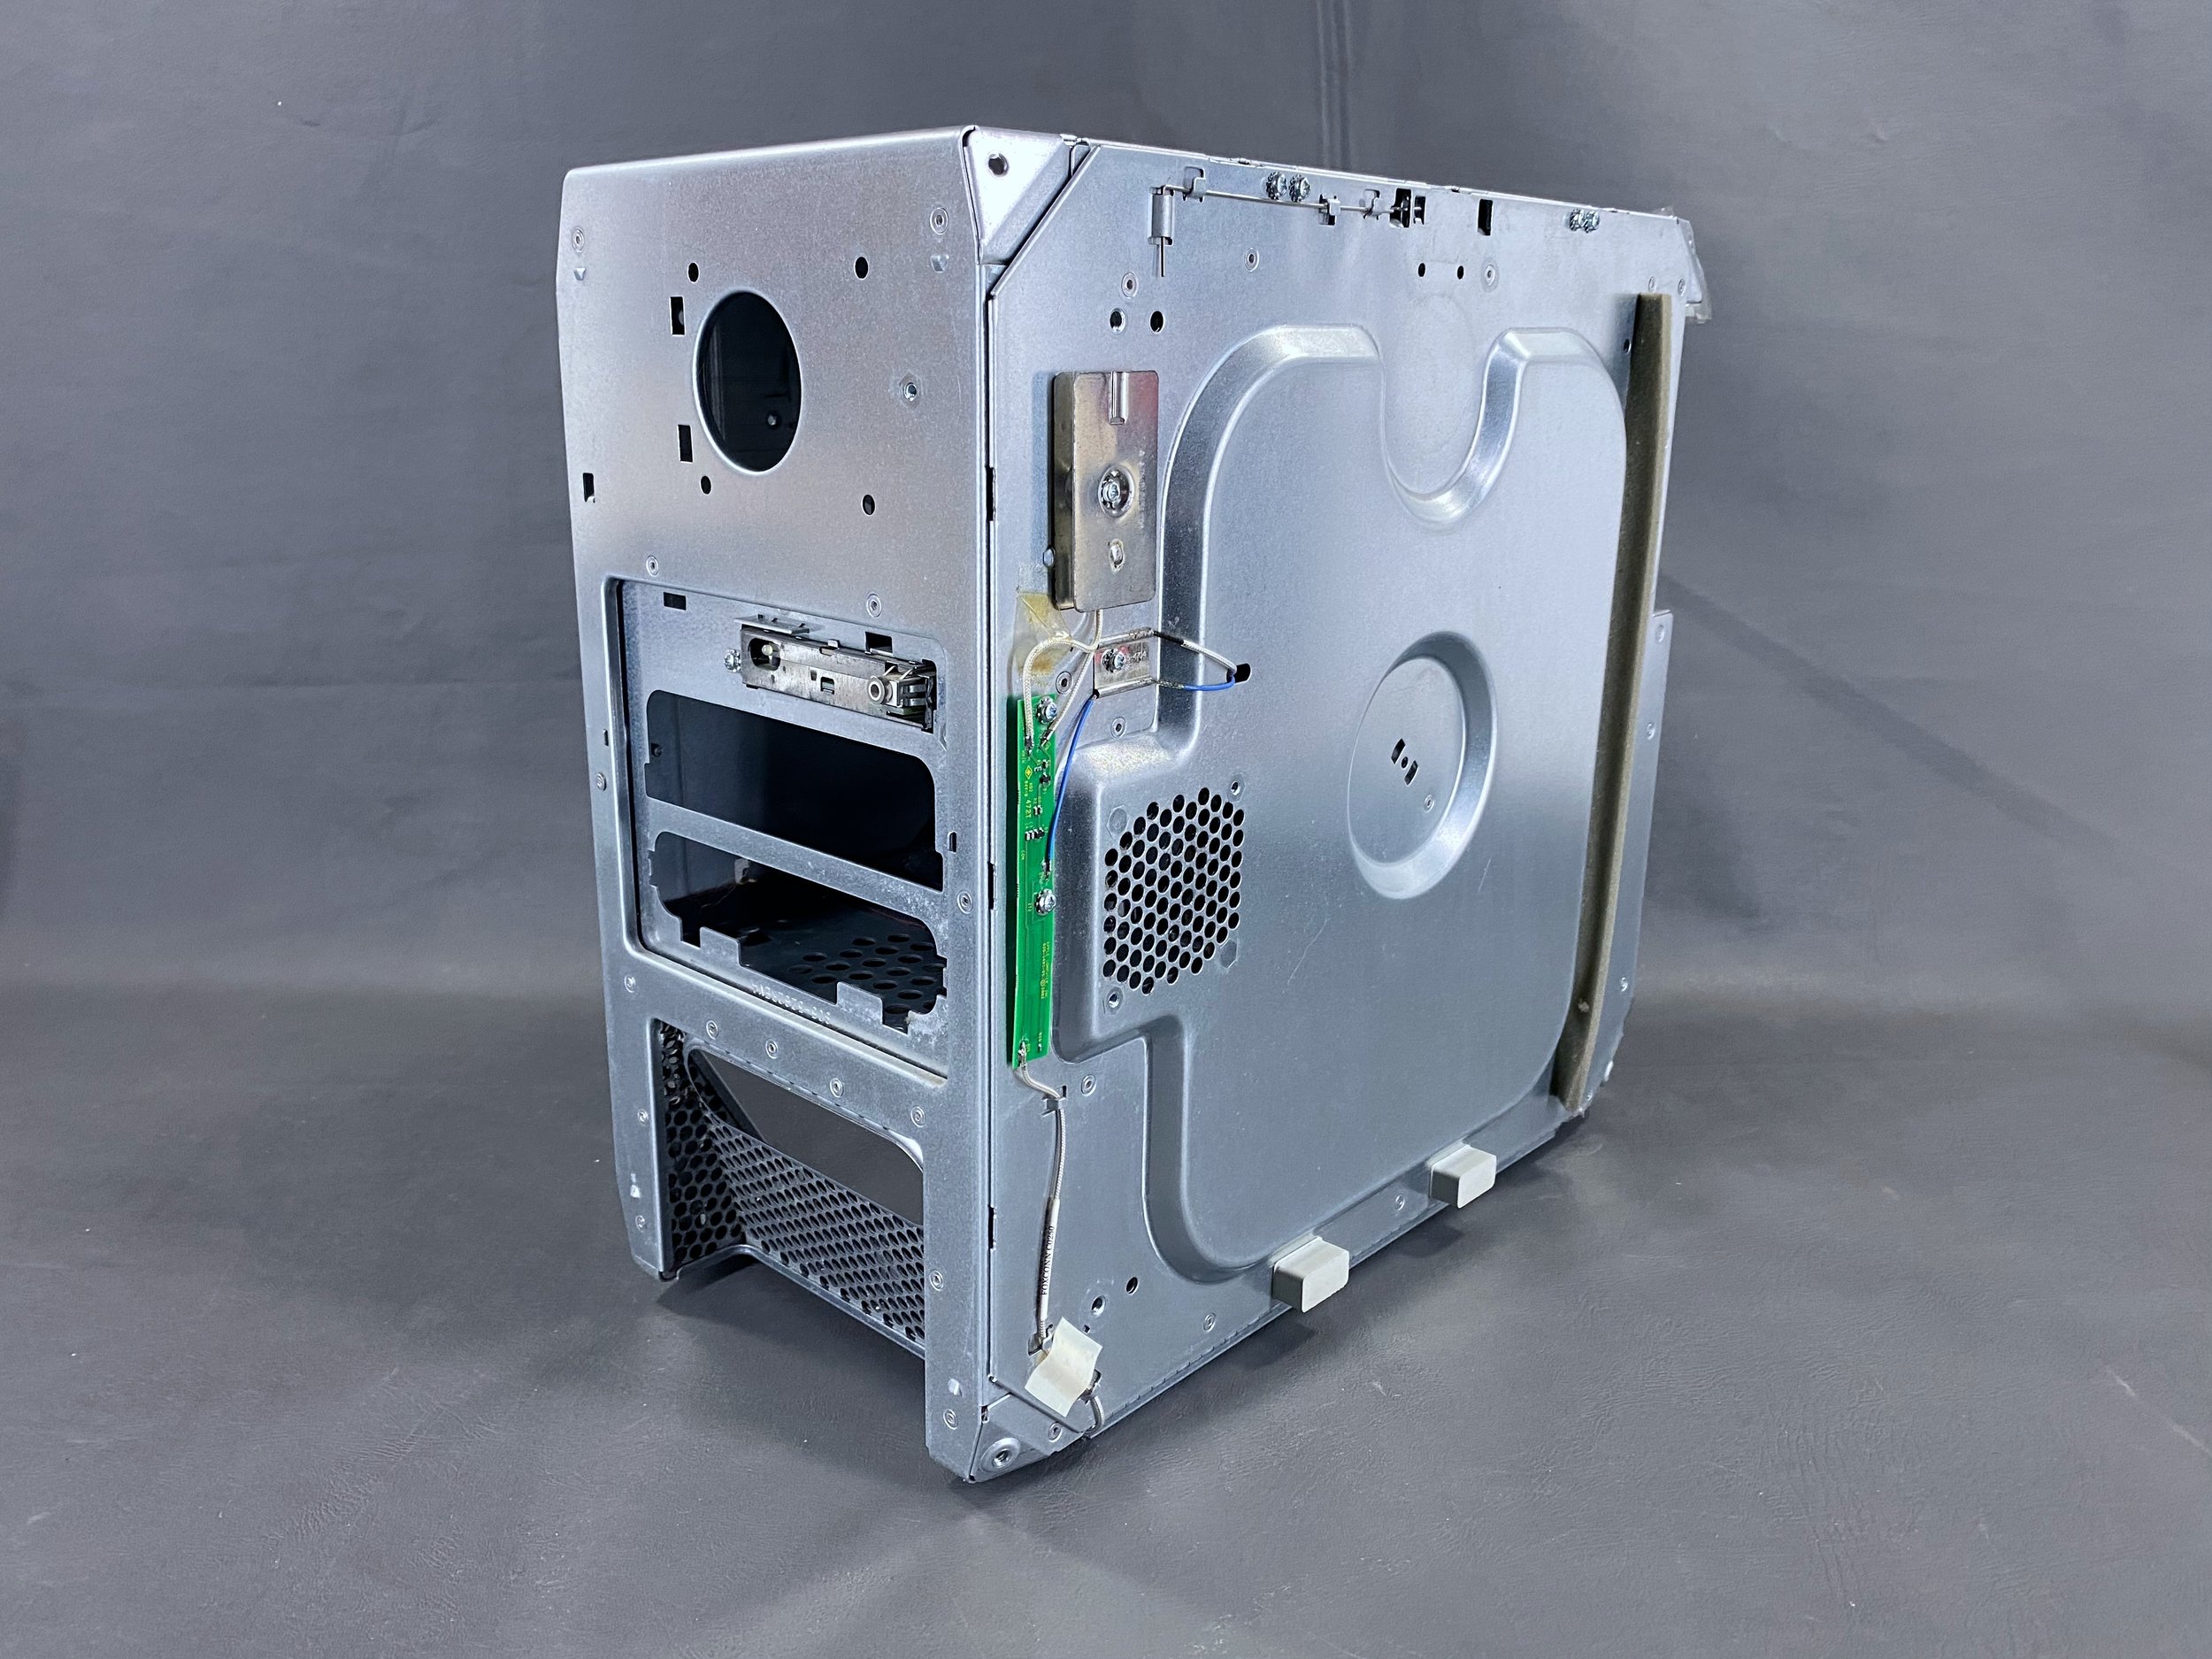
The bare MDD chassis.
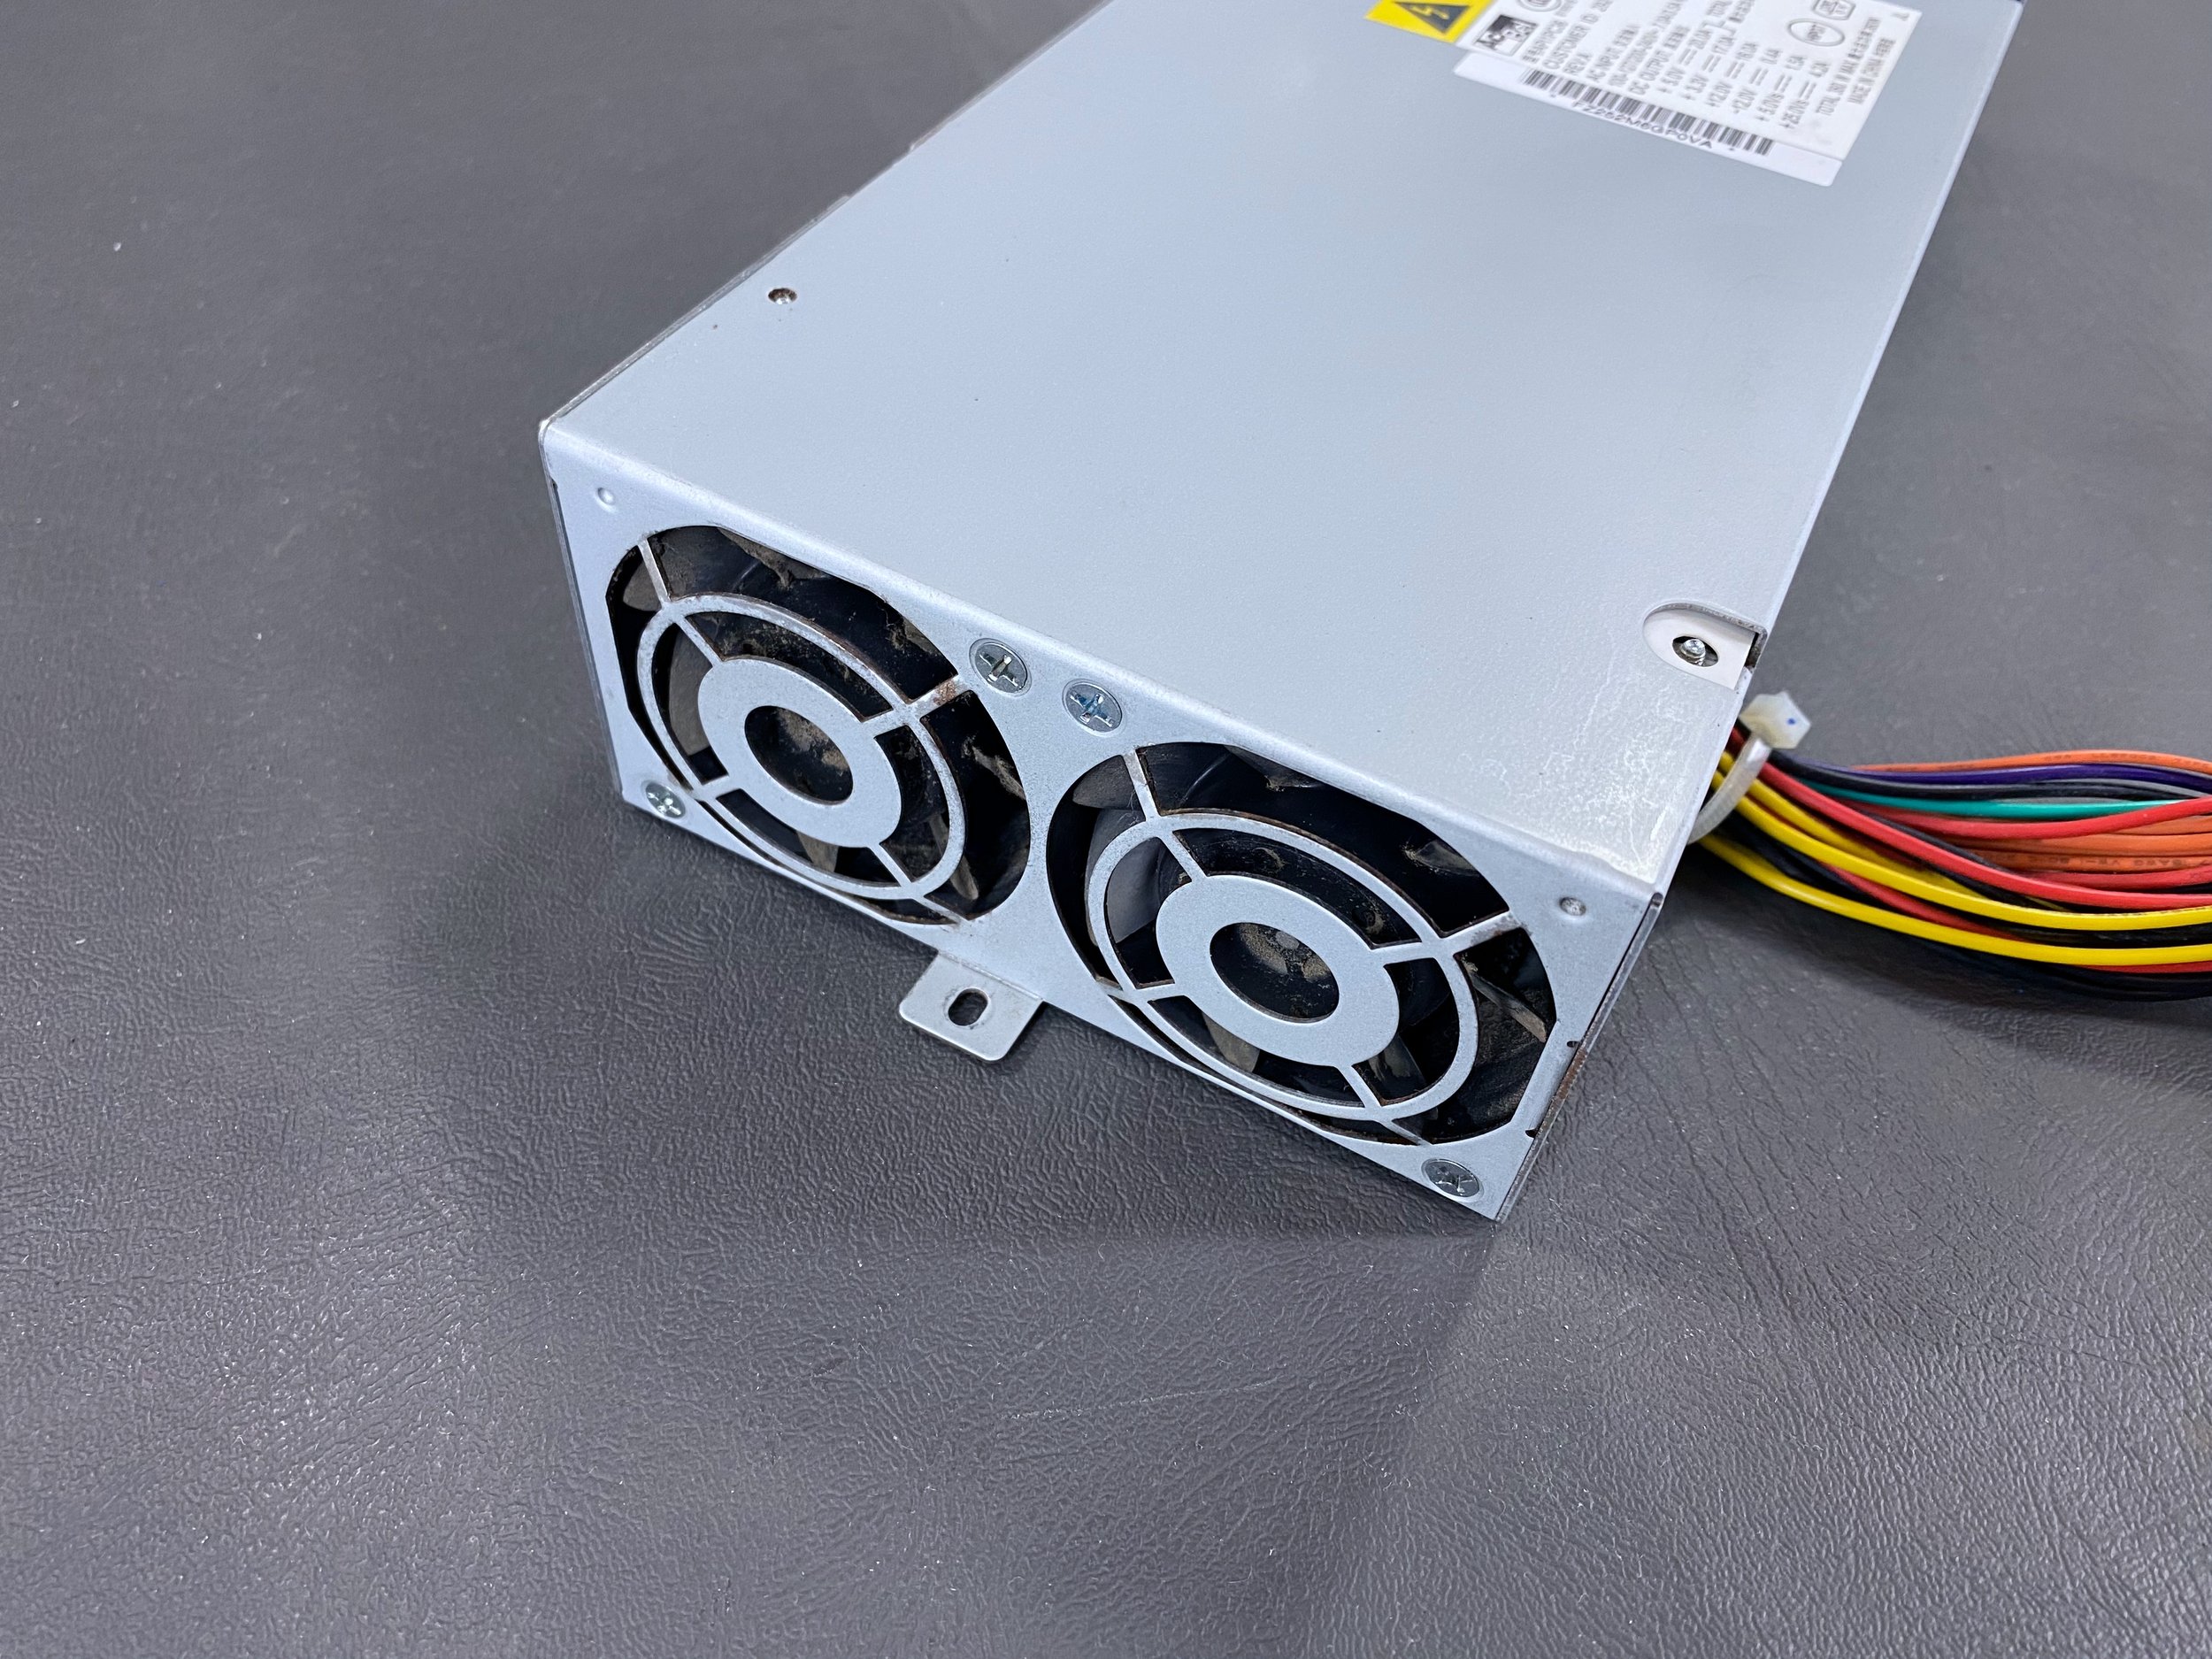
The PSU has two fans at the front for additional cooling.
Power supply
Dual 1.25 GHz G4s
Keyboard Teardown & Cleaning
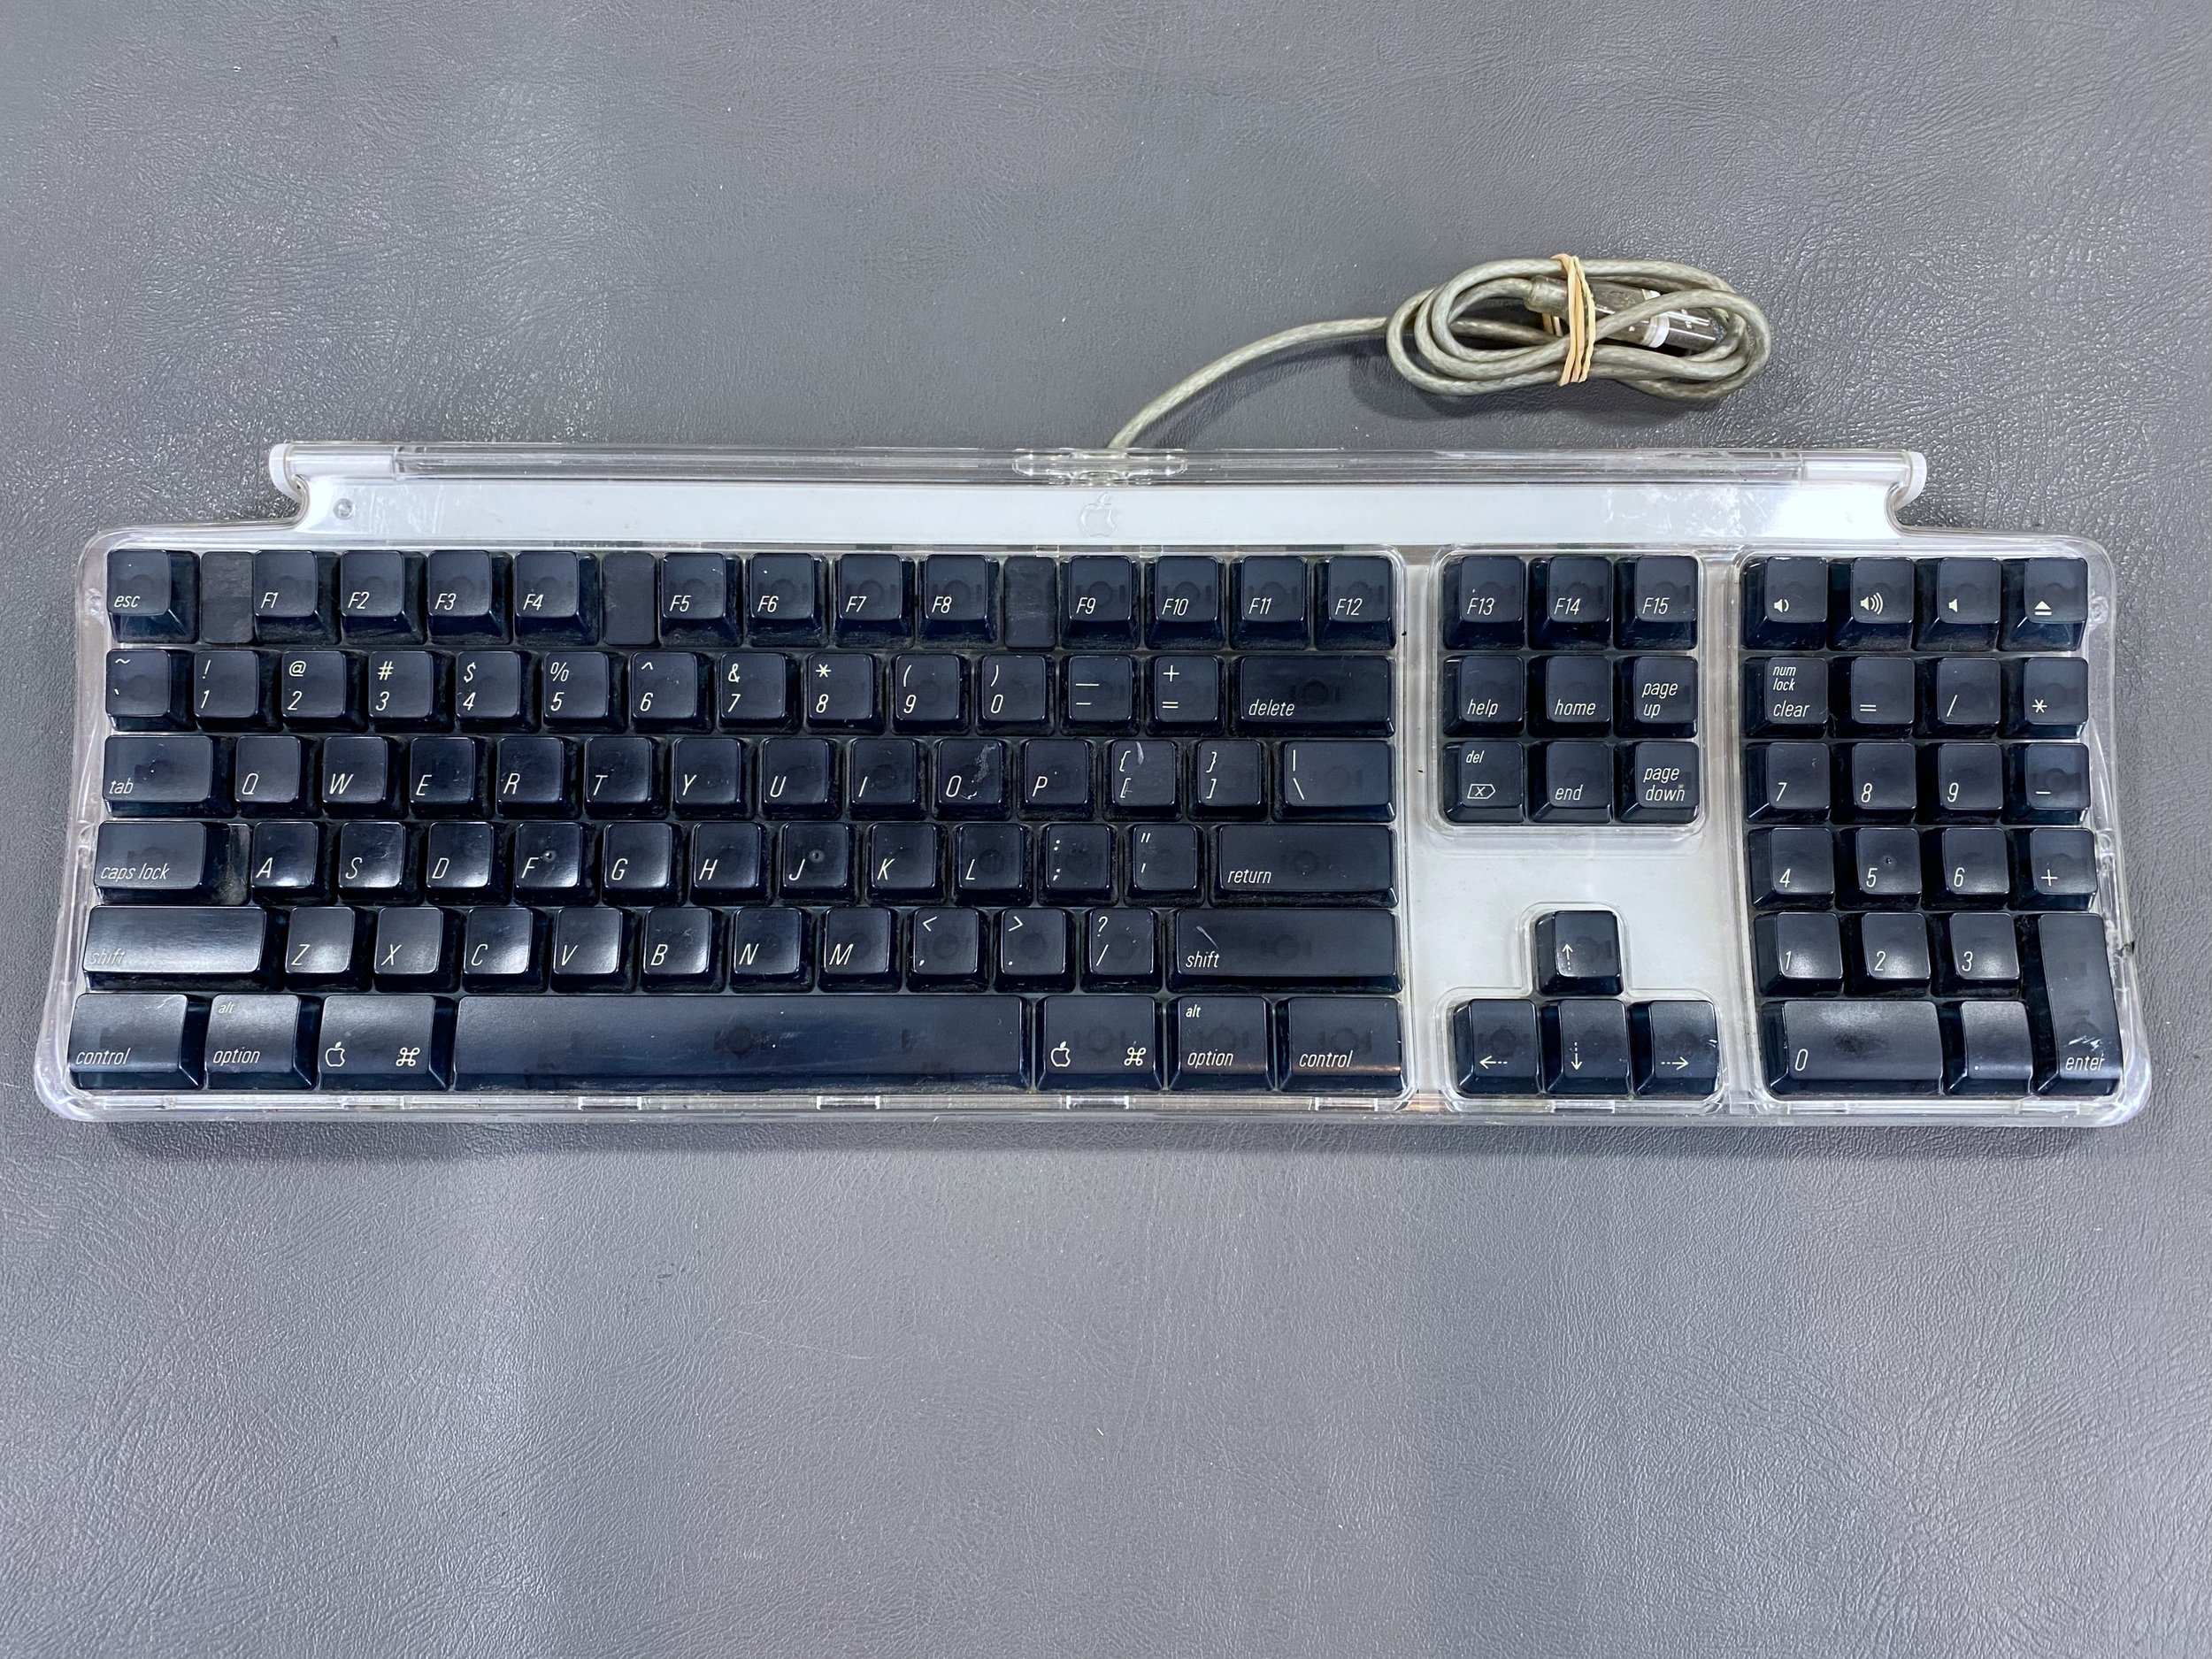
What the keyboard looked like when I acquired it.
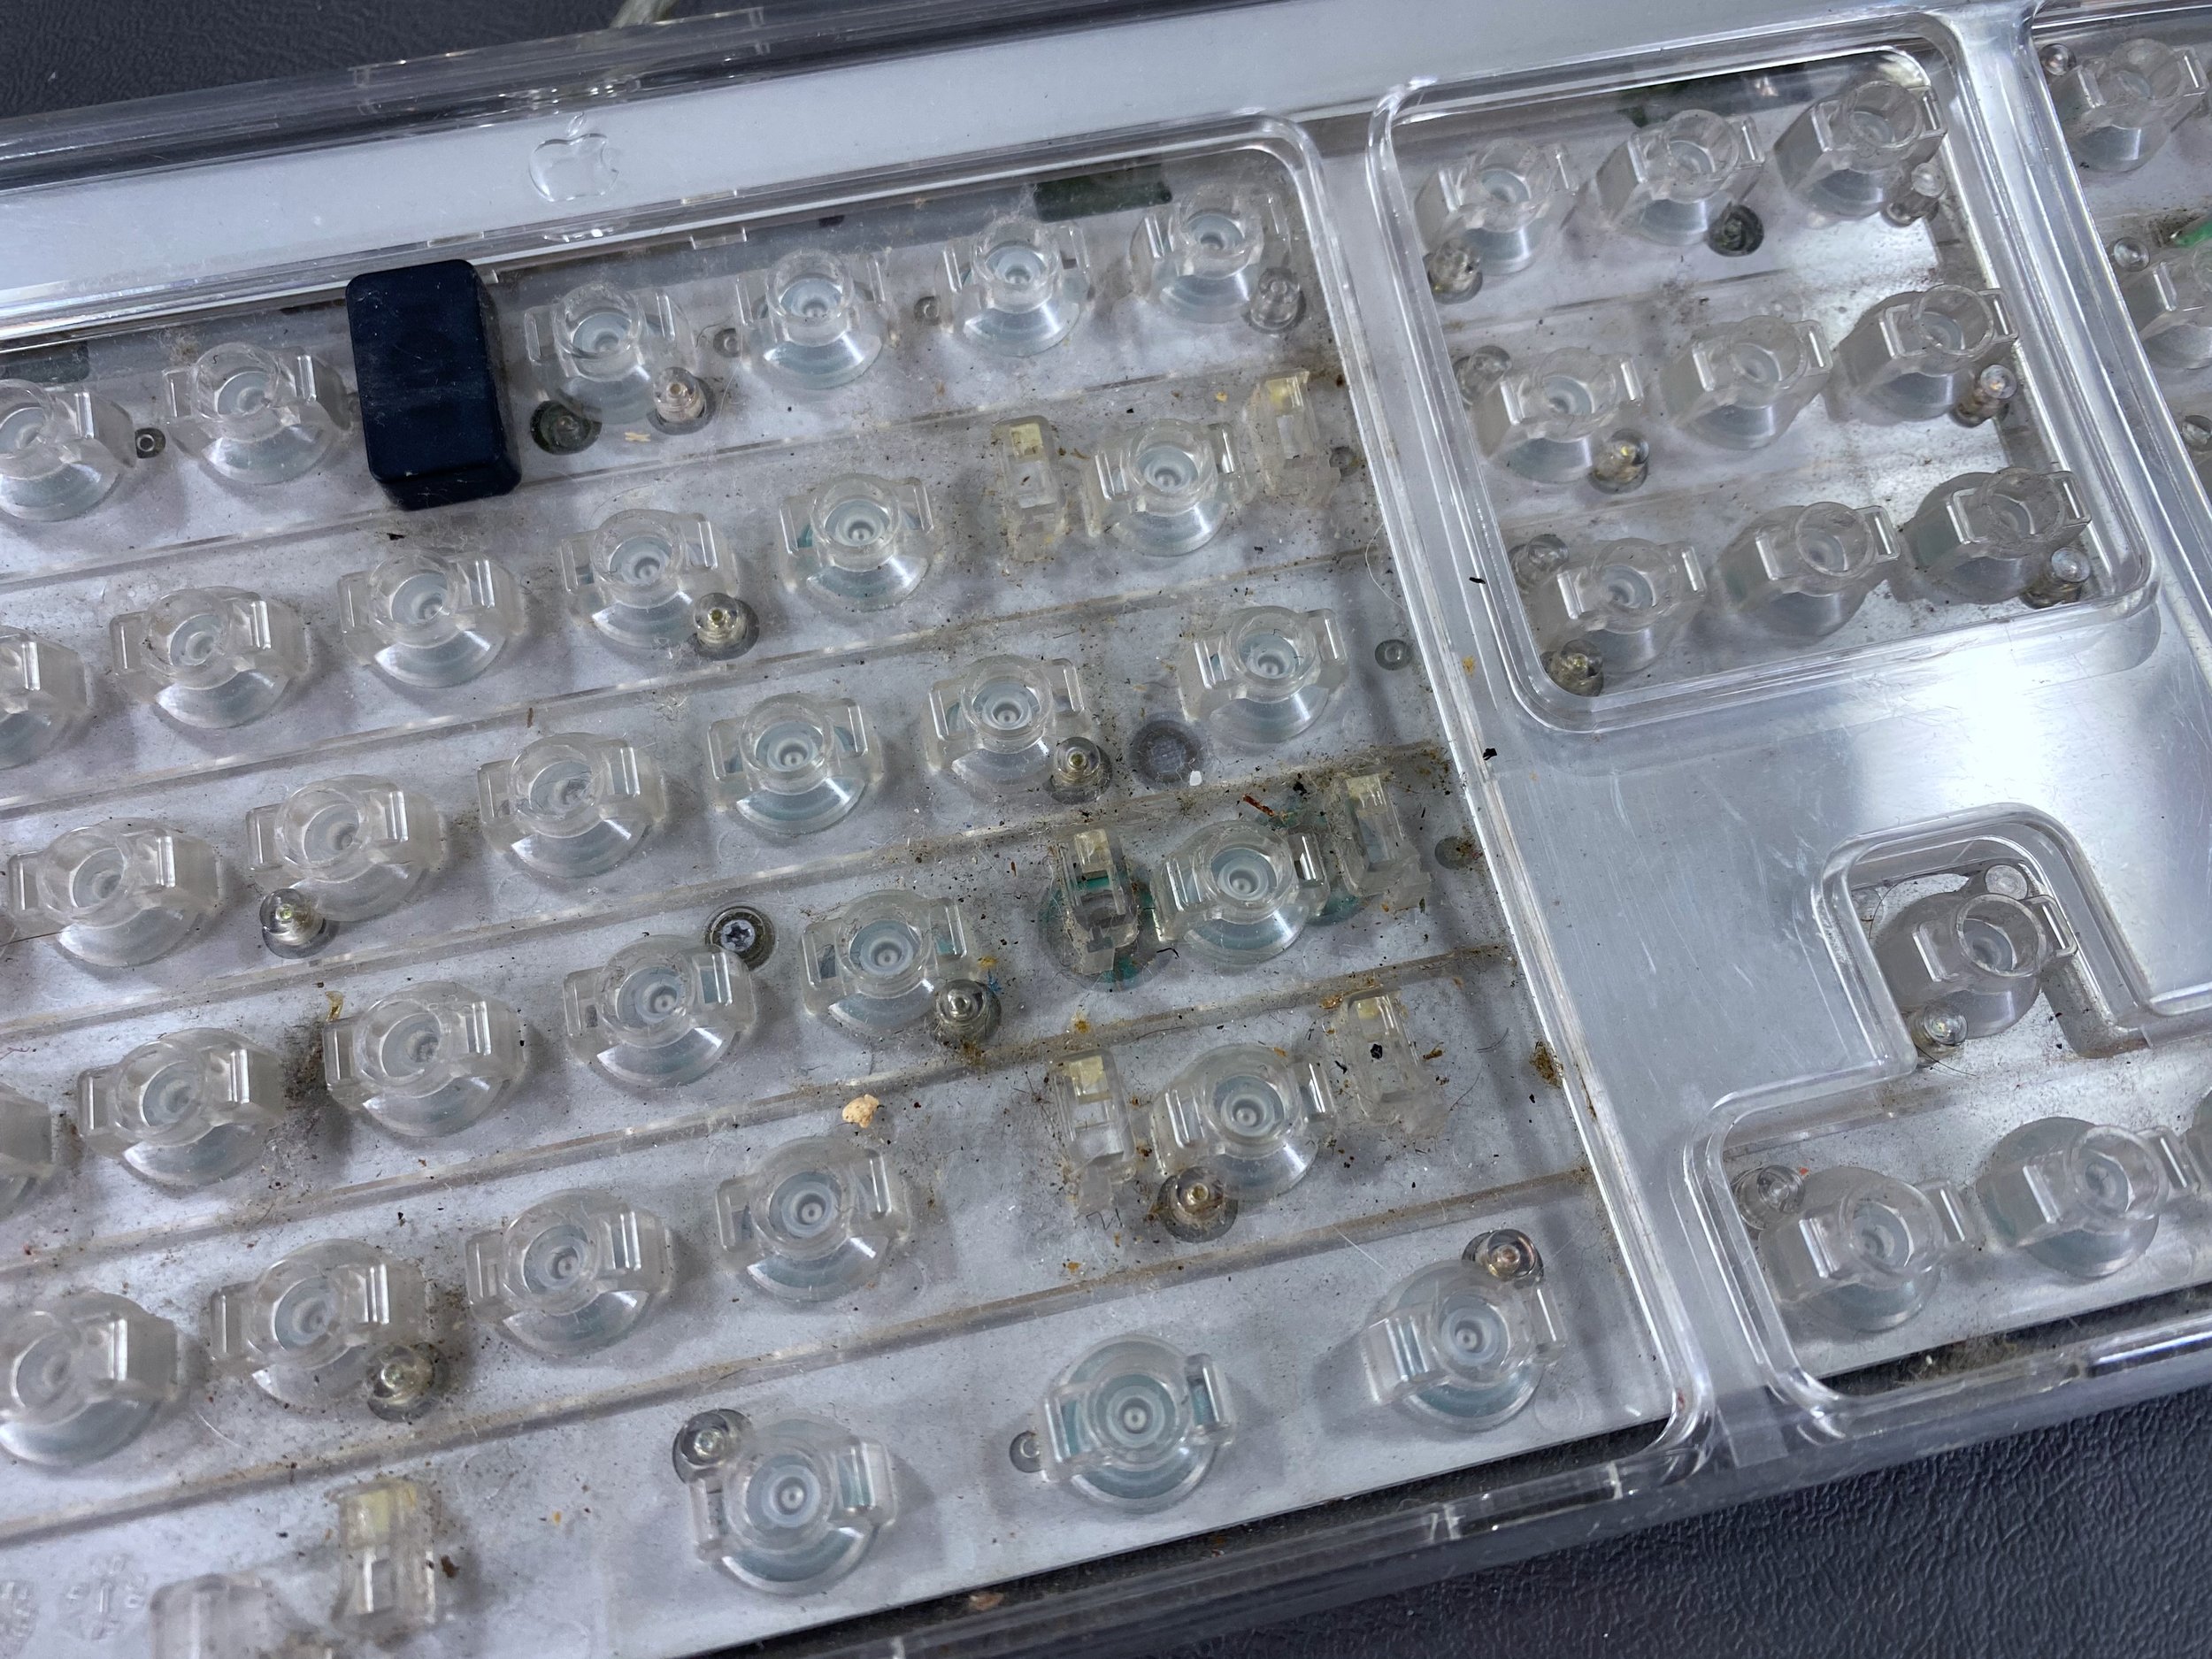
These keyboards tend to accumulate crumbs and hair inside the acrylic housing on the bottom.
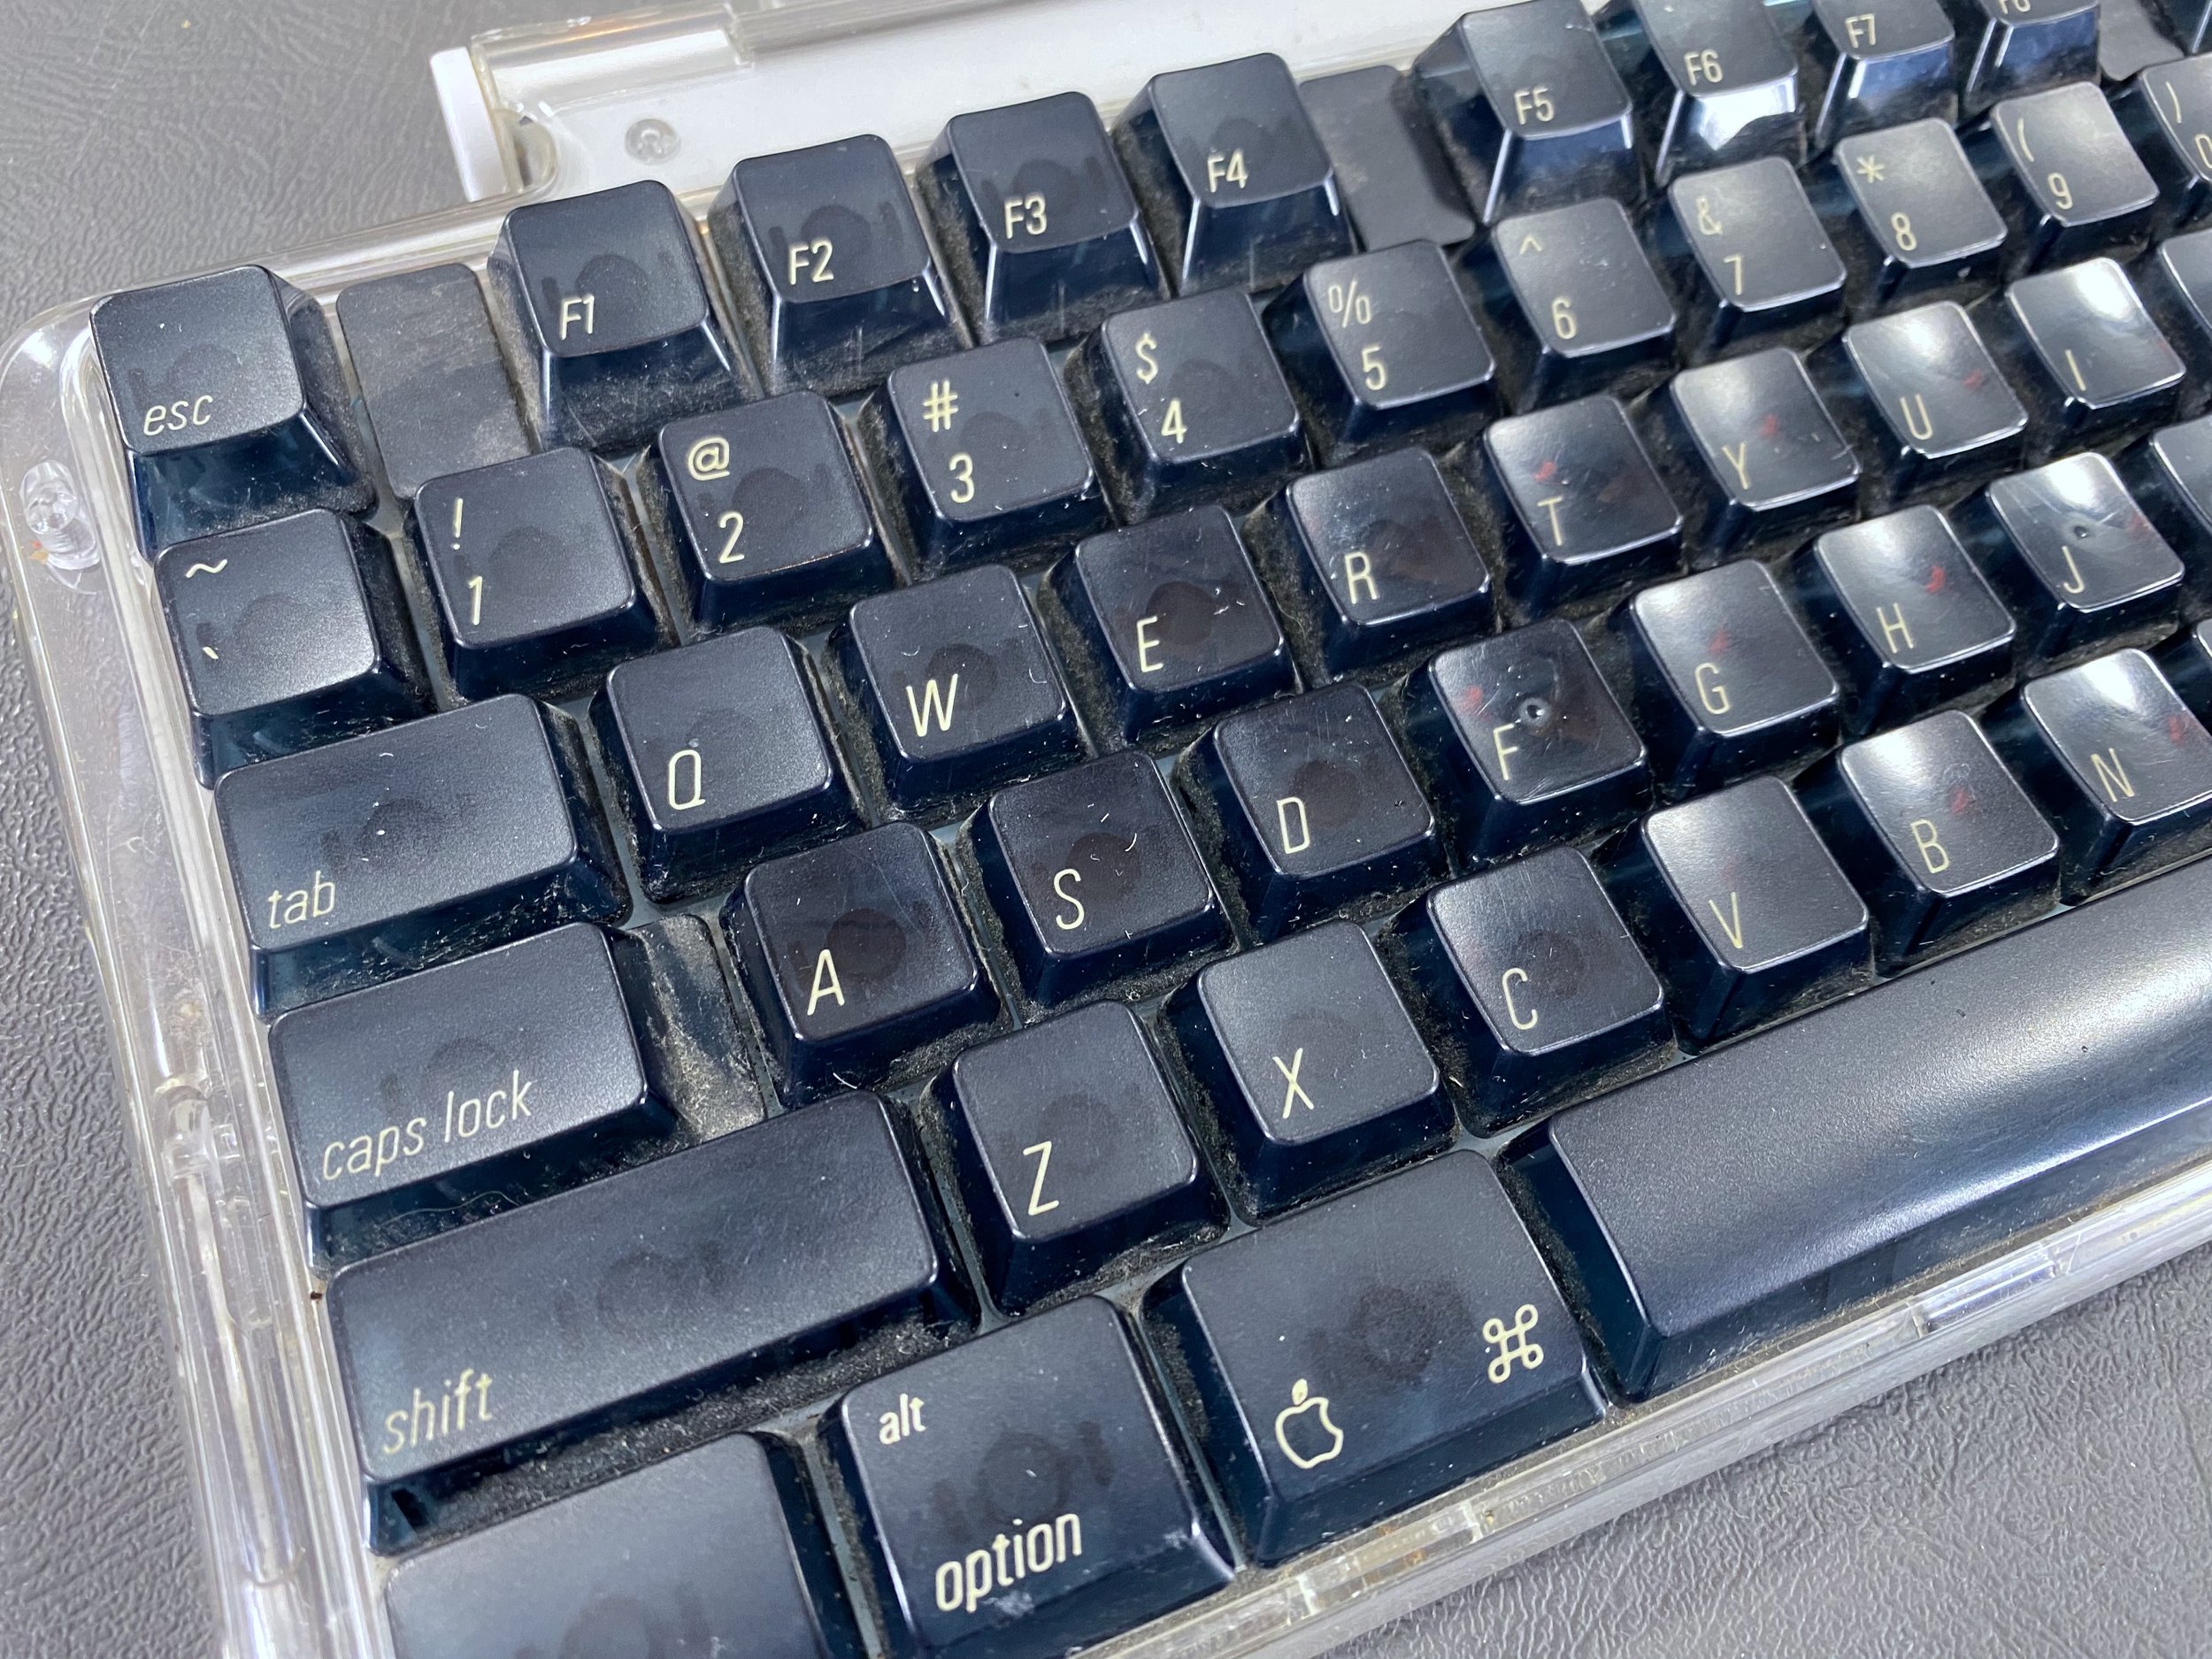
All of the keys were quite dusty and grimy.
All the dirt, dust, hair, crumbs, and other grime that was hiding beneath the keycaps.
To conduct a proper deep clean, the keyboard must be fully disassembled. All five sides of each key were carefully cleaned.
The “After” photo. Nice and clean!
No more dust and grime.


